Here we go …. another Tik Tok trend that is going viral! These mini-mini pancakes are the size of a coin and heaped into a bowl, they do resemble breakfast cereal, and this is how they are trending: a bowl of crisp, mini pancakes with milk!
Because of their size they are crispy on the outside but the fluffy inside reminds one of Dutch poffertjies and are delicious when drizzled with syrup or honey. My favourite way of eating these tiny puffs are with a white Belgian chocolate yoghurt, but you really need to make them for yourself to decide how you prefer eating them. I suspect the mini-minis will taste just as good with chocolate sauce…
62ml sugar
250ml flour
10ml baking powder
1ml salt
125ml milk
15ml butter, melted
1 egg
Add the egg and the sugar to a mixing bowl and whisk together.
Add the melted butter and half the milk as well and give the mixture another good whisk.
Sift the flour, baking powder and salt together and add this dry mixture to the wet mixture. Mix through.
Gradually stir the rest of the milk into the mixture to form a smooth batter.
Mix only until blended – do not over mix as it will make your batter heavy.
Put a non-stick pan onto medium heat and add a small amount of vegetable oil.
Spoon the pancake batter into a piping bag and pipe tiny blobs into the warm pan.
Flip the pancakes after they turn golden, about 30 seconds and cook the other side until done.
Pile the mini-minis into a bowl and serve warm with milk, syrup, butter, yoghurt or cinnamon sugar
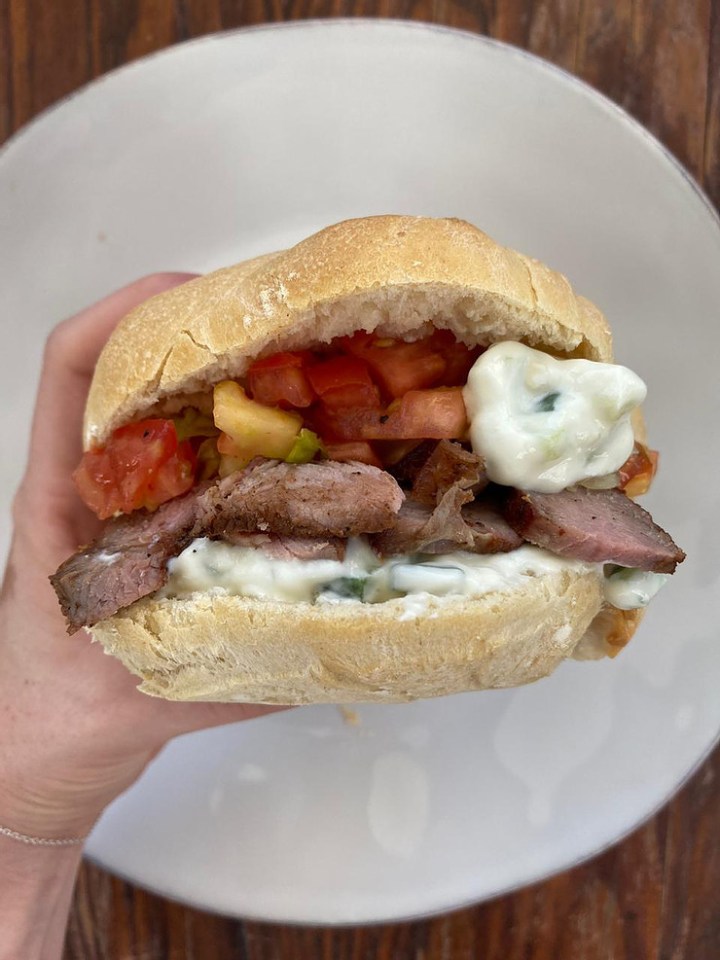
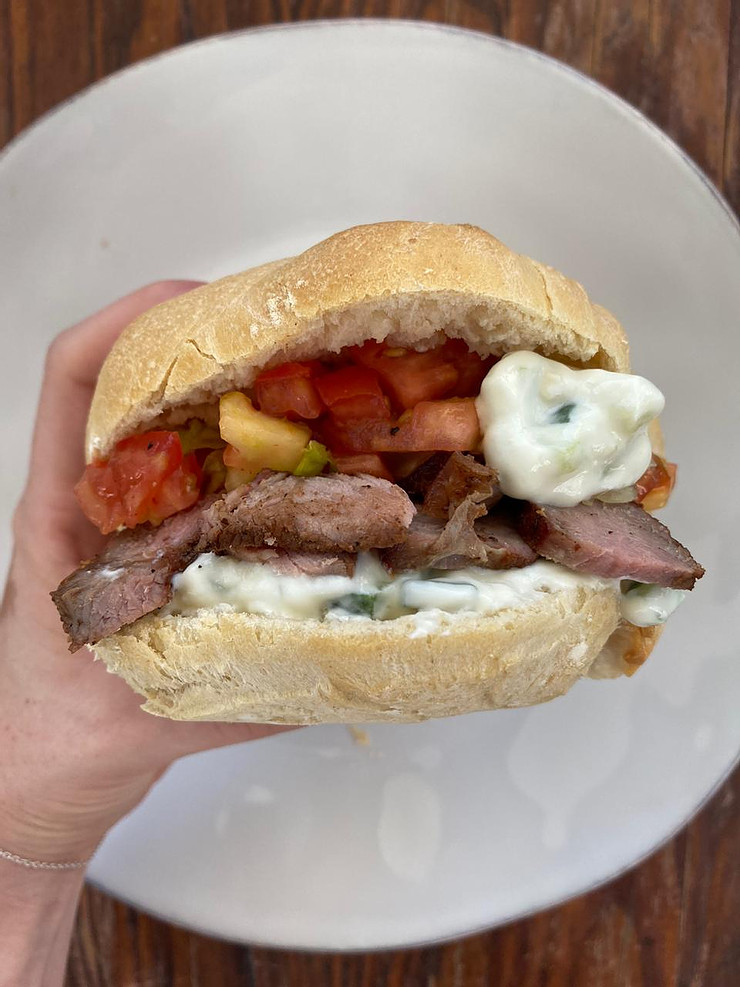
Pita is a flatbread that originated in the Mediterranean and Middle East. It is one of the most basic breads, but probably also one of the most functional and diverse breads. When baked in the oven, it makes a pocket that can be filled with a variety of meats, salad and sauce.
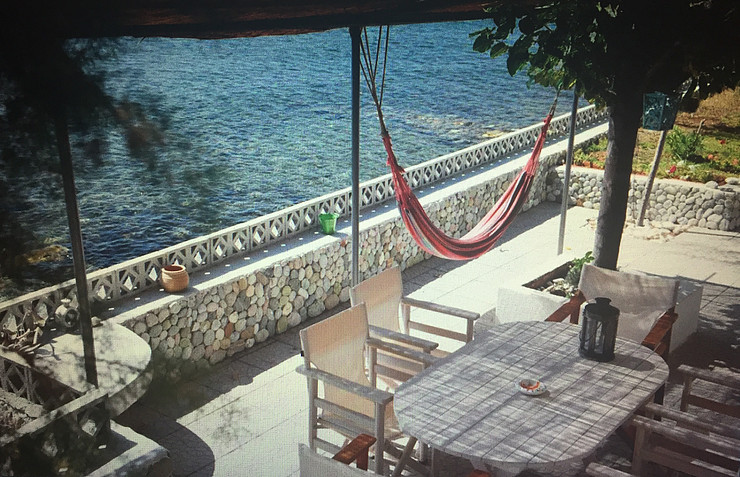
In our family pita is a reminder of our annual holidays on the Greek island of Paros. Lazy days, balmy nights, gallons of crispy Greek wine and pita bread! At home we have them on weekends, filled with thinly sliced flame-grilled rump steak, lettuce, tomato and a liberal scoop of tzatziki.
20g instant yeast
960g flour
5ml salt
10ml sugar
60ml oil
± 750ml water, lukewarm
Preheat your oven to 250℃.
Add the flour, salt, sugar and yeast to a large mixing bowl.
Make a hollow in the dry ingredients and then add the oil and thereafter the water.
Bring the ingredients together with your hands and knead for 10 minutes or so, until you have a soft, smooth dough. (If you are using a stand mixer and a dough hook, run the mixer for 4 minutes or until the dough sits on the dough hook and it appears smooth).
Rub some olive oil onto the insides of a large mixing bowl and transfer the dough to it. Cover the bowl with a damp tea towel or put it into a plastic bag.
Leave the dough to proof until doubled in size.
Once the dough is ready, transfer it to a work surface and knead it down by hand, for a minute or so.
Cut the dough into 16 equal pieces, using a dough cutter or a sharp knife. I weigh my dough which means that I cut it into 16 x 136g pieces. You do not have to do this and may divide the dough into the size that works for you, or simply divide “by using your eye”!
Now once the dough is divided, roll each piece into a ball and then squash the ball between the palms of your hands. This will flatten it enough but still keep it thick enough to be able to expand and form a pocket when baked.
Place the pitas on a well floured baking sheet, cover with a damp tea towel and leave to rest for 15 minutes.
Place the shaped pitas into the oven and bake for 10 minutes.
Remove your beautiful pita breads from the oven and allow them to cool.
When cool enough to handle, slit a third of the bread open so that it leaves you with a pocket to fill with the filling of your choice.
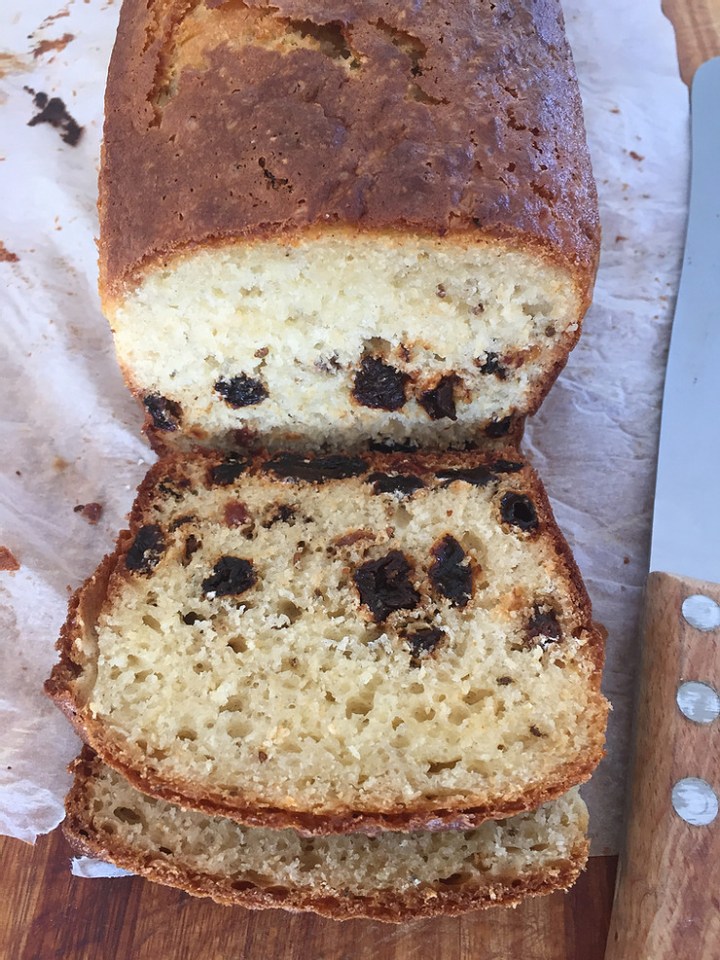
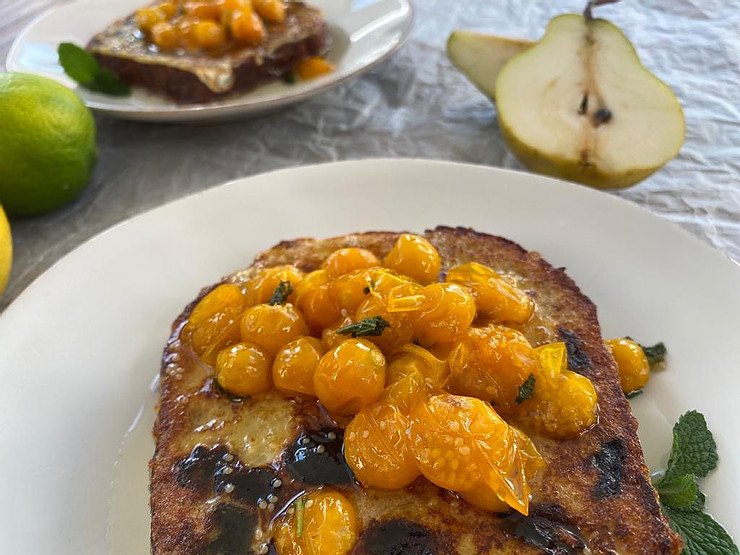
If you like the combination of sweet and savoury, you will love this bread. The raisin bread itself is a quick-bread which of course means there is no yeast in it and therefore takes no time at all to make. It is a spongy, cakey bread which makes it perfect to soak up the egg mixture for French toast, before frying it to a delicious, golden brown and of course the addition of raisins, makes it perfect for breakfast.
I love eating French toast with fruit and especially lathering the toast with a fruit compote, which is basically fresh fruit which has been cooked in a flavoured syrup that brings out the ripeness and scent of the fruits.
I must confess, we like this raisin bread so much we have it as regular bread and take my word for it, it is delicious with cheese, honey and yes, Marmite!
To make the raisin bread:
500ml self-raising flour
250ml raisins
250ml sugar
10ml aniseed
2 eggs
±300ml milk
Preheat your oven to 180℃.
Grease and line a 13cm x 23cm loaf tin with baking paper. The baking paper is not essential if you grease the tin well, but it does make life a whole lot easier when removing the bread from the baking tin.
Add the flour, raisins, sugar and aniseed to a large mixing bowl and stir through.
Add the eggs to another bowl and give them a whisk before adding it to the dry ingredients.
Add 300ml of milk and give the mixture a very good mix by hand. You want a consistency that slides from a spoon. Add some more milk if the mixture needs it.
Spoon the mixture into the prepared loaf tin and bake for 35 – 40 minutes or until a testing needle comes out clean.
Take the bread from the oven and place on a cooling rack for 10 minutes before turning it out.
Allow the raisin bread to cool completely.
To make the compote:
125ml sugar
300ml water
fruit of your choice: I love utilising gooseberries; pear, cut into even sized chunks; mango; pineapple and guavas, but really, it’s up to you
a small bunch of mint leaves, chopped
Add the sugar and water to a small saucepan, put on a medium to low heat and stir until the sugar has dissolved.
Now add the fruit and allow the mixture to simmer until the fruit is softened but not mushy.
Take the compote off the heat, allow it to cool for a few minutes, add the mint and stir through.
Your compote is now ready to spoon onto your French toast! Of course, if you are having French toast for brunch, there is nothing stopping you from adding a splash of rum to your compote once you’ve taken it from the heat…
To make the French toast:
2 generous, 1 – 1,3cm thick slices of raisin bread
2 eggs
a dash of milk
salt
a knob of butter
Break the eggs into a flat dish and add a splash of milk.
Season with salt and beat the mixture with a fork.
Put a non-stick frying pan onto medium heat and add a knob of butter to the pan.
Soak the slices of raisin bread in the egg mixture: first the one side and then flipping them to soak the other side.
Transfer the soaked bread to the hot frying pan and fry until golden before flipping and frying the other side.
Remove the warm toast from the pan and serve with spoonfuls of compote!
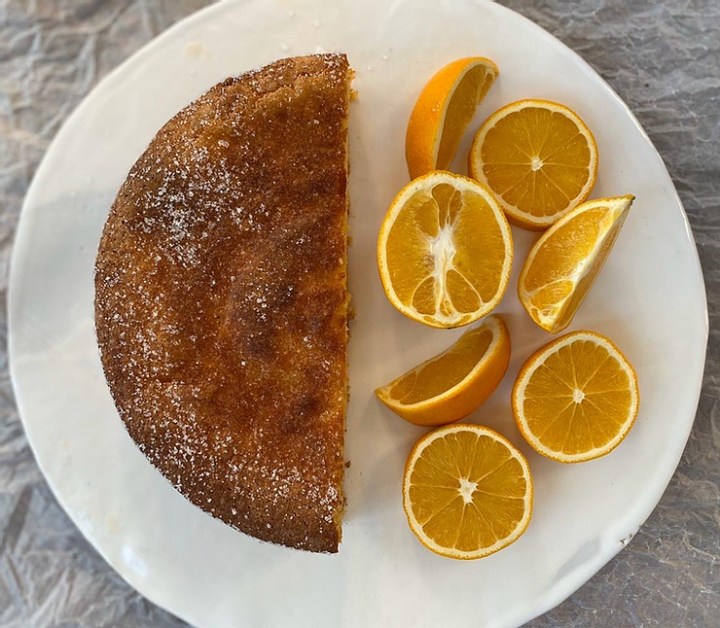
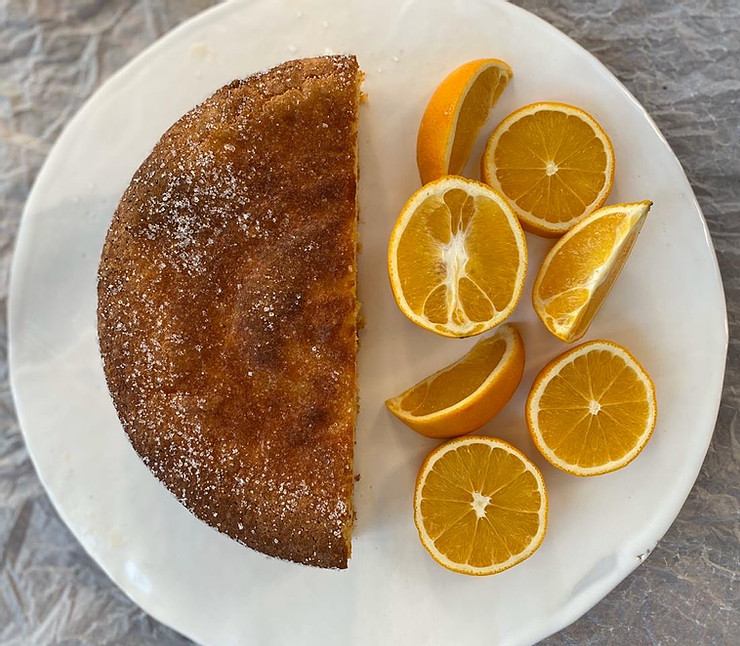
Incorporating an orange with its skin and pips into a cake is a technique long practiced in the Jewish culinary tradition. The combination of the the entire orange and almond meal, makes for a deliciously moist and nutty cake with the most exquisite scent lingering on one’s palate. This is definitely one of the last and final meals I would choose to have, should it ever come to that….
2 large oranges
250g sugar plus extra
6 eggs
250g almond meal
5ml baking powder
Wash and scrub the oranges clean.
Fill a large port with water and bring it to the boil. Drop the oranges in the boiling water and cook for two hours. Check the water level in the pot every now and then and add more boiling water as necessary.
Remove the oranges with a slotted spoon after two hours and allow to cool enough so that you can comfortably handle them.
Cut into chunks and puree: skin, pips and flesh!
Preheat your oven to 160℃.
Grease and line a 22cm loose-bottomed cake tin with baking paper.
Beat the eggs and sugar until well mixed; it will become a thick foamy consistency.
Stir in the pureed orange, followed by the almond meal and the baking powder.
Pour the batter into the prepared tin and dust the top with extra sugar.
Bake for 1 hour and 15 minutes, until the top is golden and a skewer inserted into the centre comes out clean.
Allow the cake to cool completely in the tin.
Take the cake out of the tin, dust with sugar and cut into slices and serve.
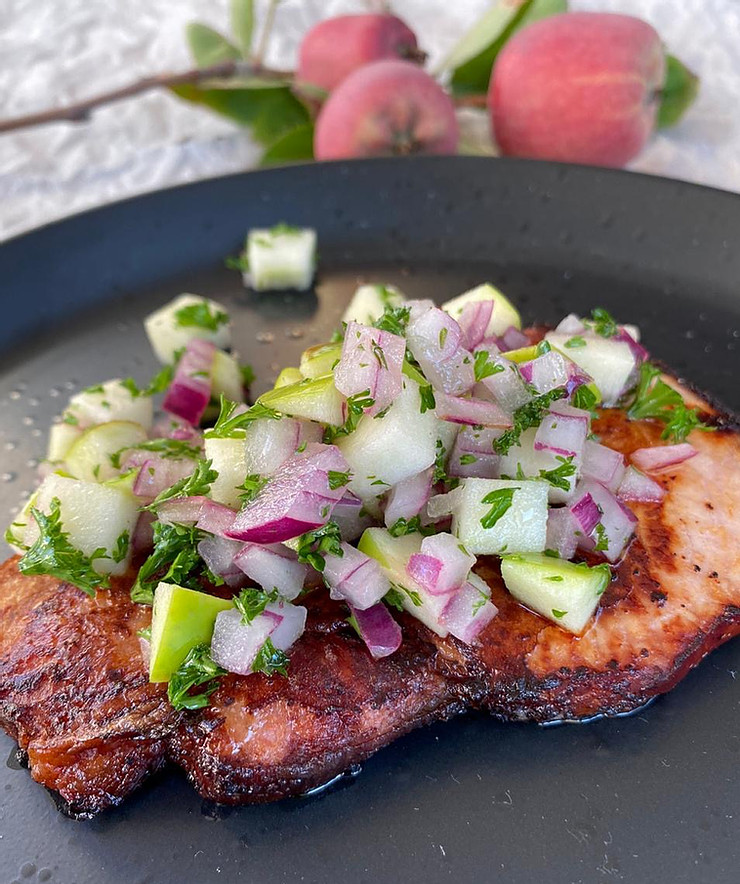
This is another throw-together, rather than a recipe, but a real winner as it is quick to make and delivers on flavour!
Pork chops
Vodka
Butter or olive oil
Red onion
Granny Smith apples
Fresh herbs
Lemon juice.
Preheat your oven to 180℃
Put a heavy bottomed pan that can go into the oven (no plastic handles) onto high heat. Once it has warmed up, add a knob of butter and allow it to melt. Add the pork chops to the pan and let the meat brown. Flip the chops after about 2 minutes and fry the other side to a delicious golden, caramelised state.
Now, add a good glug of vodka to deglaze the pan. Loosen all the little burnt bits with a wooden spoon so that it can add flavour to the vodka and develop into a sauce. You want enough liquid from the vodka to prevent the chops from going dry but at the same time you do not want to steam the chops or worse, make a soup!!
Season the chops with salt and put the pan into the oven for 15 minutes so that the meat can cook through. If you have thick chops you might want to go towards 20 minutes.
In the meantime make the salsa:
Chop more or less equal amounts of red onion and apple and add it to a small bowl. Chop a small handful of herbs and add to the apple and onion. Now squeeze some lemon juice on top and season with salt and pepper.
Give the salsa a good mix-through and spoon generous amounts onto the warm pork chops. Serve with buttery mashed potato and a beetroot salad.
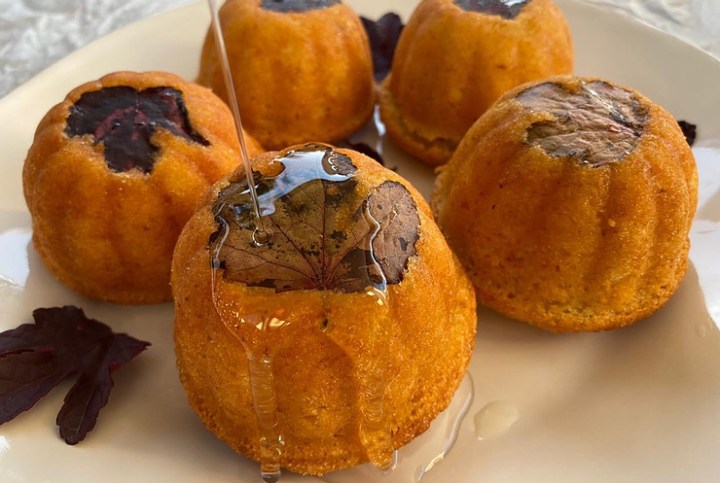
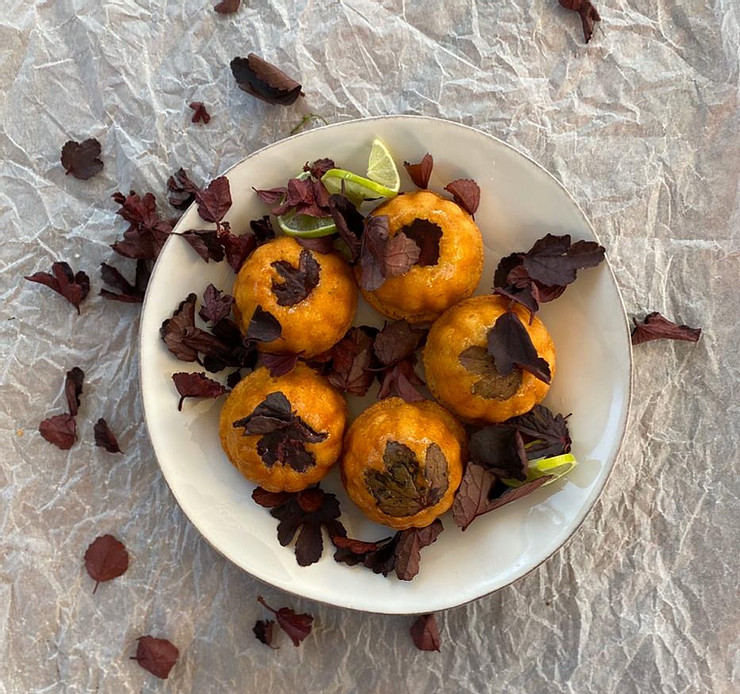
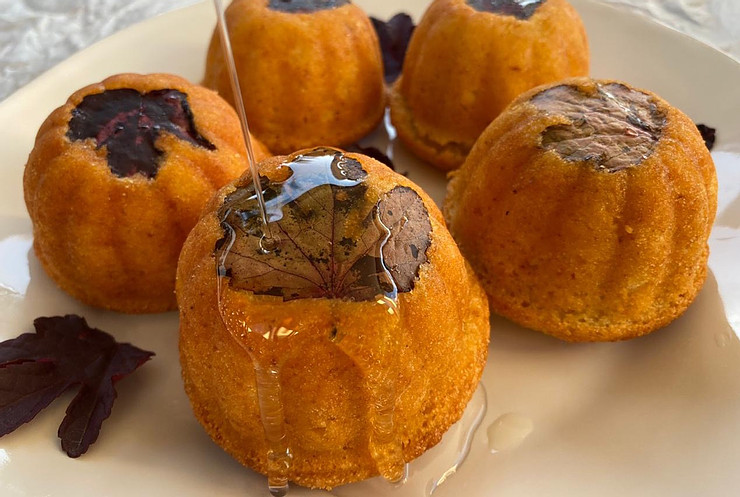
There is something very special about baby cakes… little cakes….small cakes. Baby cakes charm us. They evoke a certain sentimentality. They are incredibly inviting and downright irresistible.
These baby yoghurt cakes are soaked in a scented lime syrup that will transport your senses and leave you wishing you had made an extra batch. Enjoy them with tea, as a snack or take one to bed with a special book to read.
150g butter, melted and cooled down
200ml fresh breadcrumbs
500ml yoghurt
4 eggs
10ml grated lime rind or lemon if you don’t have lime
700g sugar
20ml baking powder
500g semolina or you may replace it with cake flour
20ml lime juice or lemon
20ml rose water
Preheat your oven to 180℃.
Prepare your mould (or muffin tin) by greasing it with butter and then dusting it with the fresh breadcrumbs. I added fresh cranberry hibiscus leaves to the bottom of my baking moulds as they have a wonderful citrusy flavour and add a beautiful colour and texture to the finished cakes.
Add the yoghurt, eggs and lime rind to the bowl of a stand mixer. Add 200g of the sugar and run the mixer for 2 – 3 minutes until the ingredients are well blended and the sugar dissolved.
Add the cooled butter and give it another good mix-through.
Add the semolina and baking powder and mix until incorporated.
Spoon the mixture into the baking moulds and bake for 30minutes.
Prepare the syrup while your cakes are in the oven:
Pour 750ml water and the remaining 500g sugar into a saucepan.
Turn on the heat and stir the mixture so that the sugar dissolves. Let the mixture come to the boil and keep it on a slow simmer for 5 minutes.
Remove the saucepan from the heat and add the lime juice and rose water.
Once your cakes are done, leave them to stand for 2 minutes, remove from the baking moulds and spoon over generous amounts of the syrup.
Let it cool slightly and soak up the scented sweetness before serving.
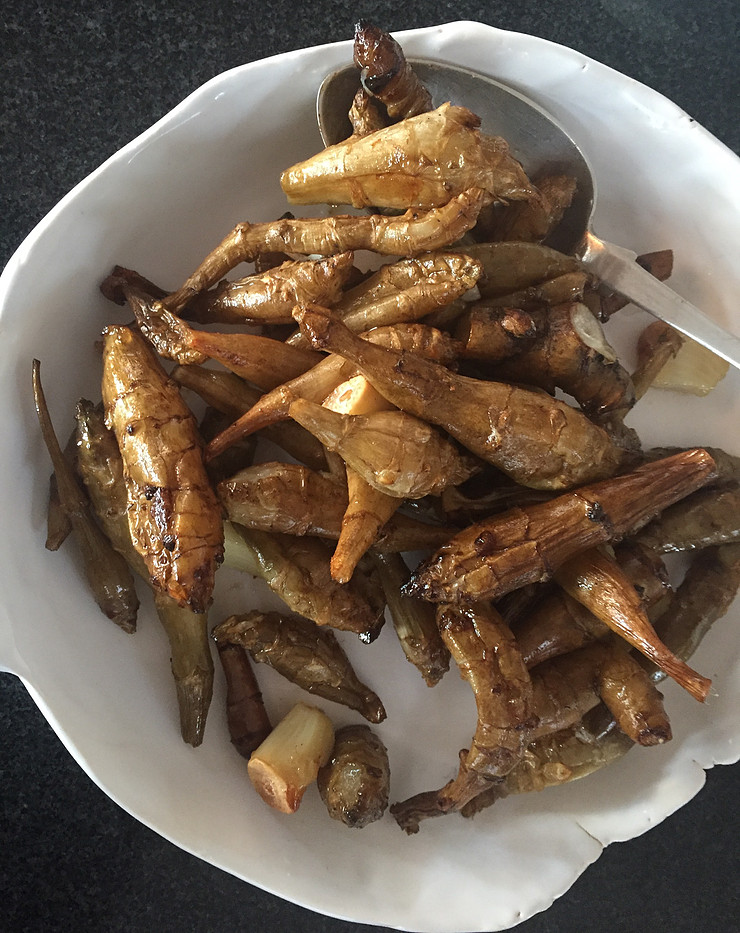
This is not a recipe but rather a throw-together of ingredients: cooking Jerusalem artichokes my way. I like them skin on, roasted to a crispy outside, with a nutty, luscious inside!
When preparing Jerusalem artichokes I take off all the little root parts, soak the artichokes in a bowl of cold water for 20 minutes and them scrub them clean with a small brush.
Preheat your oven to 180℃.
Dry the cleaned chokes and drizzle with olive oil and season with salt.
Cut a bulb of garlic in two and add that to the roasting tin.
Place in the heated oven and bake. I give the chokes about 20 minutes to get them started and then I give the roasting tin a very good shake so that the chokes roll around and get covered in oil again.
You can start “testing” the chokes after 25 minutes or so by piercing one with a sharp knife. They should be soft on the inside but don’t leave them until they become mushy – you want a crisp choke.
Once they are done take the tin out of the oven and squeeze the garlic out of the bulb and into the pan. Give the garlic and artichokes a good mix through and serve immediately.
This is what heaven on earth tastes like….
P.S.: If you happen to have any hollandaise sauce hanging around, now is a good time to put it to use!
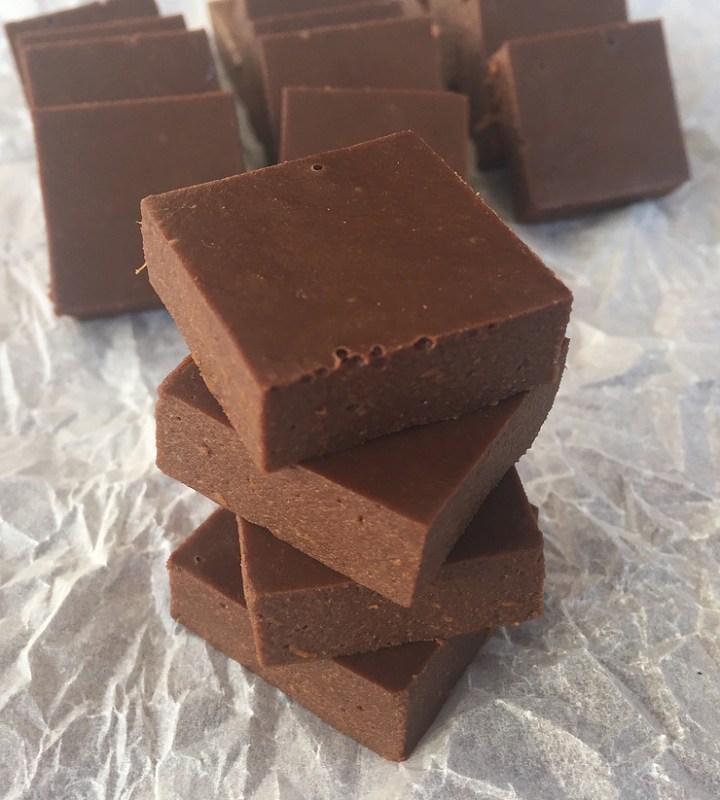
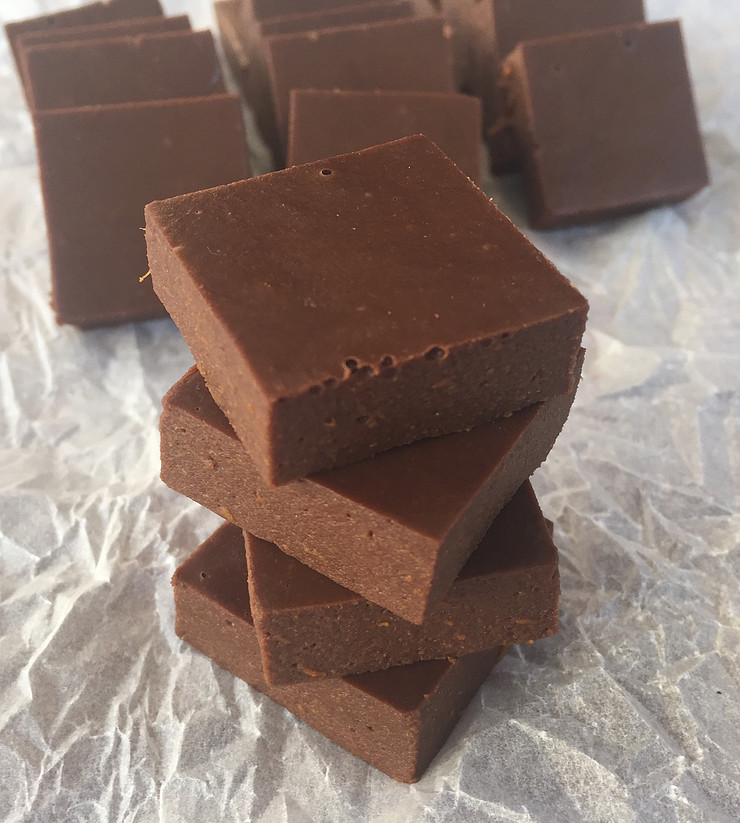
I dedicate this treat to all my gluten intolerant friends as well as those of you who prefer low carb, Keto friendly snacks.
250ml pureed pumpkin
185ml chopped Valrhona dark chocolate
60ml powdered gelatine
90ml cold water
Pour 90ml cold water into a small bowl. Scatter the gelatine on the water and leave to bloom for 5 minutes.
Line a small baking tin/plastic container with tinfoil and spray with cooking spray. I use a 20 x 20cm baking tin for this. The size of your container will determine how thick/chunky your fudge will be.
Roast the pumpkin in your oven until very soft.
If you are using pumpkin that was left over/that you have prepared at an earlier stage, warm it up in the microwave oven and then puree 250ml of it in a blender. It is important that the pumpkin is warm when you work with it.
Once the gelatine is spongy, gently melt it in the microwave oven, literally allowing 30 seconds before taking it out and checking whether it has melted. Repeat this process until the gelatine is completely melted and liquid.
Add the gelatine to the pureed pumpkin in a steady stream, with the engine running.
Melt the chocolate in a heatproof bowl set over a pan of gently simmering water, making sure the bottom of the bowl is not in contact with the water.
Once the chocolate is completely melted, add it to the pumpkin mixture as you did the gelatine.
Pour the mixture into the prepared baking tin and leave at room temperature for three hours or so.
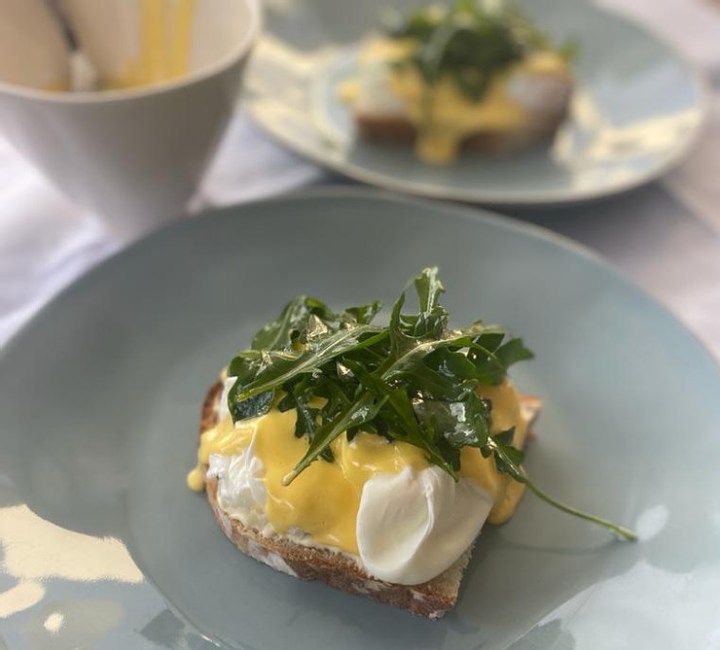
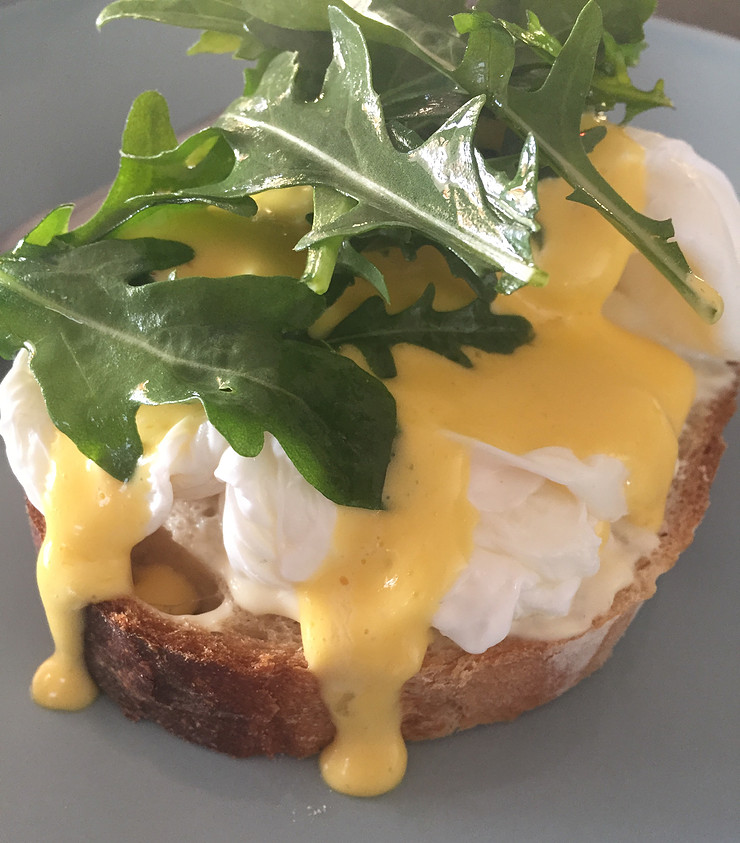
There are few things as delicious as a rich, buttery hollandaise sauce, whether it is eaten on eggs Benedict, grilled salmon, asparagus or even with roasted Jerusalem artichokes.
When I was at chefs school, a hollandaise sauce was a nightmare to make during an exam as it splits easily, takes a lot of effort and time to make and cannot be reheated. Many people love to eat it but sadly, few attempt it because of these horror stories. This then is my foolproof version of hollandaise with all the taste of a cheffy sauce but none of the pitfalls of making it
3 egg yolks
15ml lemon juice
5ml Dijon mustard
1,2ml salt
125ml butter, melted and really hot
Add the yolks, lemon, mustard and salt to a blender. Combine for 15 seconds or so.
Melt the butter in the microwave oven. Now warm the butter until it is really hot.
Drizzle the butter into the egg mixture with the engine running. Do not add it too quickly but rather in a very small stream, giving the mixture time to emulsify.
Pour the warm, luscious sauce into a jug and serve by spooning generous amounts onto your chosen food.
If your sauce splits, simply add 15-30ml of boiling water in a steady stream, while the engine of your blender is running. Blend until the sauce emulsifies and comes together.
One small word of caution: hollandaise does not reheat successfully and should preferably be made once you have everything ready and are about to serve your dish.
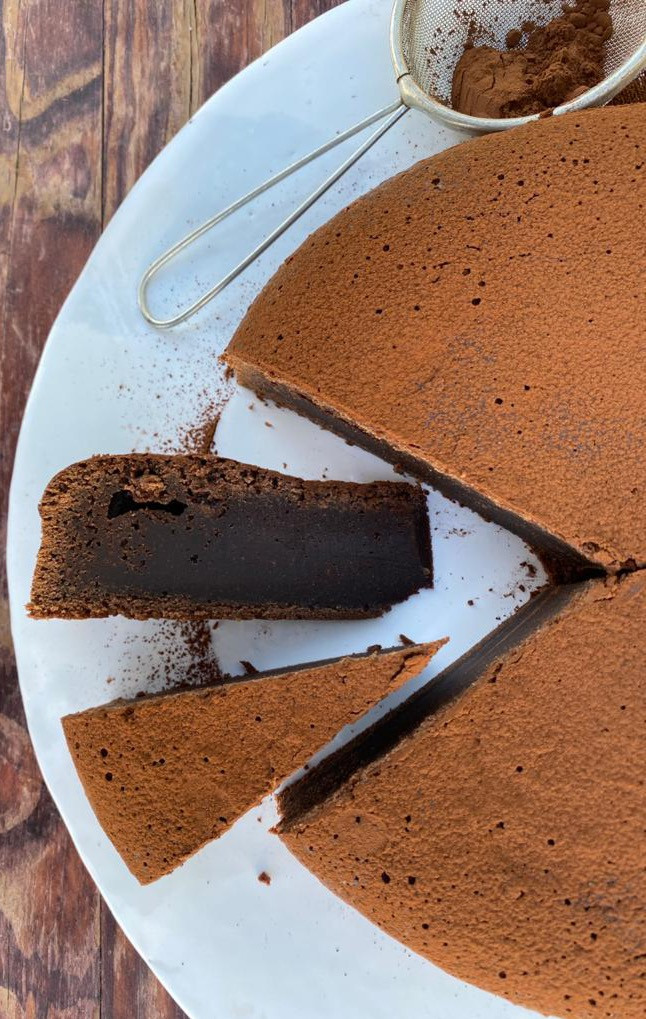
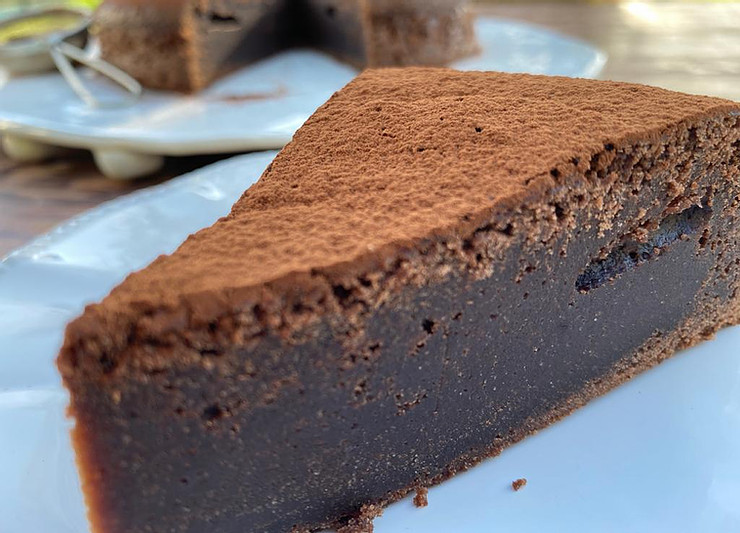
A mud cake differs from other chocolate cakes in that it is a dense cake with almost no crumbs. It is a cake with an intense taste that almost sticks to your palette, but in a good, chocolatey way. If you like airy, fluffy cake, this is NOT for you!
500ml flour
1,2ml baking powder
125ml cocoa powder
250ml butter
250ml chopped chocolate
375ml milk
10ml vanilla extract
375ml caster sugar
2 eggs
Preheat your oven to 170℃.
Spray and line a 22cm springform tin with baking paper.
Sift the flour, baking powder and cocoa powder into the bowl of a stand mixer fitted with the whisk attachment.
Add the butter, chocolate and milk to a saucepan and warm over medium heat. Stir occasionally so that the chocolate melts completely.
Take off the heat and allow to cool slightly and then stir in the vanilla extract.
Turn your mixer onto low speed and add the chocolate mixture to the dry ingredients.
Add the sugar to the dry ingredients and then add the eggs one at a time.
Mix well so that you have a smooth batter.
Pour the batter into the prepared baking tin, tap the baking tin on your counter so that the air bubbles escape and bake for one hour. Test whether the cake is done by inserting a toothpick into the centre.
Remove the cake from the oven and allow to cool completely in the tin.
Once cooled, remove from the tin and dust the cake with additional cocoa powder.