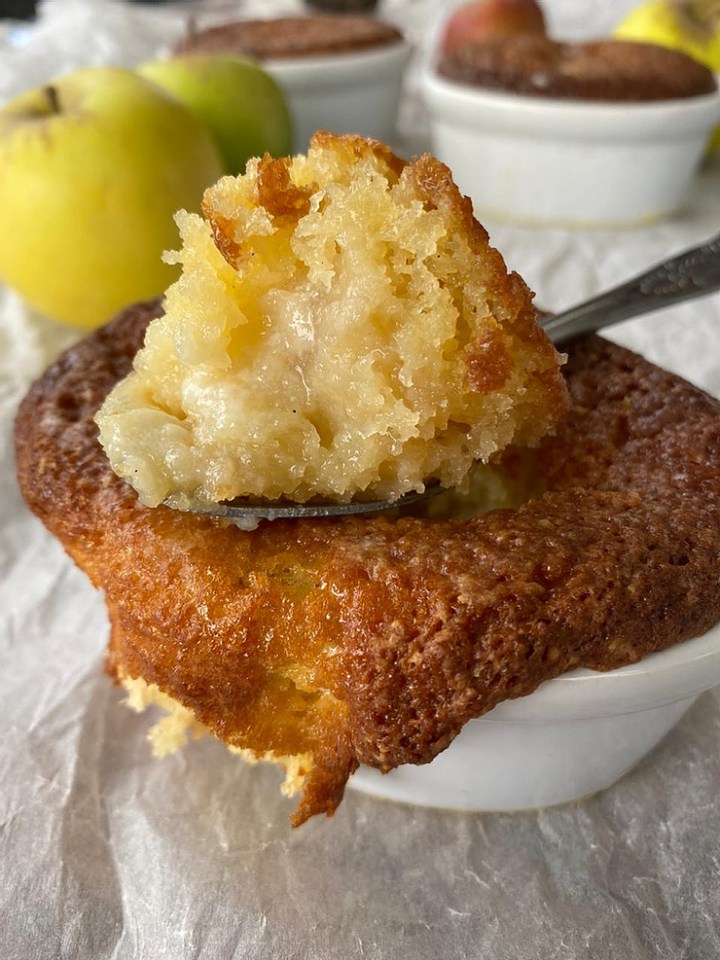
My Mom’s Apple Tart

My Mom’s Apple Tart

For many years I have thought of this apple tart as “my mom’s apple tart”and I suppose in my frame of reference this will hold true for ever after. My mom was never a keen baker but this was one of the few things she made regularly. To me this apple tart is filled with emotion: it is comforting, filled with love and happy memories and to this day, I believe the one my mother made tasted better than any of the many versions I have since eaten.

For many years I believed it was my mom’s unique recipe but I have since come across this apple tart in many old South African recipe books. I have eaten it at friend’s tea parties, I once had it as a dessert in a restaurant and our Michelin Star chef, Jan-Hendrik van Der Westhuizen, published an almost identical recipe a few months ago.

I cannot decide whether this is a true tart; it might lean towards being a dessert; but what I am certain of is that it is fabulous and definitely makes it onto my list of top 5 eats!

A friend of mine, Elzette le Roux, makes this same apple tart, but she actually cooks the apples from scratch! Believe it or not, this five-star-cook goes through the entire process of peeling, coring and cooking the apples, before she adds it to the batter and of course, hers DOES taste better! But because you don’t know Elzette, I shall offer you “my mom’s” recipe…the quick, convenient one that utilises apples from a friendly tin!
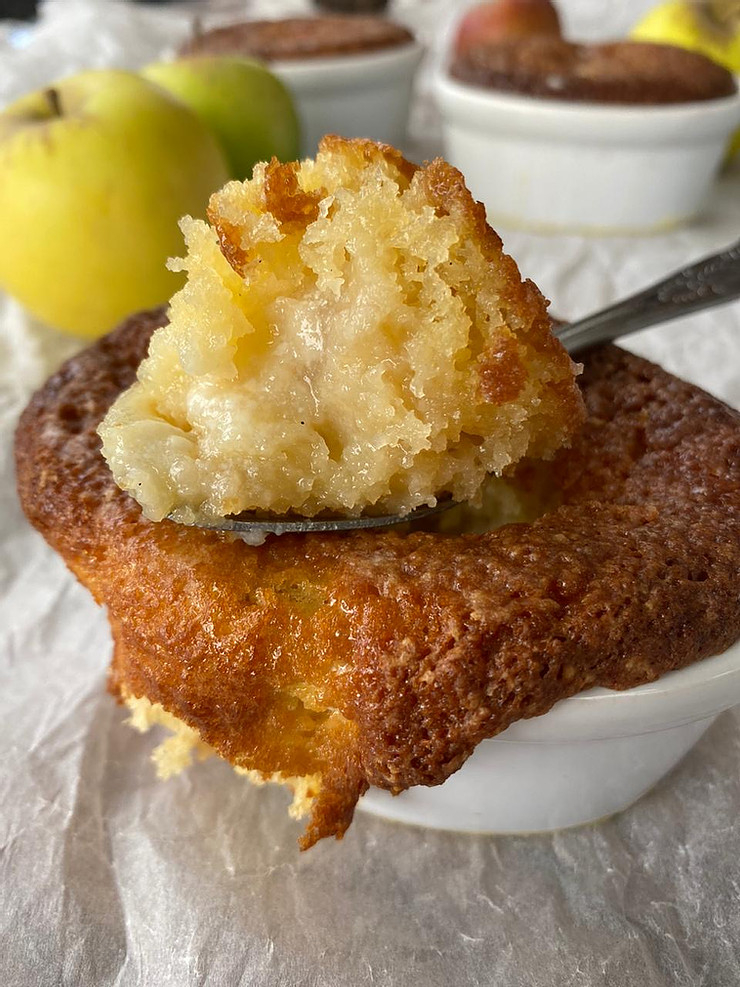
For the batter:

67ml butter

375ml self raising flour

125ml milk

a pinch of salt

3 eggs

375ml sugar

1x 410g tin of pie apples

Preheat your oven to 180℃.

Grease or spray a ceramic oven dish of about 28cm x 18 cm; it makes no difference if your dish is slightly smaller or bigger.

Cream the butter and sugar in a stand mixer fitted with the paddle attachment.

Add the eggs one at a time while mixing continuously, waiting to incorporate the egg before adding the next one.

Add the salt and flour to a separate bowl and pour the milk into a measuring jug. With the mixer running on low speed, alternate adding the flour and milk until everything is incorporated and you have a smooth batter.

Pour half the mixture into the prepared baking dish and spread the pie apples evenly over the surface before topping it with the rest of the batter.

Put the dish into the oven and bake for 45 minutes.

In the meantime, start making the sauce.

For the sauce:

250ml milk

375ml sugar

45ml butter

10ml vanilla

Add all the ingredients for the sauce to a saucepan and turn it on medium heat.

Stir the mixture until the sugar has dissolved and the butter has melted.

Simmer the mixture for about 2 minutes while stirring the whole time.

Take off the heat and wait for the batter to finish cooking in the oven.

Remove the tart from the oven after 45 minutes.

Reheat the sauce and pour the warm sauce over the warm tart.

If it looks as though you have too much sauce, wait a few seconds for it to be absorbed into the sponge and pour over some more. Give the tart time to cool slightly and to soak up all that buttery, sugary yumminess before serving yourself a “tester”…..after all, you are the one that put in the hard work!!
Corn Kernel Bread

Corn Kernel Bread

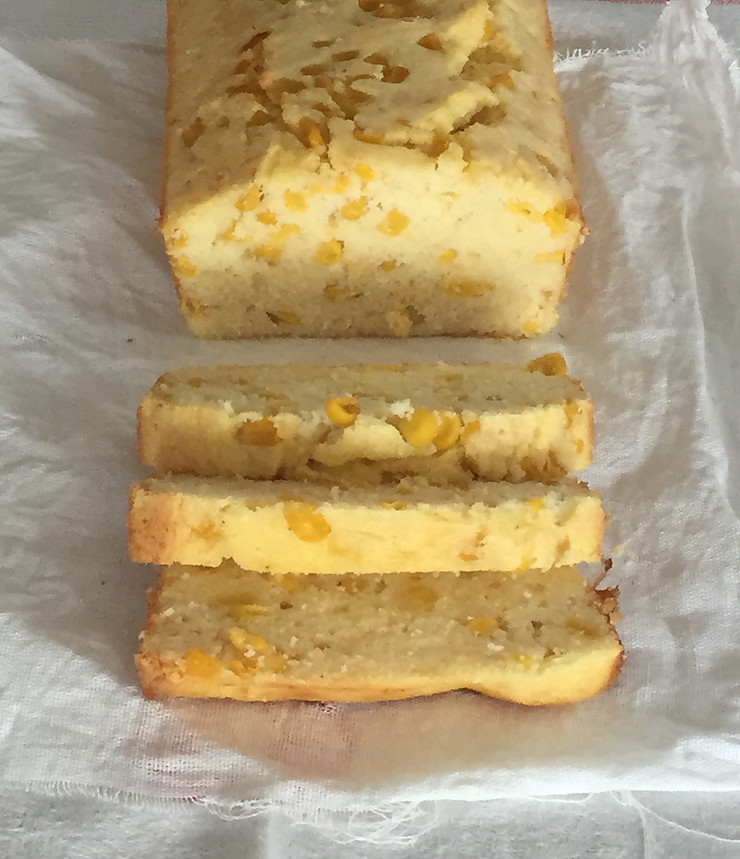
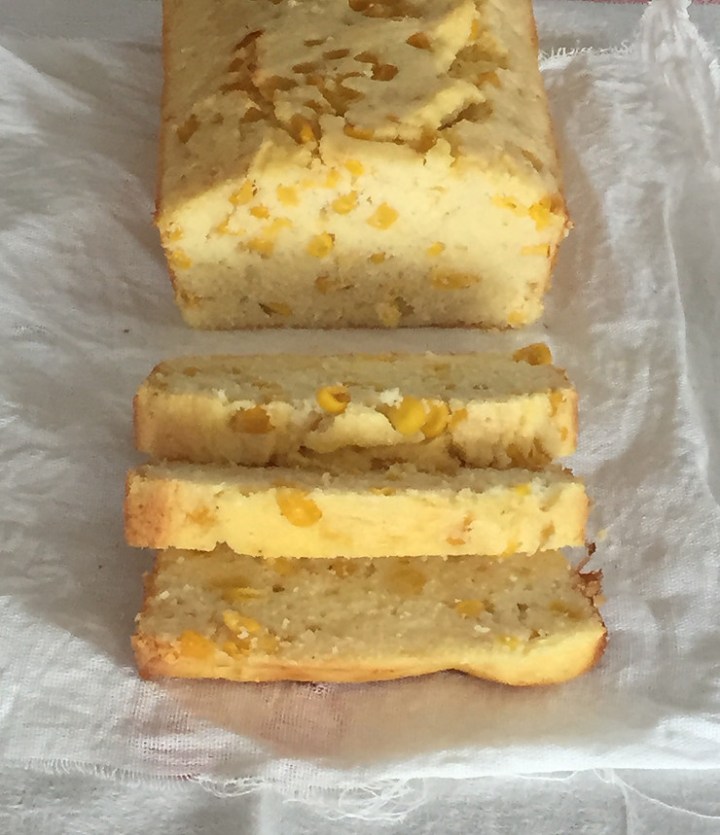
If you like corn, this rustic little bread is definitely for you. I love the texture the maize meal gives to this bread and the pop of juice when one bites onto a corn kernel. This bread is soft and crumbly and best eaten slightly warm with butter.

500ml maize meal

375ml milk (125ml and 250ml)

5ml salt

50ml butter

3 eggs

10ml baking powder

1x 410g tin of corn kernels, drained


Preheat your oven to 180℃.

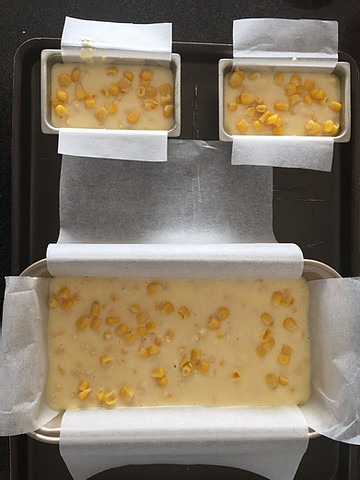
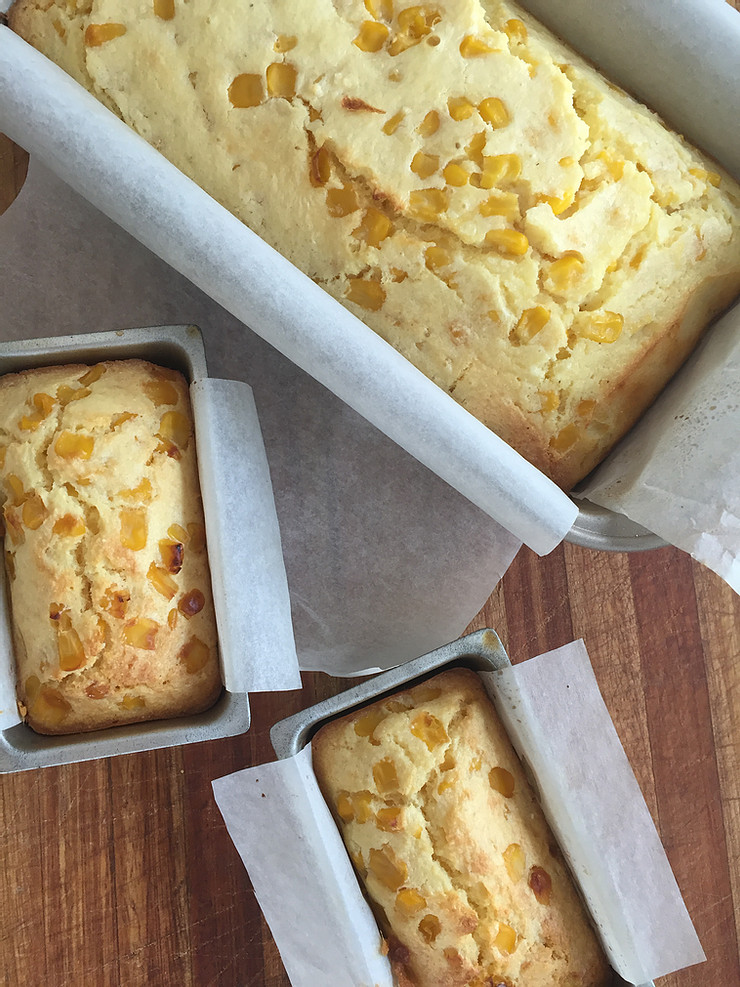
Grease and line a small loaf tin. I like to cut the baking paper long enough for it to hang over the edges of the pan, as it makes it easy to lift the bread out of the pan once it’s baked.

Add the maize meal and salt to a mixing bowl.

Add 125ml milk and stir through.

Heat 250ml milk in a small saucepan, stir in the butter until melted and pour the mixture onto the ingredients in the mixing bowl.

Mix well and allow to cool.

Whisk the eggs in a separate bowl.

Add the eggs, baking powder and the drained corn kernels to the cooled mixture and stir until uniformly mixed.

Spoon the mixture into the prepared loaf tin and bake for 40 minutes.

Serve the bread slightly warm with butter.

Spinach Cheesecake

Spinach Cheesecake

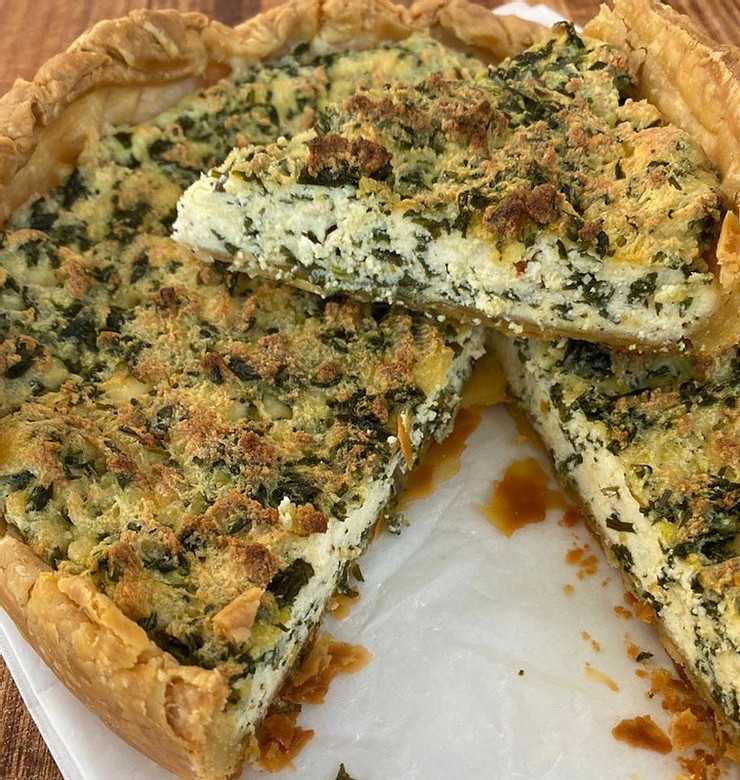
Serve this spinach cheesecake as a side dish or as a main course with a salad

1 quantity of my Sour Cream Pastry

For the filling:

500g ricotta cheese

10ml chopped chives

2 eggs

200g bag of baby spinach, blanched, drained thoroughly and chopped

salt and pepper

Sour Cream Pastry shell:

Preheat your oven to 220℃.

Lightly dust a work surface with flour. Roll the pastry to a thickness of 3mm and line the bottom and sides of a greased, loose-bottomed cake tin with the pastry.

Pierce the pastry with the tines of a fork so that the steam can escape while the pastry is cooking.

Now line the pastry case with baking paper and fill it with dried beans or rice in an even layer.

Bake the pastry for 10 minutes, remove from the oven and take out the baking paper and the beans and immediately put it back into the oven for a further 10 minutes. Remove the pastry shell from the oven allow to cool in the cake tin.

For the filling:

Turn down the oven to 180℃.

Add all the ingredients to a mixing bowl and give it a very good mix to evenly blend and combine together.

Spoon into the cooled pastry shell and bake for 35 minutes.

Allow to cool completely before removing from the cake tin.

Dulce de Leche

Dulce de Leche

Dulce de Leche is one of those confections that you want to take with you when you go to bed to read. I know, it’s not one of the most romantic thoughts but believe me, a spoon and a jar of this deliciousness will keep you very happy and content on your own. It is a rich caramel sauce that originated in South America and when translated from Spanish, literally means “sweet milk”.

Authentic Dulce de Leche is made by boiling goats milk and sugar together. It is tricky to make and you literally have to watch it the whole time as it easily catches on the heat.

The closest thing that we in South Africa have to it, is the tinned Caramel Treat or “boiled” condensed milk. I have fond memories from my childhood, eating slightly warm condensed milk, cooked for hours in boiling water. I also have memories of frightening stories where the boiling hot cans exploded and traumatised everyone who was around to witness it! Whether these tales are true or not, I have always felt threatened by the idea of making my own caramel. The other deterring factor is of course the pull-cans which makes it impossible to immerse in a pot of boiling water.

Making this thick, gooey yumminess yourself has the advantage of you being able to control how dark and how runny you want the caramel to be. You can control the consistency to make a delicious light caramel sauce which you can pour onto ice cream and desserts or you can opt for a nutty brown colour and produce a true masterpiece for sandwiching cakes, biscuits or as the Spanish do, spread it on your morning toast! This IS a case of home made being far superior to the convenient tinned version…

1 can condensed milk, or two!

Preheat your oven to 180℃.

Decant the condensed milk into a ceramic baking dish and seal it tightly with aluminium foil.

You now need to cook the condensed milk in a Bain Marie which is a simple water bath:

Place the ceramic dish with the foil into a baking tray and pour enough very hot water into it to reach halfway up the sides of the dish.

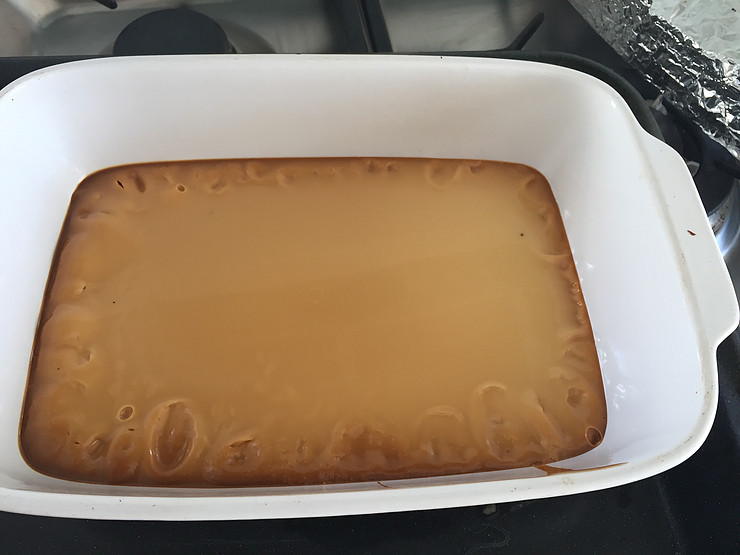
Carefully place the baking tray in the oven and bake for 90 minutes before peeking to see what colour and consistency your caramel sauce is. Keep in mind that the mixture will set when cooled and that it will be a lot firmer than what it is while hot. If you want your caramel darker, simply cover the dish and put it back into the oven.

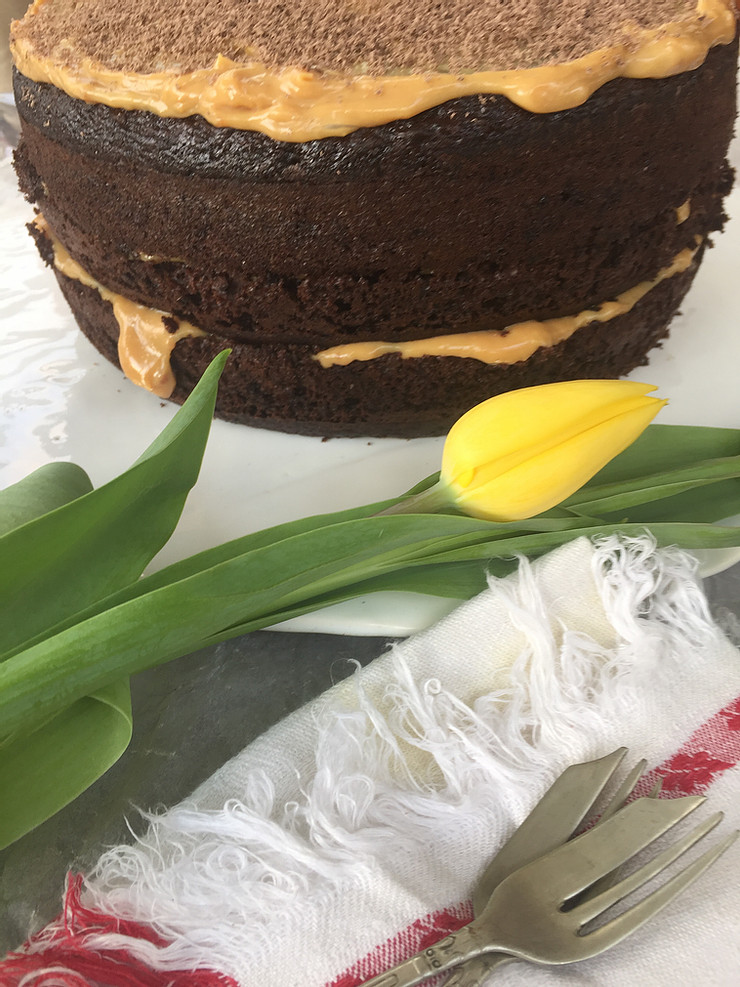
The above photograph is the colour of two tins of condensed milk that has been in the oven for two hours. I like this consistency for sandwiching cakes together as it is easy to spread and does not break the crumb of the cake, but firm enough to hold up.

Once you remove the caramel from the oven, allow it to cool for about 10 minutes before giving it a really good whisk to remove any lumpiness.

Allow to cool completely before decanting it into a glass jar.

The Dulce de Leche can now be stored in the fridge.

Chocolate-mayo Cake

Chocolate-mayo Cake

I’ve always liked the moistness of a chocolate-mayo cake but I found the bite/acidity from the baking powder overwhelming. In this recipe I have replaced the baking powder with bicarbonate of soda and soda water. The cake has retained its moist, soft-crumb texture but is softer on the palette and seem more chocolatey and almost earthy. Give it a try and let me know what you think.

750ml flour

240ml cocoa powder, sifted – yes, do it, it is important!

22,5ml bicarbonate of soda

5 eggs

555ml sugar

7,5ml vanilla

375ml mayonnaise – you need the oil in the mayo, so don’t use a reduced fat mayonnaise

500ml soda water

Preheat your oven to 180℃.

Grease three 22cm loose-bottomed cake tins and line the bottoms with baking paper.

Sift the dry ingredients together and set aside.

Add the eggs, sugar and vanilla to the bowl of a stand mixer.

Beat until the mixture achieves a very light colour.

Turn the mixer down to its lowest setting and add the mayonnaise one spoonful at a time.

Keep the setting on low and add 200ml of the soda water.

Now add the dry ingredients, a spoonful at a time and then finish off by adding the rest of the soda water.

Mix until just incorporated – it is important that all ingredients are incorporated but NOT to over mix!

Divide the cake mixture evenly between the three cake tins and bake for 35 minutes.

Test the cake by inserting a wooden skewer into the centre – it has to come out clean – and remove from the oven if baked.

Cool the cakes on a cooling rack for 15 minutes before removing them from the cake tins.

Sandwich the cakes together with a filling of your choice: Dolce de Leche, chocolate ganache or fruit jam and cream.

“Matiesous” Chicken

“Matiesous” Chicken

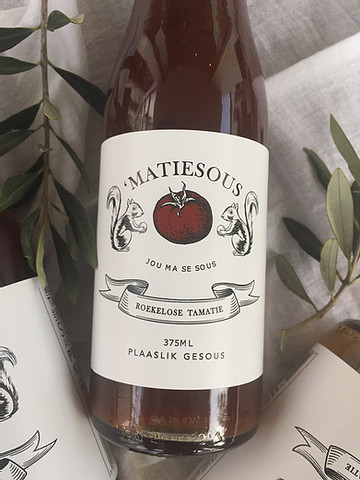
The beautiful historic town of Stellenbosch hosts one of South Africa’s international universities and is lovingly known amongst the students and locals, as Matieland. Matiesous is a sauce born in Matieland but also plays on the word “tamatie”, which is Afrikaans for tomato.

I first came across this unique sauce in a local butchery and whow, what a pleasant surprise! It is tomato sauce, but not quite. It is peach chutney, but not like we know it. It is Asian sweet-and-sour, but has something extra. In short, it is a superb basting/braai sauce; a perfect partner for steamed buns and sweet-and-sour pork; it is an excellent marinade for those chicken skewers on the barbecue and of course, you will need it for this chicken recipe!

6 large chicken breasts

250ml Matiesous

1 tin of chopped tomatoes

125ml olives, pitted, or a whole lot more if you are an olive freak like me!

a small bunch of basil leaves

Preheat your oven to 180℃.

Season the chicken breast with salt and pepper and place them in a casserole dish.

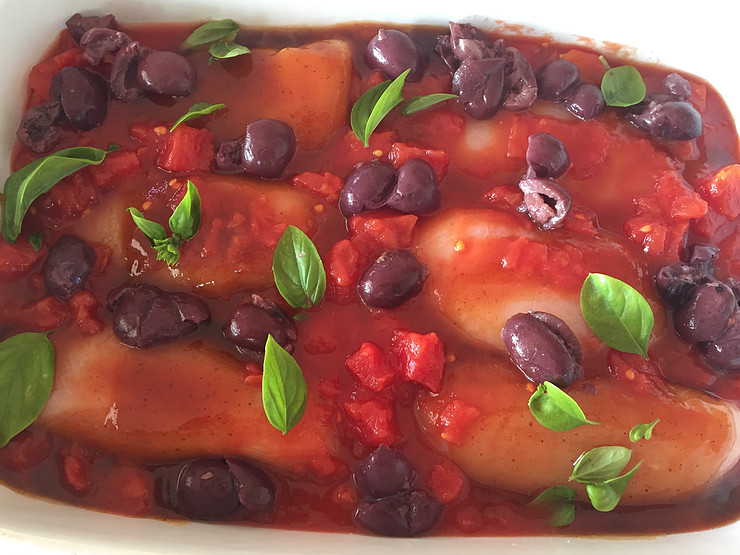
Add the Matiesous, tinned tomatoes, olives and basil leaves to a mixing bowl and stir through.

Pour the sauce into the casserole so that it covers the chicken.

Place a lid on the casserole or seal it with aluminium foil.

Place the dish in the oven and bake for an hour.

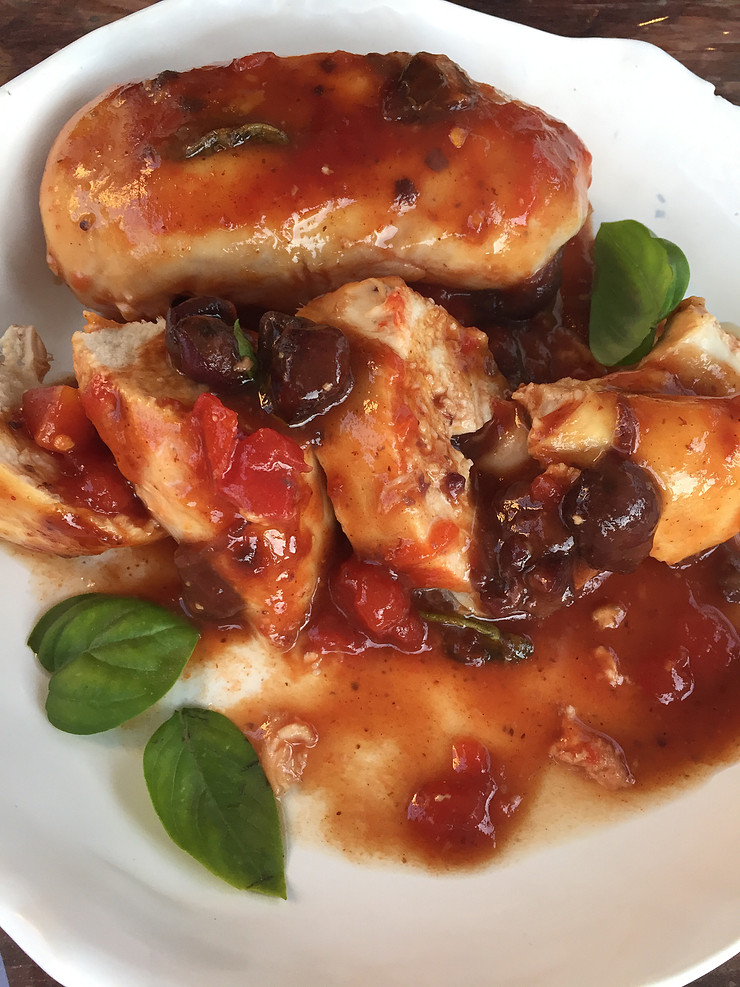
Serve the chicken on its own or with pasta.

Peanut Butter Biscuits

Peanut Butter Biscuits

I love these biscuits for their simplicity. Once you bite into one there is no doubt that they are made from peanuts and if you’re really a lover of nuts, you may even add a few chopped peanuts to the biscuit dough before baking! These biscuits will satisfy a sweet tooth in an instant and as they’re packed with protein, will boost your energy levels. An added bonus is that they’re gluten free.

Makes about twenty biscuits.

250ml brown sugar

250ml peanut butter

1 egg

5ml baking powder

Note 1:

You may use a smooth or crunchy peanut butter, it is up to you. You may also add chopped peanuts to the dough or simply press a whole peanut onto each biscuit before you bake them.

Note 2:

The baking powder in this recipe may be left out. I prefer the mixture with the baking powder as it prevents it from being dense and heavy.

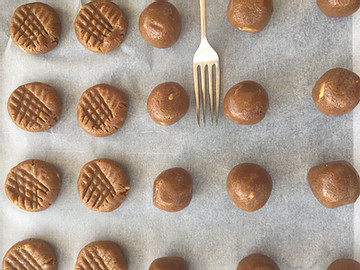
Preheat your oven to 180℃ and line a baking sheet with baking paper.

Add all the ingredients to a mixing bowl and give it a good mix-through.

Place the bowl into the fridge for about 20 minutes to allow the dough to firm up.

Remove from the fridge and start making balls. I use a 15ml measurement spoon to scoop even sized balls.

Place the balls onto the baking paper and press down lightly with the tines of a fork to make the traditional peanut butter biscuit shape.

Bake the biscuits for 9 minutes or until lightly golden around the edges.

Once the biscuits are removed from the oven they will be very soft. Allow them to cool completely before removing them from the baking sheet and storing them in an airtight container.

Aubergine and Lentil Curry

Aubergine and Lentil Curry

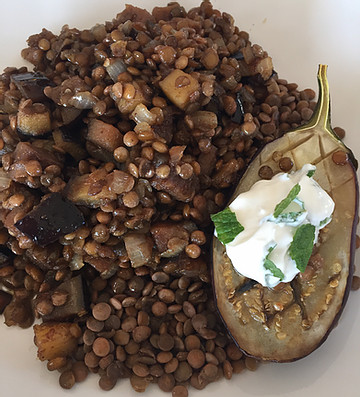
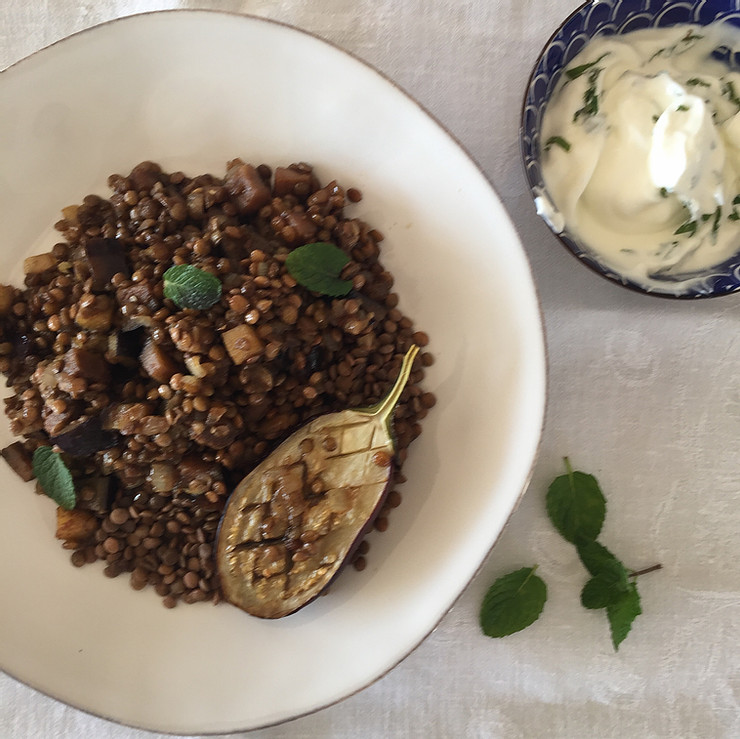
This dish isn’t a curry in the true sense of the word but on the other hand, it isn’t a stew either. It is a quick dish, lightly flavoured with curry… Further, it doesn’t look like much, it doesn’t sound like much, but it really makes up for it all in taste!

I do sometimes spice it up with chilli and when I do so I like to add black beans, but for most part, it is a complete dish as far as nutrition and satisfaction goes and perfect for those days that you want to go meat-free. You may serve it on a grain like cous-cous, quinoa or rice but it really marries well with my Soft Flatbreads. Chop some mint into a bowl of Greek yoghurt and scoop a dollop on top to add some creamy contrast.

2 medium sized onions, chopped

3 large aubergines, diced

60ml mild curry powder

30ml sugar

salt to taste

2 cups of lentils, cooked

oil to fry

Note: If you do not have the time to cook lentils from scratch you may substitute it with canned brown lentils. Do however try to cook your own as they taste better and the texture is completely different.

Put a heavy bottomed saucepan onto the heat and pour in enough oil to cover the base.

Fry the chopped onion, curry powder and sugar over a medium heat until the onion has softened and the curry gives off its fragrance.

Add the diced aubergine to the mixture and let it simmer for about 15 minutes, stirring occasionally.

Add the cooked lentils and turn the heat down slightly.

Stir the mixture and allow the aromas to mingle, for no longer than 5 minutes.

Season with salt and serve.

Soft Flatbread

Soft Flatbread

I often make flatbreads when I look at what I have cooked for dinner and I really need to add something… I also like making them with lazy meals….where you sit around the table with a good glass of wine and even better company and you really only need something to nibble and to linger with over the meal.

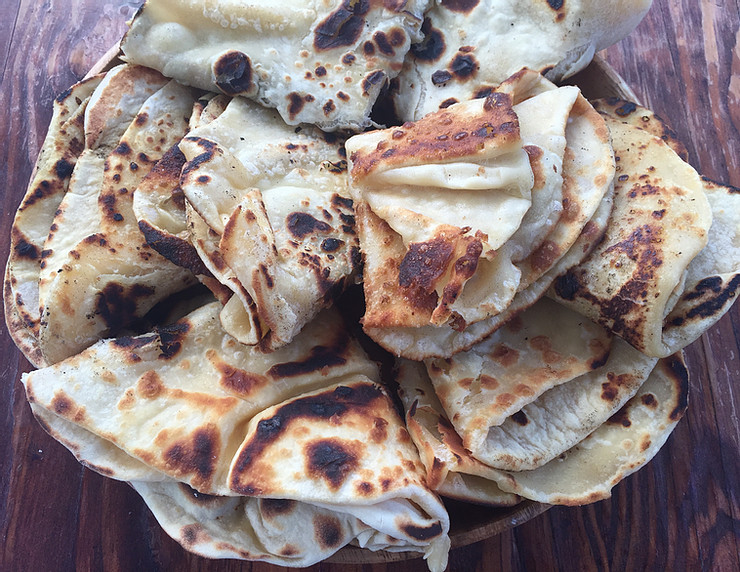
These flatbreads may not be high on eye appeal but believe me, they are soft, buttery and very morish. The recipe makes 8 flatbreads but the dough keeps for three days in the fridge, in case you want to make ahead and cook them at a later stage. Make sure to serve them warm.

1 000ml flour

5ml salt

35ml butter

375ml milk

butter for frying

Add the milk to a small saucepan and put it on the heat. Add the butter.

Take the mixture off the heat once the milk is warm and the butter has melted.

Add the flour and salt to a large mixing bowl and pour in the warm milk mixture.

Bring it together by giving it a mix with a spoon to form a rough dough.

Turn the dough onto a work surface and knead until you have a smooth dough without lumps.

Cover in plastic wrap and let it rest for 30 minutes.

Divide the dough into 8 equal pieces and roll each into circles or a shape that will fit into your frying pan. Don’t worry about the shapes too much, flatbreads need to be rustic!

Put a non-stick pan onto a medium to high heat, add a small knob of butter and place the first flatbread into it. Cook for 1 minute and flip the flatbread in order to cook the other side.

They should be charred but take care not to burn them. Adjust the heat accordingly.

Finish off the rest of the flatbreads and serve immediately.

Roasted Butternut

Roasted Butternut

This is a throw-together rather than a recipe! It is intended to inspire you to prepare your butternut in an alternative, delicious way and by doing so, fill your kitchen with a wonderful, perfumed scent! It is simple, quick and delicious.

Preheat your oven to 190 degrees Celsius.

Cut the butternut in half and discard the seeds.

Peel the outside skin with a vegetable peeler, taking care to keep the natural shape of the butternut.

Place the one half on a chopping board, lengthwise, as in the photograph. Place a wooden spoon on each side of the butternut so that your knife’s blade will hit the two wooden spoons when you make the slits across, without cutting straight through it.

Proceed with all the butternuts you intend to roast.

Now, line a baking sheet with baking paper, place the halved butternut onto it, drizzle it with olive and season with salt and pepper.

Insert bay leaves into the slits you have made.

Roast the butternut until you can insert the blade of a small knife with ease.

I serve each person a quarter, i.e. I slice the halved butternut in two