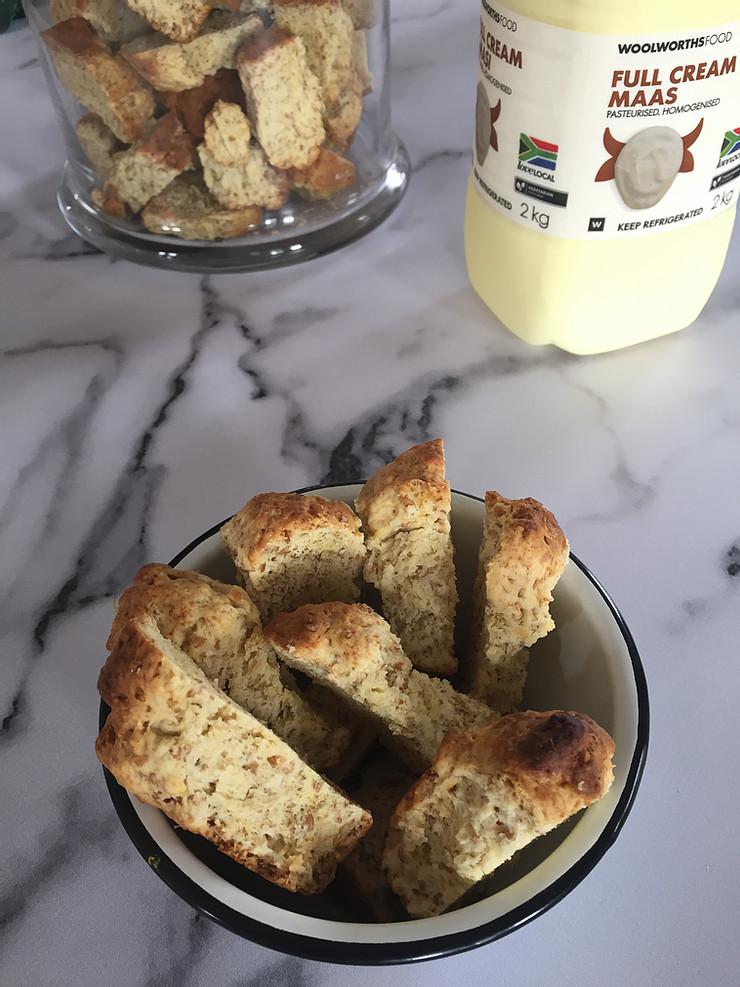
These rusks are melt-in-your-mouth and truly South African. If you can’t get real Amasi you may replace it with cultured buttermilk.
500g cake flour
500g wholewheat flour
125ml sugar
25ml cream of tartar
12,5ml bicarbonate of soda
5ml salt
250g butter
1 egg
450ml Amasi or Cultured Buttermilk
Add the flours, sugar, cream of tartar, bicarb and salt to a mixing bowl and give it a good mix.
Add the butter to a saucepan and melt it on low heat.
Take off the heat and add the Amasi and then the eggs. Give the mixture a good whisk.
Add the wet mixture to the dry mixture to form a dough.
Knead the dough by hand for 5 minutes to evenly distribute the ingredients.
Preheat your oven to 200℃.
Grease a large bread tin and break off pieces of dough, the size of golf balls. Pack them tightly in the bread tin. Keep going until you have no more dough.
Bake the rusks for 25 – 30 minutes.
Once the rusks are cold enough, break them apart and place them on a baking tray. Dry the rusks in a 50℃ oven for about 3 hours.
Cool completely before packing the rusks into a glass container.
This cake is exactly what the name says it is: French simplicity, filled to the brim with chocolate. It is a very flat cake with an intense dark chocolate taste but it has an almost biscuity texture. Of course I mean that as far as cakes go…. I like to serve mine with blueberry compôte but it is delicious with ice cream or Chantilly cream or eaten as is.
4 eggs, separated
100g butter
150g dark chocolate
100g brown sugar
50g cake flour
100g almond flour
a pinch of salt
Preheat your oven to 180℃ and grease a 23cm loose-bottomed cake tin.
Melt the butter in a saucepan over a low heat.
Break the chocolate into small pieces and add it to the melted butter. Stir until the butter and chocolate are completely blended.
Add the brown sugar to the saucepan and stir until the sugar has melted.
Add the flour to the chocolate mixture and stir well before adding the almond flour and stirring to mix, once more.
Take the saucepan off the heat and put to the side.
Add the egg whites and a pinch of salt to a clean mixing bowl and whisk to stiff peaks with an electric beater.
Now stir the egg yolks into the slightly cooled chocolate batter.
Stir one third of the beaten egg whites into the mixture to slacken the texture. Now fold in the rest of the whites.
Spoon the cake batter into the greased cake tin and bake for 30 minutes.
Take the cake out of the oven when its done and allow it to cool in the cake tin for 10 minutes before removing it from the tin.
Place the cake onto a cooling rack and allow to cool completely.
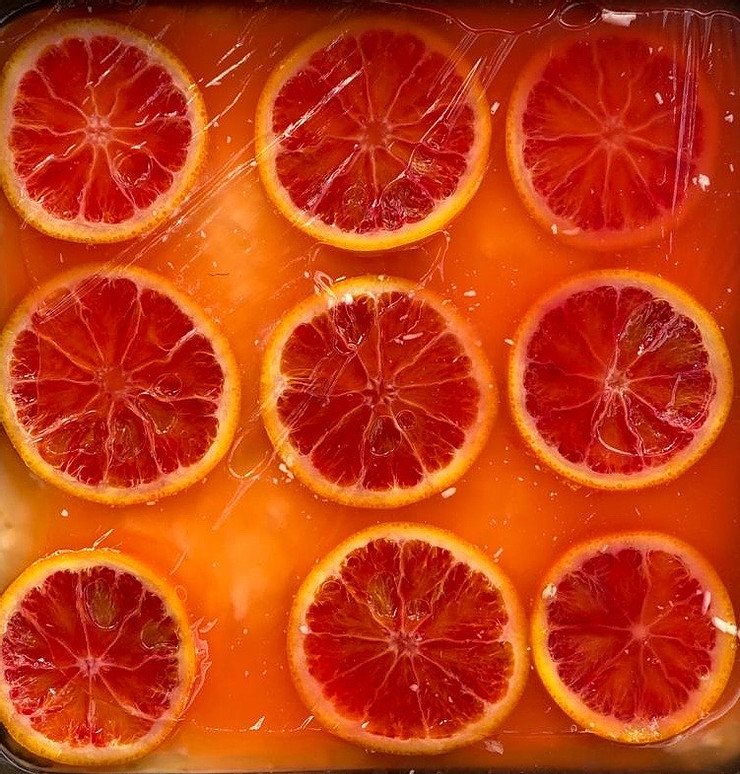
This is such a refreshing and easy cheesecake to make when citrus abounds. I use blood oranges when I can lay my hands on them, but any other orange will work a charm as it is the zing from the citrus that elevates this cake.
For the cake:
250g digestive biscuits
80g butter, melted
500g cream cheese
500g sour cream
100g caster sugar
grated zest of two oranges
You may use a round, square or rectangular cake tin to make the cake
Blitz the digestive biscuits to crumbs in a food processor or put them in a plastic bag and smash them with a rolling pin.
Melt the butter in the microwave.
Add the crumbs to the melted butter and mix thoroughly.
Tip the crumb mixture into your cake tin and press the mixture firmly onto the base of the tin with the back of a spoon.
Refrigerate the base until you need it.
Add the cream cheese, sour cream, caster sugar and orange zest to the bowl of a stand mixer fitted with the paddle attachment.
Beat until smooth, scraping down the mixture, once or twice.
Take the base from the refrigerator and spoon the cream cheese mixture into it, levelling the surface as best you can. This is important as it will affect your top layer.
Cover the cheesecake with plastic wrap and put it back into the refrigerator to set. At least 3 hours.
For the candied orange slices:
Slice two oranges into 0,5cm slices and remove the pips
Add the water and sugar to a small saucepan on a low heat and stir continuously until the sugar has dissolved completely.
Turn the heat up to medium and let the syrup simmer until syrupy.
Turn the heat back to low and add the orange slices.
Simmer the orange in the syrup for 15 – 20 minutes.
Remove the candied slices to a cooling rack to cool completely.
For the gel layer:
60ml cold water
7,5ml powdered gelatine
62ml orange juice
juice of 1 lemon
45ml caster sugar
Pour the cold water into a small bowl and sprinkle the gelatine on top. Leave to bloom.
Add the orange juice, lemon juice and sugar to a small saucepan.
Turn the heat to low and stir until the sugar has dissolved.
Now turn the heat up and bring the mixture to the boil. Simmer for 5 minutes before removing from the heat.
Add the gelatine mixture to the juice mixture and whisk vigorously so that all the gelatine dissolves into the juice.
Allow the mixture to cool slightly and then gently pour it over the cheesecake.
Arrange the candied orange slices on the cheesecake.
Cover the cake with plastic wrap and place it in the refrigerator for at least 4 hours to firm up.
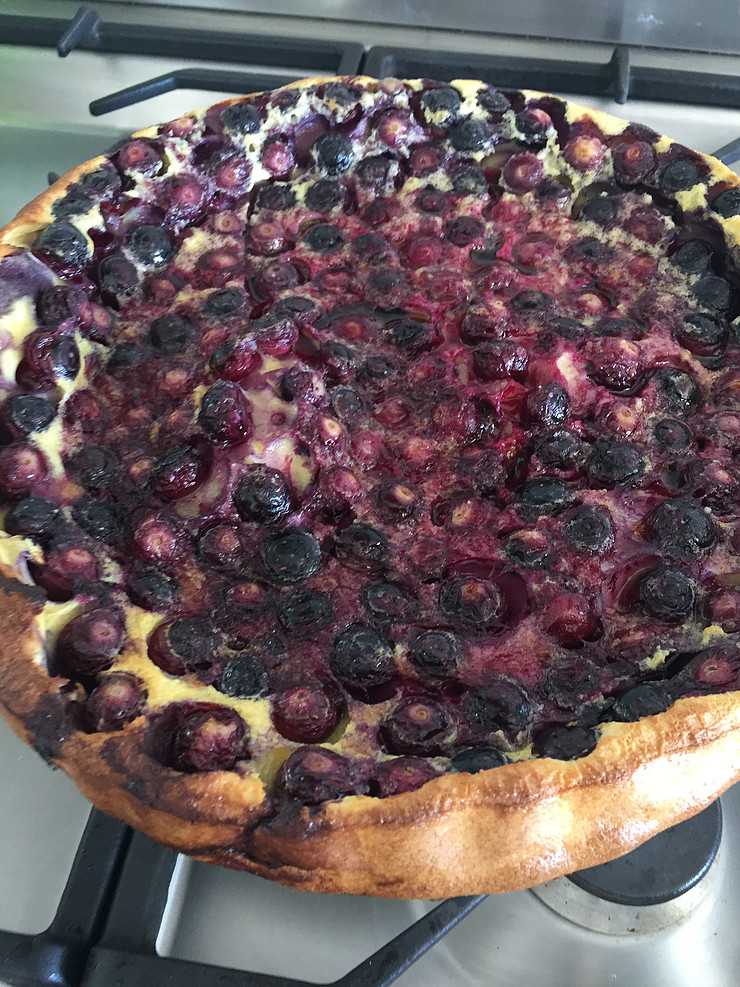
Clafoutis is a traditional French tart made with black cherries. Do not ask a frenchman whether the stones should be removed or left in the fruit….this usually leads to hour-long discussions and at some stage you, the innocent bystander, will be drawn into the debate and believe me, you will make an enemy for life, no matter where you stand on the topic!
Apart from the stone issue, a clafoutis is basically a tart made by placing the fresh cherries into an ovenproof dish and then covering it with a flan-like batter. The texture reminds me of baby Dutch pancakes, but of course you will never say this where your French friends could hear you!
In short a clafoutis is like a chic Parisian: simple, elegant, effortless and makes a lasting impression!
This is my Blueberry version of the classic Clafoutis aux Cerises, that can be found in the inspirational Fait Maison: Gâteaux book. (See the Cook and Book section on this blog to read more about the book. It is only available in French, but easy enough to practise your language skills!)
125ml sugar
125ml flour
3 eggs
5ml vanilla
30ml butter, melted
250ml milk
enough blueberries to cover the bottom of a pie/flan dish
Preheat your oven to 180℃.
Grease a pie dish and fill the bottom with a layer of blueberries. Set aside.
Add the sugar and flour to a mixing bowl.
Whisk the eggs, vanilla, melted butter and milk together in a wide-mouthed jug.
Slowly pour the milk mixture into the dry ingredients while constantly whisking.
Pour the batter onto the berries in the pie dish.
Place in the oven and bake for 35 – 40 minutes.
The clafoutis will puff up in the oven and fall back on itself as it cools.
Allow to cool to room temperature.
I serve my clafoutis as is but you can dust it with icing sugar before serving.
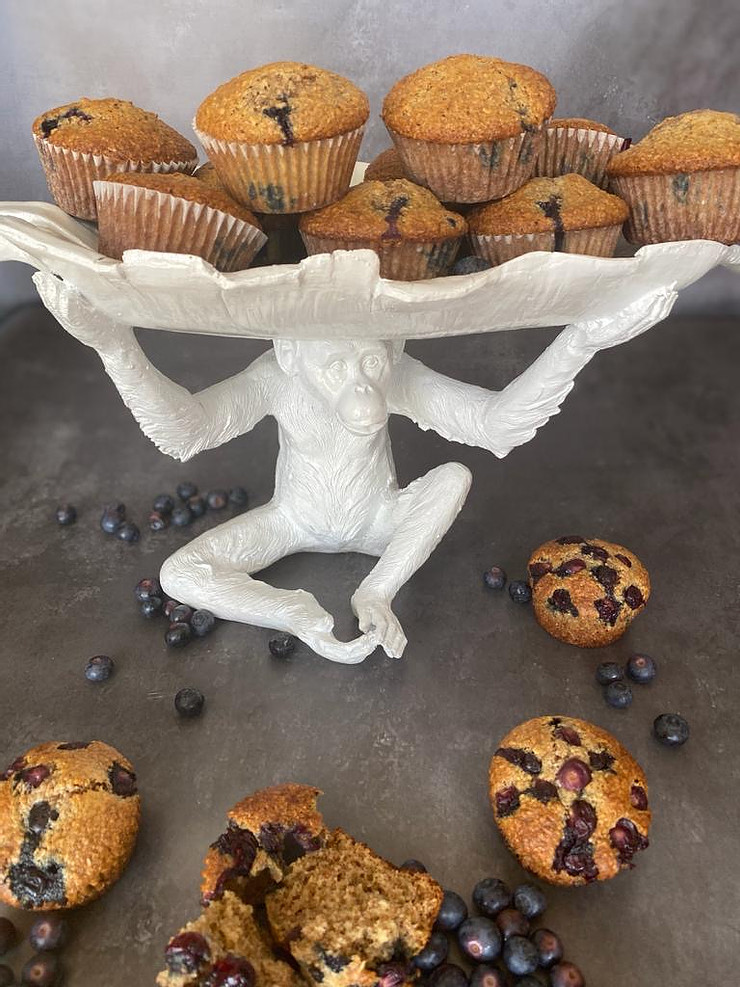
These Blueberry-Bran Muffins are such a crowd pleaser and takes minutes to put together for brunch or that in between, healthy snack. You may replace the blueberries with any other berries or a combination of berries. The recipes makes about 16 standard sized muffins.
300g cake flour
100g bran flakes
300g brown sugar
1,2ml salt
15ml bicarbonate of soda
50ml of milk
2 eggs
450ml milk
100ml vegetable oil
5ml vanilla extract
500ml fresh or frozen blueberries
Preheat your oven to 180℃.
Line two standard muffin tins with paper cups.
Add the flour, bran flakes, sugar and salt to a mixing bowl and mix through.
Add the 50ml of milk and bicarbonate of soda to a small bowl and stir to dissolve the bicarb. Set aside.
Add the eggs to a clean mixing bowl and give them a good whisk. Now add the milk, oil and vanilla and whisk everything together.
Add the bicarb mixture to the egg mixture and then add the liquid mixture to the dry ingredients.
Stir the mixture until JUST mixed through.
Add the blueberries and give the mixture a final mixing.
Spoon the batter into the lined tins to about three quarters full.
Bake for 15 – 20 minutes.
Remove the muffins from the oven and allow them to cool on a cooling rack.
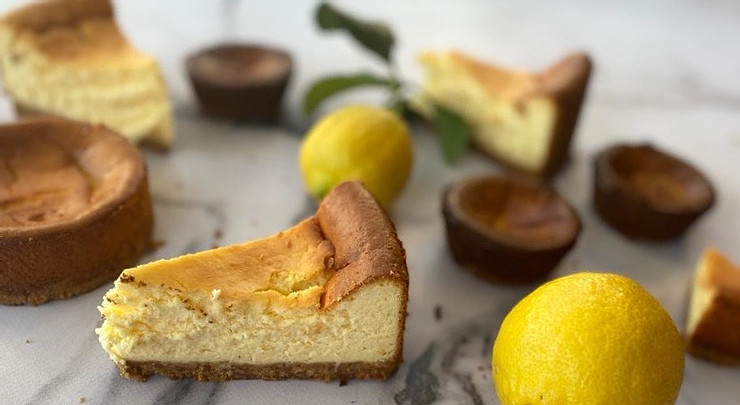
Cheesecake is one of the cakes that have been around for ages, literally! Having been made by the Greeks on the island of Samos to provide energy to the athletes that partook in the first Olympic Games, it can honestly be said that this is a true historic cake that has survived the test of time. There are many variations of cheesecake but one of the “classics” is New York Cheesecake. As everything American, it is bold in taste and looks and has become a benchmark of sorts as far as cheesecakes go.
This is my version of the classic: no water-bath and tons of lemon!
For the base:
250g digestive biscuits
120g butter, melted
You need a loose-bottomed cake tin of at least 25/26cm in diameter. If you do not have one as large, bake it in a 23cm tin and make small versions in muffin tins with the leftover mixture!
Break the biscuits up, place them in a plastic bag and crush them to fine crumbs.
Mix with the melted butter and press firmly onto the base of the cake tin.
Place in the refrigerator to firm up.
For the filling:
230g sugar
45ml cornflour
750g cream cheese
6 eggs, separated
150ml sour cream
150ml cream
2,5ml salt
grated zest of one lemon
juice of one lemon
5ml vanilla extract
Preheat your oven to 170℃ on the conventional/static setting. No fan!
Add the sugar and cornflour to the bowl of a stand mixer fitted with the paddle attachment.
Add the cream cheese and egg yolks and beat until creamy.
Turn the machine to a low setting and with the engine running add the sour cream and cream, a little at a time, giving the ingredients time to incorporate.
Add the lemon zest, lemon juice, vanilla and salt and incorporate.
Add the egg whites to a clean mixing bowl and beat to stiff but not dry, peaks.
Add a third of the egg whites to the cheese mixture and stir through to lighten the batter.
Fold the rest of the egg whites into the batter until evenly mixed.
Take the base from the refrigerator and spoon the cake mixture into it.
Bake for 1 hour 20 minutes.
Turn off the oven WITHOUT OPENING THE DOOR TO PEEK, and let the cake stand in it for another hour.
Now, prop open the oven door with a wooden spoon and leave the cake to stand for another hour. This gradual exposure to cold/room temperature air will prevent the cake’s surface from cracking.
Take the cheesecake from the oven and wrap it tightly in aluminium foil. Place in the fridge for 4 hours.
Dust with icing sugar and serve.
For cheesecakes in muffin tins:
Make a crumb as with the large cake.
Spoon enough mixture into the muffin hole to reach two-thirds of capacity.
I love eating this curry. It is fresh, light and spicy and served with coconut rice, has the perfect balance of spicy, salty, acidity and sweetness. Serve it with coconut rice, topped with a pineapple and mint salsa and you’ll be coming back for more.
1 onion, chopped
2 cloves of garlic, minced
a 2cm piece of fresh ginger, finely grated
15ml curry powder
45ml sugar
5ml ground coriander
5ml ground cumin
10ml turmeric
10ml salt
the juice of one lemon
2 aubergine, diced
half a Pineapple, diced, the other half reserved for the salsa
about 800g chicken breast, cut into strips
250ml yoghurt
1litre stock
1 fresh chilli, finely sliced
2 handfuls of fresh coriander leaves
Put a heavy based saucepan onto medium heat and add a generous amount of vegetable oil, coating the bottom of the pan.
Add the onion, garlic, ginger, curry powder, sugar, coriander, cumin, turmeric and salt.
Gently fry the mixture while stirring it around, until the onion is soft and translucent. Turn down the heat if you have to but don’t rush this stage. You want spices that are cooked through.
Add the lemon juice, aubergine, pineapple and chicken strips and stir it through so that the chicken and aubergine is completely covered in the spice mixture.
Add the yoghurt and stock and bring to a gentle simmer.
Taste the curry and add the sliced chilli if you like the extra heat.
Cook the curry for about 40 minutes or until you are happy with the consistency of the sauce. The longer you cook it, the thicker and more concentrated the sauce will become.
Add the fresh coriander leaves and give the curry a good stir.
Serve with coconut rice and salsa.
For the coconut rice:
I like to use fragrant Jasmine rice. The ratio is usually 250ml rice to 1,5 litres of water. Make your coconut rice by replacing 0,5 litres of water with coconut milk, which is roughly one can. Proceed as per instructions on the packet.
Pineapple salsa:
the reserved half of the pineapple you used in the curry, cut into small dice
1 tomato, cut into small dice
one small handful each of fresh coriander and mint leaves
salt
Add all the ingredients to a small bowl, add a splash of olive oil and mix together.
These simple herby biscuits are a cheat’s version of shortbread. They take no time at all to make and are delicious and refreshing with a cup of tea.
I add chopped thyme to mine but any soft, green herb works well. I use any soft herbs for the decoration on the biscuit, e.g. flatleaf parsley, thyme, oregano, small basil leaves, lavender and even micro herbs.
120g butter, cubed
60g caster sugar
180g flour
25ml fresh thyme (or herb of your choice), chopped very fine
Preheat your oven to 180℃.
Line a baking sheet with parchment paper.
Add the butter and sugar to the bowl of a stand mixer fitted with the paddle attachment and beat until light and fluffy.
Add the flour and herbs and mix to a workable dough with your hands.
Wrap the dough in plastic wrap and refrigerate for 15 minutes.
Roll the dough out on a lightly floured work surface. It should be about 3 mm thick.
Cut out rounds with a biscuit cutter and place a fresh herb leaf on each.
Space the biscuits evenly on the baking sheet and bake for 5 – 7 minutes.
Remove the biscuits and allow them to cool on the baking sheet as they will be soft.
Cool completely on a cooling rack before storing in an airtight container.
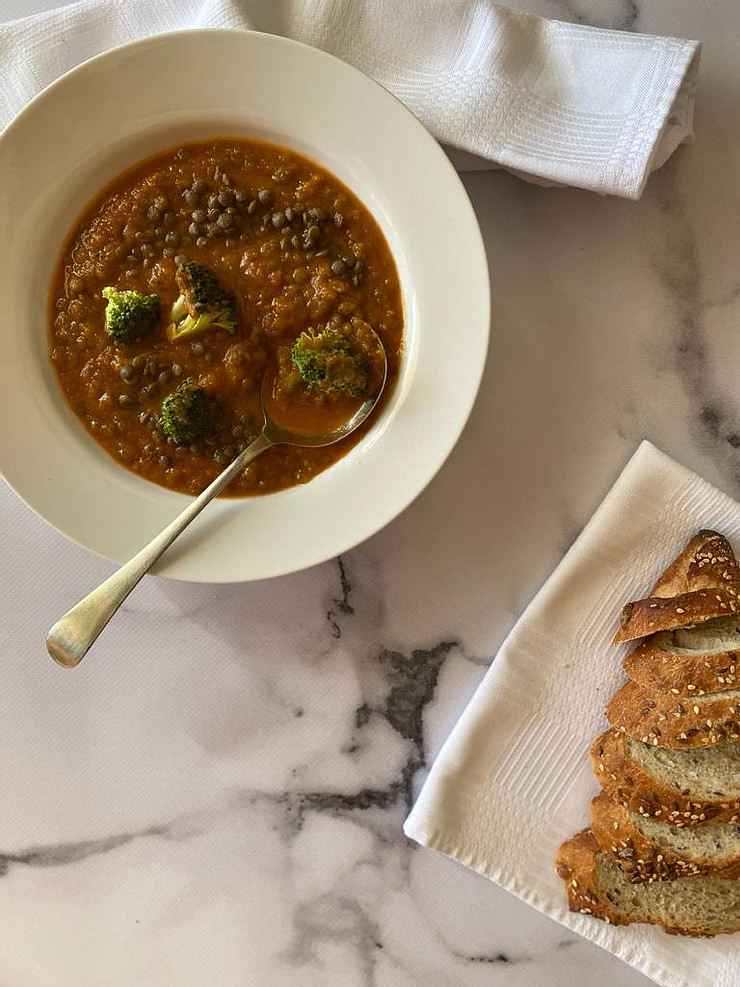
This vegetarian soup reminds one of how the simplest of ingredients can really pack a punch when it comes to taste. It is a delicious winter-warmer and a great way of incorporating almost everything from your vegetable garden!
This recipe feeds six really hungry people…
375ml brown lentils
750ml cold water
60ml olive oil
2 parsnips, diced
2 leaks, sliced into rounds
2 onions, chopped
2 carrots, diced
2 cloves of garlic, minced
bouquet garni, which is basically bay leaf, thyme and rosemary tied together
2 cans of diced tomatoes
1,5l vegetable stock
salt and pepper
500ml broccoli florets
Rinse the lentils and place it in a saucepan with 750ml cold water. Bring to the boil and gently simmer for 20 minutes until cooked but not mushy. Strain.
Add the parsnips, leaks, onions, carrots and garlic and gently sweat it off until the onions and leaks have softened.
Add the bouquet Garni, the tomatoes, vegetable stock and a small amount of salt and pepper, bearing in mind that the soup will intensify in taste as it cooks.
Simmer the soup for one hour. Taste and add seasoning to your taste.
Now, you may keep the soup base as it is or you can blitz it up at this stage. Remove the bouquet garni before blitzing!! I prefer a smooth soup with the broccoli florets and lentils providing the texture.
If you have blitzed your mixture, pour it back into the saucepan and add the lentils and broccoli florets.
Turn the heat back on and simmer for two minutes.
Serve the soup piping hot with fresh, crusty bread and good company.