Glazed Gammon with Plum Sauce

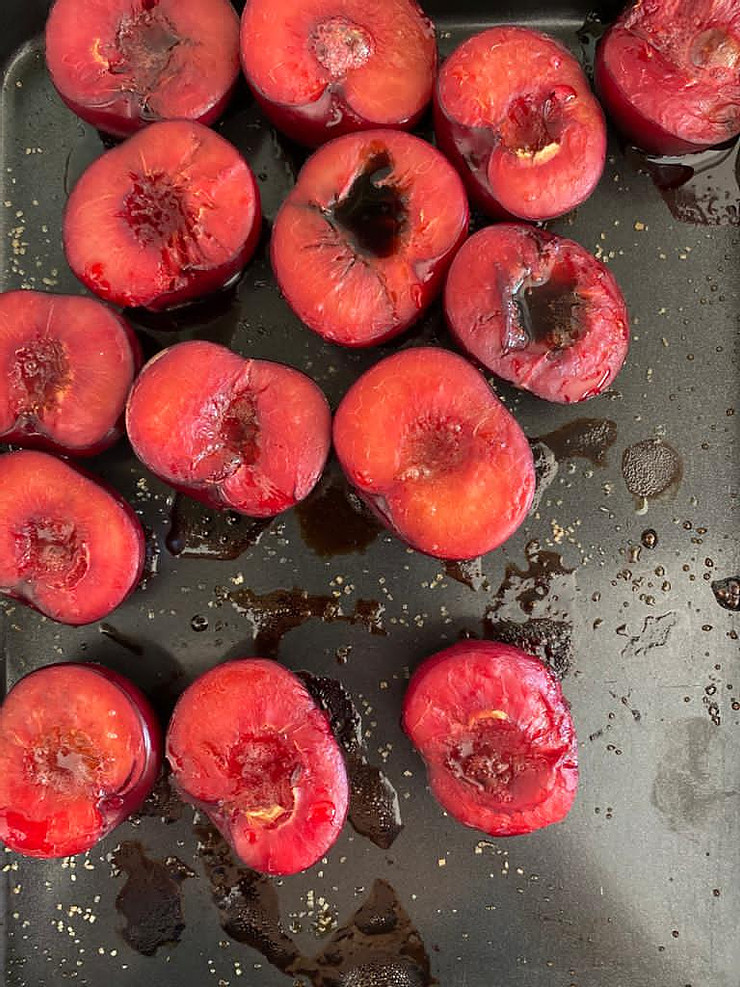
A Christmas lunch in our family would be incomplete without a gammon on the table. I like serving it with a fruit-based sauce and this year I am going with a delicious, tart plum sauce that cuts through the richness of the pork. I halve the plums which are not used for the sauce and roast them in the oven to serve on the side. If you are lucky enough to have leftovers, thin slices of gammon with mustard and rocket make a really good sandwich the next day….
one whole, de-boned gammon, mine was 2,3kg

2 onions, cut in quarters

2 carrots, roughly chopped into chunks

2 bay leaves

10 peppercorns

Glaze:

30ml soy sauce

30ml honey

juice of half an orange

10ml mustard

Plum sauce:

6 plums, pips removed and chopped

30ml balsamic vinegar

45ml brown sugar

zest and juice of one orange

a pinch of salt

3 whole star anise

Making the gammon:

Take out the largest saucepan you have and place the gammon into it.

Cover the meat with cold water and add the onion, carrots, bay leaf and peppercorns.

Bring the water to a boil and then lower the temperature to a simmer. Put on the lid and cook the gammon for 20 minutes of each 500g of its weight. (I had a gammon of 2,3kg which I cooked for 1 hour 40 minutes).

Turn off the heat and leave the meat in the liquid for at least 30 minutes. Remove from the liquid and cool until you can comfortably handle it.

If your gammon was tied in netting, cut it loose with a pair of scissors. Use a small sharp knife to peel off the outer skin, leaving the layer of fat. Score a diamond pattern in the fat.

Line an oven tray with foil and place the gammon in it.

Preheat your oven to 200℃.

Add all the ingredients for the glaze into a small bowl and mix well.

Brush about half the glaze onto the gammon and place the oven tray in the preheated oven.

Roast for 15 minutes and remove from the oven. Quickly brush on another layer of glaze and stick the meat back into the oven for 10 minutes. Repeat the glazing once more but leave the gammon to roast for 20 minutes.

Remove the roasting tray from the oven and allow it to stand for 10 minutes before carving.

Making the plum sauce:

Add all the sauce ingredients to a saucepan and cook over a medium heat until the plums are very soft. (About 10 minutes)

Add the pan juices from the rested gammon to the saucepan and blitz together with a stick blender.

Put the saucepan back onto the heat and simmer until you have a beautiful thick sauce.

Serve the sauce in a separate bowl with the gammon.

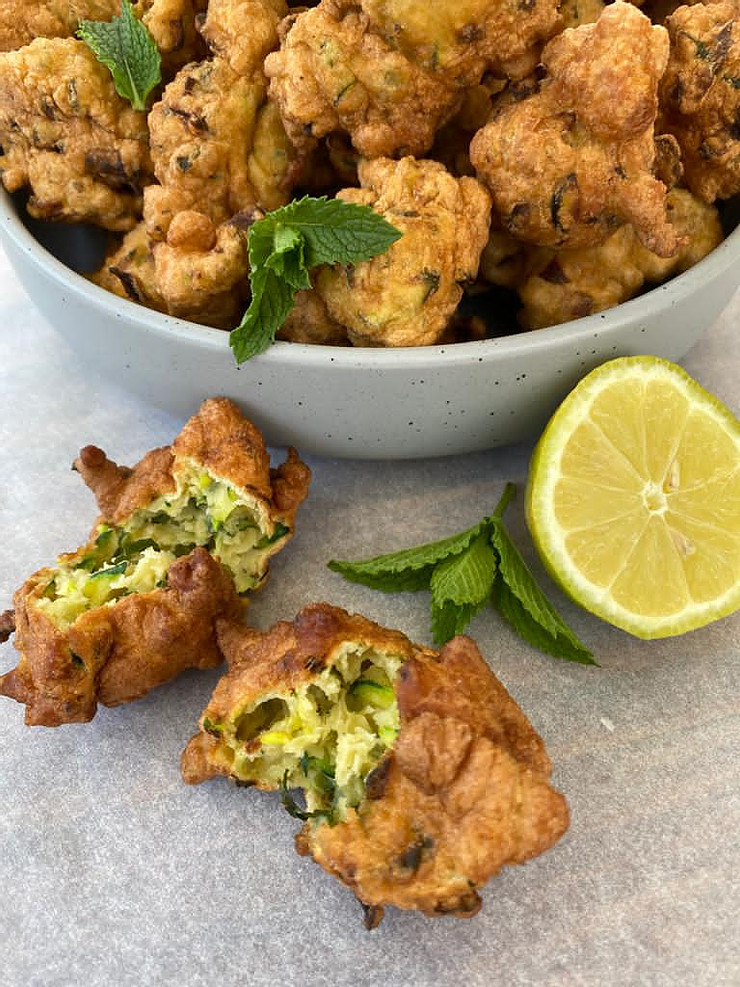
Greek Zucchini Fritters

These zucchini fritters are my staple food whenever I’m in Greece. The zucchini and mint marry perfectly and makes for a memorable snack, in-betweener, breakfast or dinner when served with a tzatziki sauce!! They also pair perfectly with any finger food on a platter or simply as a side to any meat dish.

250ml cake flour

2,5ml salt

5ml baking powder

1 egg, lightly beaten

100ml milk

a handful of mint leaves, chopped

500ml zucchini, grated

Add the flour, salt and baking powder to a mixing bowl.

Add the egg and milk to a jug and give it a good whisk.

Pour the milk mixture into the flour mixture in a thin stream, beating continuously until the ingredients come together as a smooth batter.

Now add the mint leaves and zucchini and stir through.

Heat enough oil to deep fry the fritters at about 170℃.

Scoop a spoonful of batter into the oil and fry until golden. About 3 minutes. Continue until no batter is left.

Drain on kitchen paper.

Serve the fritters with a tzatziki sauce.

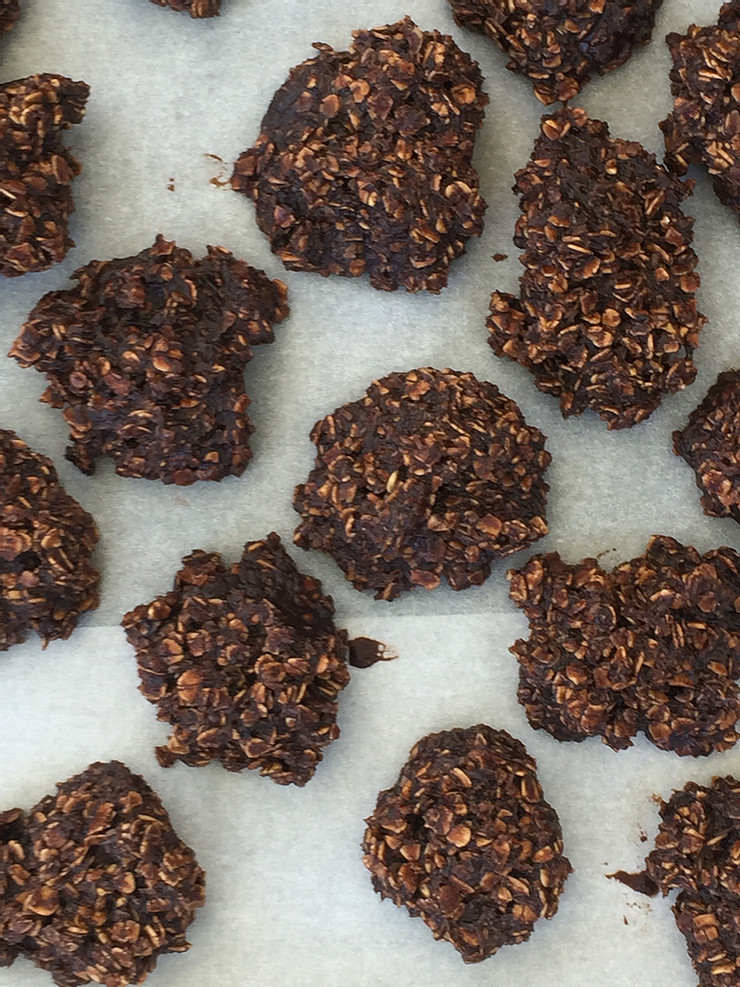
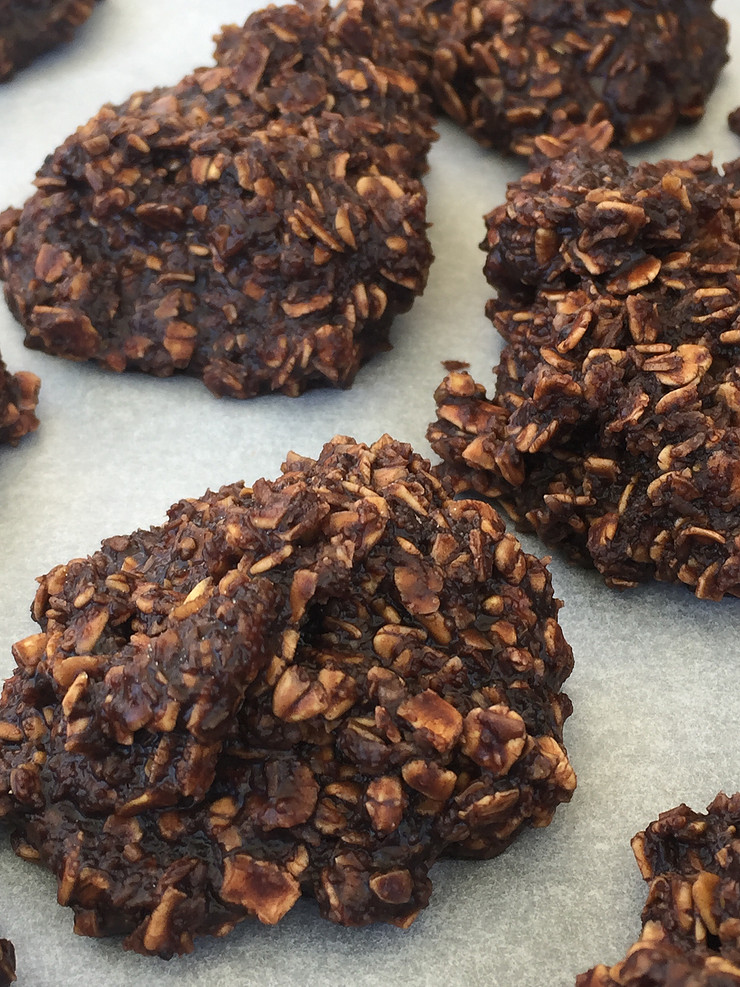
No-bake Oat and Coconut Clusters

These no-bake clusters are effortless to make but ticks all the sweet-cravings boxes. Work quick as the mixture tends to go dry as it cools. Yields about 20 clusters, depending on the size of each.

60g butter

250ml sugar

60ml cocoa powder

60ml milk

5ml vanilla

375ml oats

125ml desiccated coconut

Prepare a large baking sheet by lining it with baking paper.

Add the butter to a small saucepan and melt it over a low heat.

Add the sugar and cocoa powder and stir the mixture so that the sugar can melt.

Add the milk and keep stirring over a low heat for about 2 minutes.

Take the mixture off the heat and add the vanilla, oats and coconut. Mix well.

Spoon teaspoonsful of the mixture onto the prepared baking sheets and allow to cool.

Place the clusters in the refrigerator for 30 minutes before serving.

Keeps best when refrigerated.

Greek Apricot Meatballs

I was given the recipe for these meatballs by a Greek lady Athena, that lives on the island of Paros. They are delicious when eaten at room temperature with a yoghurt and mint dipping sauce, flatbread and salad.

1kg minced lamb

3 cloves garlic, minced

30ml finely chopped fresh mint

30ml thyme/oregano, chopped

250g dried apricots, chopped

10ml salt

2 eggs

Preheat your oven to 180℃.

Combine all the ingredients in a mixing bowl.

Prepare an oven tray by covering the bottom with a very thin layer of vegetable oil.

Shape the lamb mixture into balls that are 3 – 4cm in diameter and arrange them on the baking tray.

Cook the meatballs for 15 minutes, shaking the pan once or twice during cooking, so that the meatballs cook and caramelise evenly.

Serve warm or at room temperature.

The meatballs freeze well and if you are prepping them for another day, allow them to cool completely and pack them into a zipper plastic bag. Simply defrost them at room temperature when you need to serve them. They should defrost within two hours.

Jelly Tot Balls

Quick and easy to make, these snacks look beautiful packed into a glass container. Tie a ribbon around as a last-minute gift!

The recipe makes about 30 balls.

315g desiccated coconut

160g Jelly Tots

220g caster sugar

5 egg whites

Preheat your oven to 180℃.

Line a baking sheet with baking paper.

Mix all the ingredients together with a spatula.

Scoop some mixture into your hands and shape it into balls about 3cm in diameter. Press the balls tightly – they do tend to be brittle at this stage. Arrange on the baking sheet.

Bake for 10 minutes.

Allow the balls to cool on the baking sheet.

Store in a glass container.

Caprese Salad

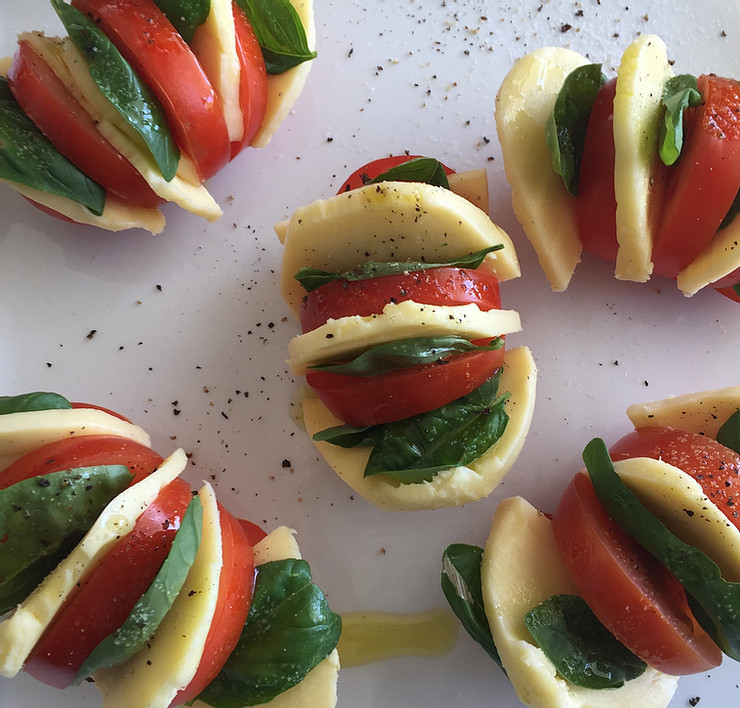
This classic Italian salad is always a crowd pleaser and can be adapted to suit the occasion. Insalata Caprese literally translated means Salad of Capri, as this is where the idea originated. The classic salad is prepared by layering alternating slices of tomato and mozzarella, adding a basil leaf between each, on a large shallow platter. To round it off, it is drizzled with olive oil and seasoned with salt and pepper.

When I have guests I like preparing an individual caprese for each person, but still present it on a platter. Simply slice a tomato without cutting it through and add the mozzarella and basil.

An al fresco platter that really works well and adds some substance to the meal is to add cooked artichoke and/or grilled zucchini.

Another variation to this classic is to drizzle with a balsamic reduction or one of my favourites, to drizzle some basil pesto over the salad.

Whatever your variation, serve your summer platter with some crusty baguette, focaccia or ciabatta to make an easy stress-free meal.

Traditional Coffee Biscuits

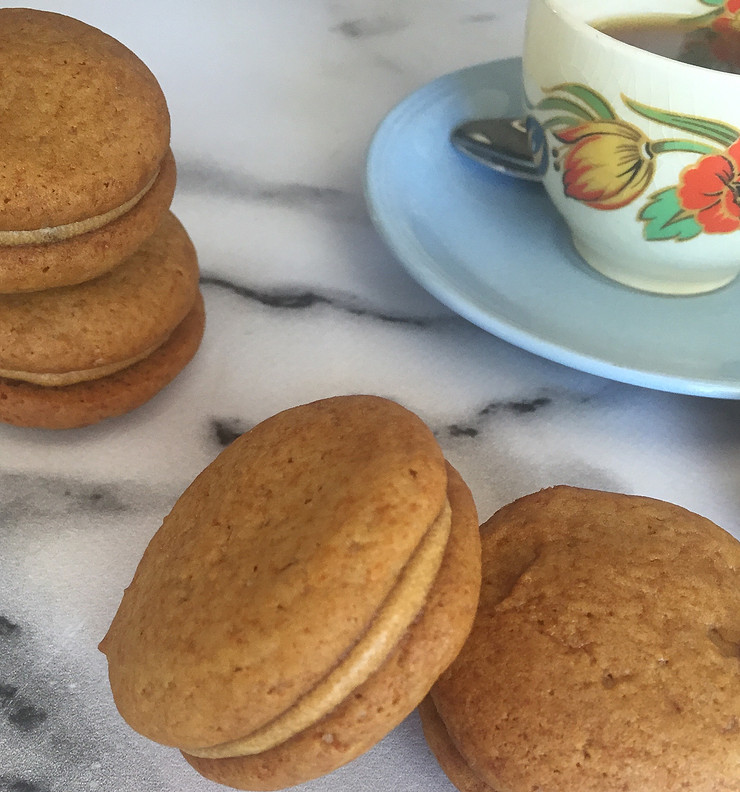
Many South African families have memories of cake tins filled to the brim with these coffee biscuits. They are delicious sandwiched together with a coffee filling but as good, as a single biscuit. Do take care when storing the sandwiched biscuits, they do tend to become soggy after a week.

125g butter, room temperature

125ml brown sugar

125ml golden syrup

80ml strong coffee

5ml vanilla

560ml flour

10ml bicarbonate of soda

Preheat your oven to 160℃ and grease two large baking sheets.

Add the butter and sugar to the bowl of a stand mixer fitted with the paddle attachment and beat until creamy and fluffy.

Add the golden syrup with the engine running and then add the coffee and vanilla. Mix until incorporated.

Sift the flour and bicarbonate of soda in a mixing bowl and add spoonfuls to the butter mixture while continuing to beat the mixture.

Now scoop a teaspoon of the mixture into your hands and shape into a ball about the size of a walnut. Space the dough balls evenly on the baking sheets and flatten them slightly with your fingers or the tine of a fork.

Bake the biscuits for 15 minutes.

Allow the biscuits to cool on the baking sheets for 5 minutes before transferring them to a clean tea towel to cool completely.

You may keep the biscuits as they are, as singles, or sandwich them together with a coffee filling.

Coffee filling:

30g butter

about half an egg yolk (I know, but one full yolk is too much!!)

250ml icing sugar, sifted

5ml instant coffee

30ml milk

Add all the above ingredients to a small mixing bowl and beat together by hand.

Eat the sandwiched biscuits within one week as they tend to become soft when kept for longer.

Chocolate Chip Rusks

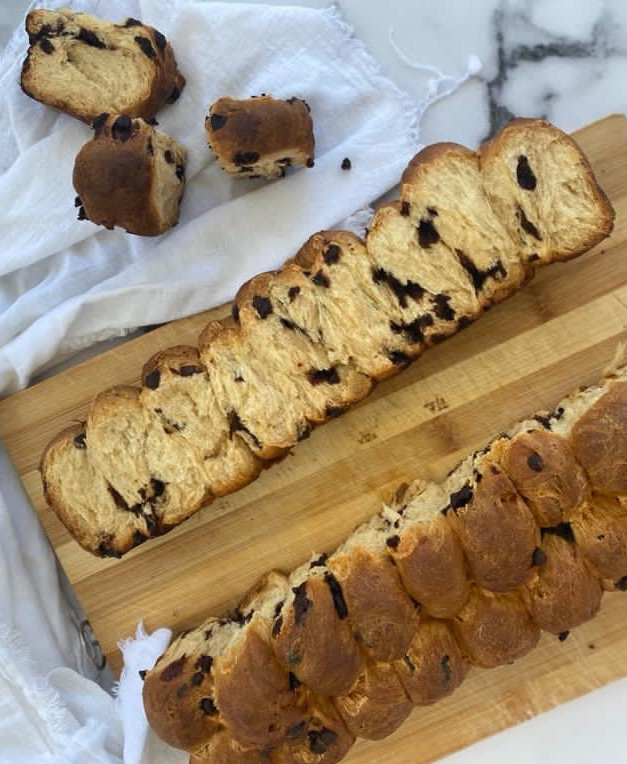
This recipe provides for a very large batch of rusks – half it if you wish or bake it all and and share amongst your friends.

750ml boiling water

250g butter, cubed

1 tin condensed milk

250ml sugar

30ml salt

4 eggs, lightly beaten

30g instant yeast

2,5kg flour

250g chocolate chips

Pour the boiling water into a very large mixing bowl and add the cubed butter.

Stir until the butter has melted.

Add the condensed milk, sugar, salt and eggs.

Dissolve the yeast in about 50ml lukewarm water and add it to the butter mixture.

Cover the mixture with a tea towel and allow to stand for one hour.

Add the flour and chocolate chips to the wet ingredients. Knead the dough for 10 minutes.

Cover the bowl with a tea towel and allow to proof for another hour.

Preheat your oven to 170℃ and grease three large bread loaf tins.

Pinch off pieces of dough the size of golf balls and pack them tightly in the prepared tins.

Cover the tins a last time and proof for 20 minutes.

Now bake the rusks for one hour.

Once the rusks have cooled down, break them into individual pieces, pack them on a baking sheet and dry them overnight (6 – 8 hours) in the oven at 50℃.

Store the rusks in an airtight container.

Sticky Chicken Wing Marinade

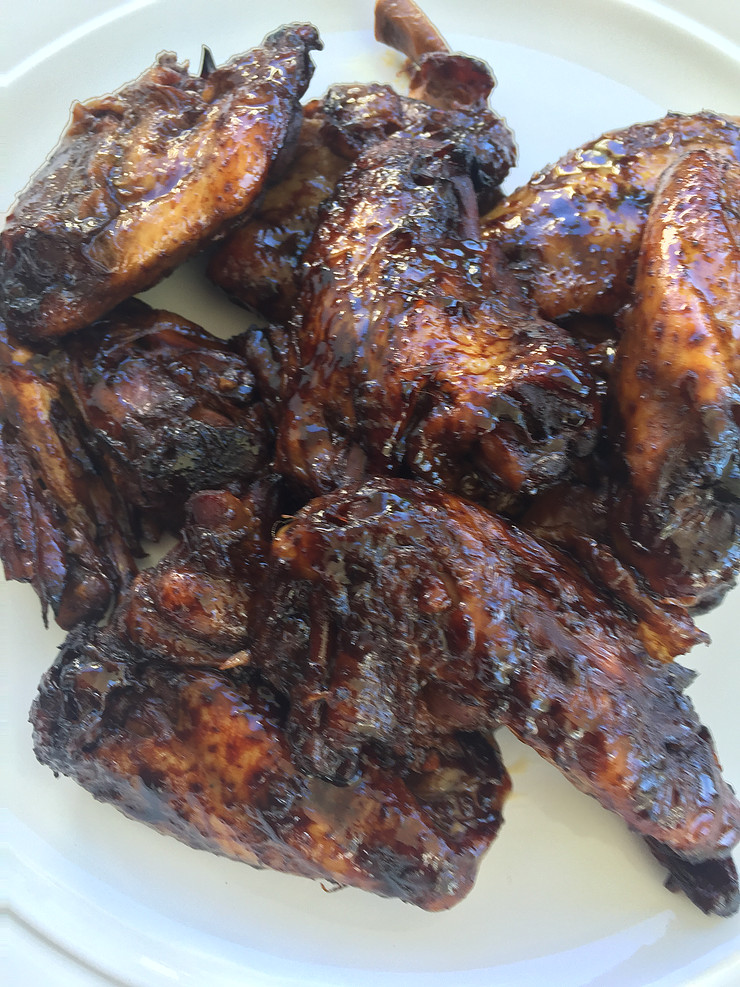
Any chicken that is dry is a disaster and especially so when it comes to wings. I pre-cook my wings, marinade them, at this stage it may or may not be frozen and then when I grill them to char, I baste them with the marinade. This recipe guarantees you delicious, moist wings that stick to your fingers.

24 – 30 chicken wings

125ml olive oil

125ml soy sauce

125ml honey

125ml chilli sauce (or sweet chilli sauce if you are not fond of the heat)

juice of 2 limes

3 garlic cloves, minced

Fill a very large saucepan or stock pot with chicken stock, bring it to the boil and drop the chicken wings in it. Allow to simmer for 20 minutes.

In the meantime, mix together the rest of the ingredients and pour the marinade into an oven tray.

Once the wings are done cooking, scoop them out of the stock and directly into the marinade. Scoop the marinade over the wings so that all of the wings are covered in sauce. The quicker you get the wings from the stock to the marinade, the less time for the chicken to dry out.

Leave the wings to cool in the marinade, turning them once or twice.

Once the chicken has completely cooled, you may wrap the oven tray with plastic wrap until you are ready to grill them or you may at this stage store the wings and the marinade in a resealable bag and freeze until needed.

If you are cooking the wings on an open fire you will need medium to hot coals. Baste the wings with the leftover marinade until beautifully charred and sticky.

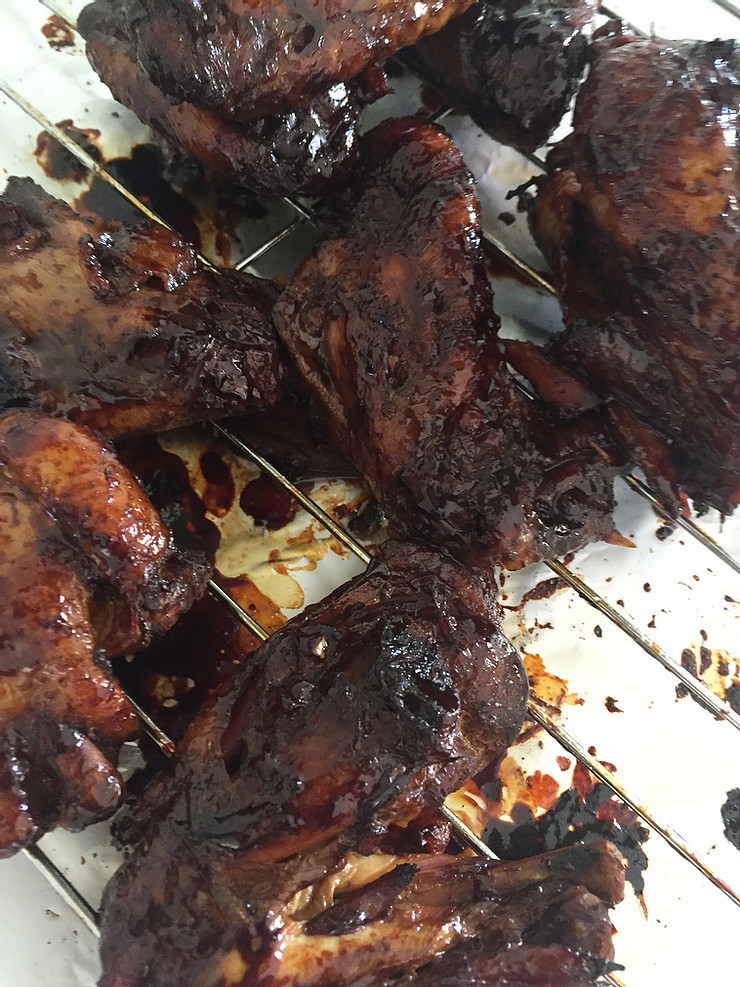
If you opt to cook the wings in an oven: preheat your oven to 200℃, place the wings on cooking racks and cook for 5 minutes. Baste and turn the wings and cook for another 5 minutes.

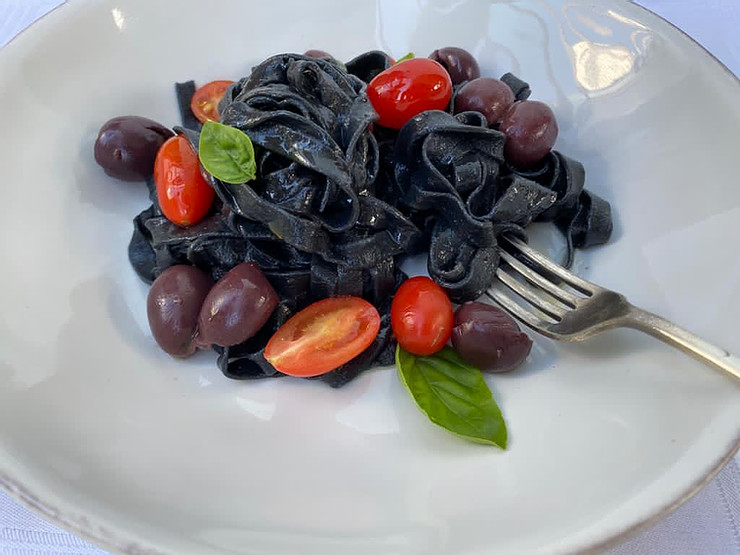
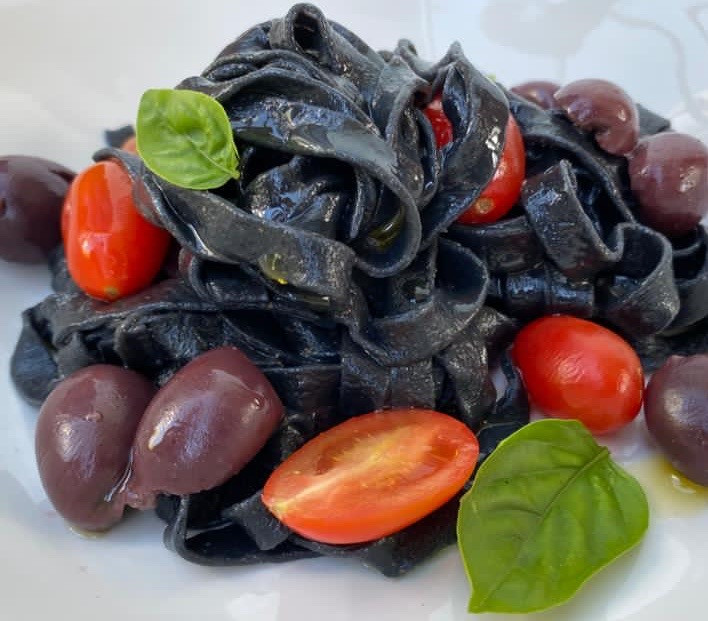
Vegan Charcoal Tagliatelle

Impress your dinner guests with this easy to make activated charcoal tagliatelle. Much easier to work with than squid ink, activated charcoal has claims to benefit your digestive tract. You can buy Activated Charcoal from health shops but a few supermarkets also keep it. The recipe provides for 4 – 6 portions.

500ml bread flour

15ml activated charcoal powder

1,2ml salt

about 250ml water

Add the bread flour, charcoal and salt to a large mixing bowl and stir through with your hands.

Start adding the water to the flour mixture. Do not add all of the water at once as it might be too much liquid. Add some water, mix through, if you need more water add some and mix through….. You should have enough water for the dough to come together comfortably without it feeling and sounding soggy. Remember: you can add more water if you need it but you can not remove it.

Now transfer the dough to a work surface and knead it for a full 5 minutes. If you rest/cheat in between, you should knead some more. You are looking for a silky smooth dough that springs back when you lightly indent it with your finger.

Wrap the dough in plastic wrap and allow it to rest at room temperature for 30 minutes.

Put the dough through your pasta machine and then through the tagliatelle cutter.

Bring a large saucepan of salted water to the boil and add the pasta. Cook for 2 – 3 minutes.

Drain the tagliatelle and drizzle with a good olive oil.

Serve with fresh tomato, basil and olives.