Hi and welcome to my blog! My name is Karen and I love cooking simple, uncomplicated, flavourful food. My cooking is inspired by seasonal ingredients, punchy flavours, an awareness of sustainability and of course by the likes and dislikes of my family and friends that sit around my table as well as you, the virtual guests around my table!
I am a chef, recipe developer and food stylist and generate my own content. I am also completely addicted to recipe books, of which I have an extremely large collection but the essence of my food is about celebrating life and all the fabulousness that we can add by creating good food.
Thank you for reading my blog. Please keep on giving me feedback and may your kitchen, as mine, be filled with joy and the best tasting food!
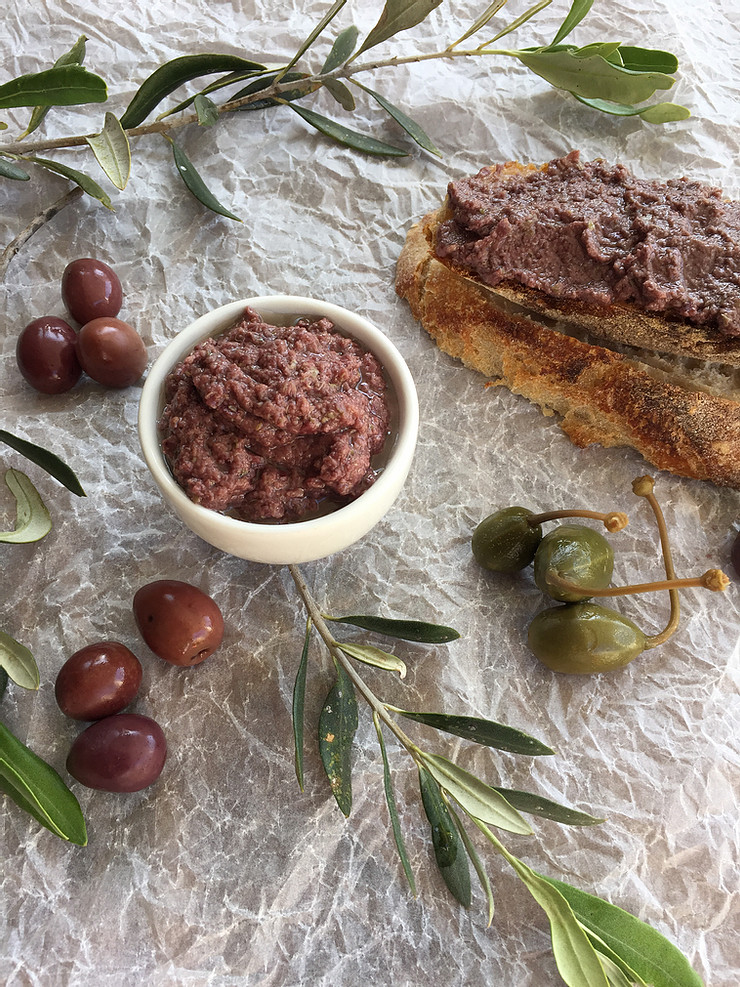
Olive tapenade is such a versatile staple to have in your refrigerator during the long summer months … serve it as an appetiser with crostini or crusty bread; as a dip to crudités; spoon a dollop on top of fish before baking it in the oven; stuff some portobello mushrooms or mix it into your pasta sauce, to add some depth of flavour. Easy, quick, delicious – you can not ask for more!
250ml black olives, pitted
2 anchovy fillets
45ml capers
80ml olive oil
Add the pitted olives, anchovies, capers and half of the olive oil to a food processor. Blitz together.
Now, taste the tapenade and think about what you want to use it for: do you want something that will “sit” on a crostini or are you going to use it as a dip. Decide on the texture and then add more olive oil if you prefer.
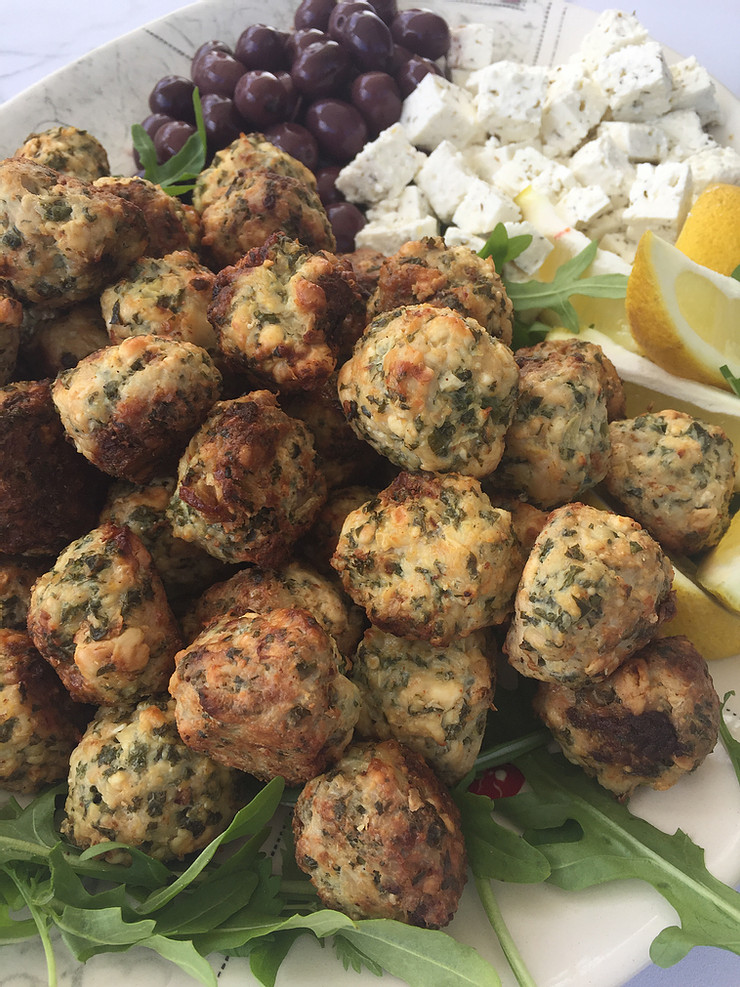
Spinakopita in its original form is one of my favourite meals but combining the essence of this Greek classic with minced chicken, makes a complete meal out of it. This is my “stoep”-platter. My version of the perfect al fresco dinner served with a glass of wine, shared on the patio with friends.
I often make a few batches of these meatballs and freeze them for emergencies. Add some freshly baked pita bread or flat bread, a tzatziki sauce and you will have a delicious summer meal!
6 cloves of garlic, minced
500ml chopped spinach, stalks removed
the zest of one lemon
2,5ml salt
2,5ml smoked paprika
125ml feta cheese, crumbled
1 egg
500g chicken, minced (I mince chicken breasts in a food processor)
Preheat your oven to 180℃.
Prepare an oven tray by covering the base with a thin layer of vegetable oil.
Combine the garlic, spinach, lemon zest, salt, paprika and feta cheese in a mixing bowl.
Add the egg and minced chicken and mix thoroughly.
Scoop up some of the mixture (I use my 15ml measuring spoon for this) into your hands and press it into a ball.
Arrange the balls on the oiled oven tray, spacing them about 3cm apart.
Bake for 20 minutes, shaking the tray and turning the meatballs halfway through the baking time.
Serve hot or cold with olives, tomato, lemon wedges and feta cheese.
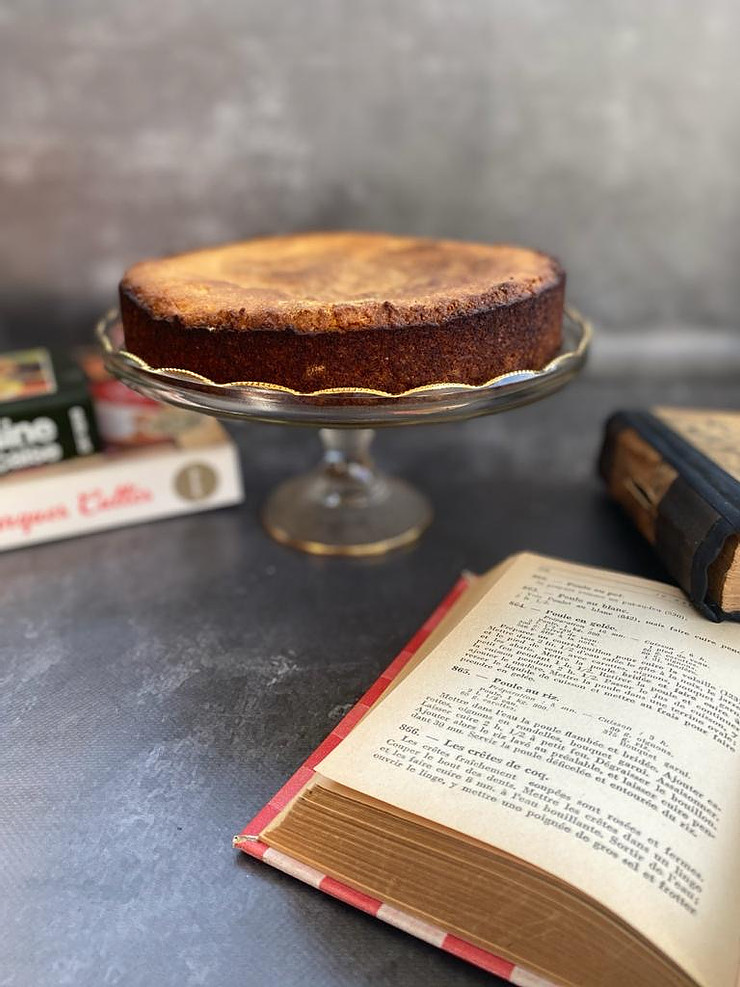
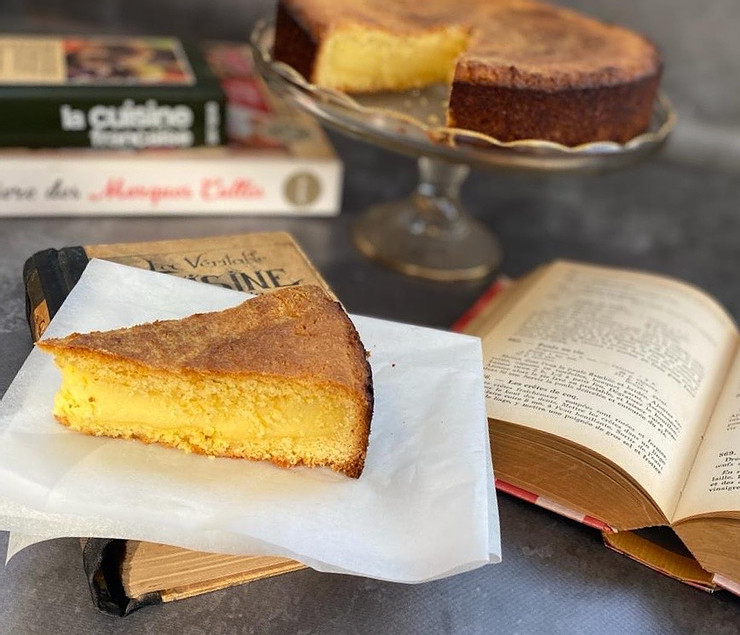
From a South African point of view, this is the French version of traditional Milktart. It is a beautifully smooth custard enveloped by an almond (and Keto friendly) pastry. Delicious on its own or served as a substantial dessert.
Pastry:
500ml cake flour
83ml almond flour
7,5ml baking powder
2ml salt
250ml sugar
165g butter
3 egg yolks (you can use the egg whites to make my Mini Pavlovas)
45ml water
5ml vanilla
Filling:
160ml sugar
45ml corn starch
5ml vanilla
6 egg yolks
380ml milk
250 double thick cream
Pastry:
Preheat your oven to 200℃.
Prepare a 25cm loose-bottomed cake tin by greasing and lining it with baking paper.
Add the flour, almond flour, baking powder, salt, sugar and butter to the bowl of a food processor and blitz the mixture until incorporated.
Mix the egg yolks, water and vanilla in a bowl, and with the food processor running, add the mixture in a thin stream.
Blitz until everything comes together into a dough.
Take two thirds of the dough mixture and roll it to about 4mm thickness, on a lightly floured work surface.
Line the bottom and sides of your prepared cake tin.
Keep the third that you have not utilised covered until later.
Filling:
Beat together the sugar, cornstarch and egg yolks in a mixing bowl and put aside.
Pour the milk and cream into a saucepan and bring to the boil.
Now pour the milk mixture onto the sugar and egg mixture in a thin stream, all the while whisking.
Immediately pour the mixture back into the saucepan and place it on a low heat. Stir continuously until the mixture is thick and smooth.
Allow to simmer for 5 minutes while stirring.
Take the saucepan off the heat and stir through the vanilla.
Pour the thickened mixture into the pastry-lined cake tin and allow to cool for about 5 minutes, so that you don’t have a steaming filling!
Now roll the remaining third of the pastry to 4mm thickness and carefully place it on top of the custard mixture.
Press and seal the pastry “lid” and cut off any excess pastry.
Score the cake on top with a sharp knife if you like.
Bake the cake for 20 minutes in your preheated oven, and then lower the temperature to 180℃ and bake for 15 minutes more.
Tofu that is pan-fried usually “leaves behind” the crispy, caramelised bits in the pan and it is exactly those left-behind bits that have all the flavour! This oven-baked method will ensure you of a crispy tofu that is deliciously soft on the inside. It is a quick, easy and versatile way of preparing this popular protein.
Serve it as a snack with cocktails, add it to wraps or tacos, a salad or pile it onto some stir-fried veg.
350g firm tofu
15ml olive oil
15ml soy sauce
30ml cornstarch
Preheat your oven to 190℃.
Line a baking tray with parchment paper and set aside.
Cut the tofu into bite-sized squares of about 1,5mm and place it in a mixing bowl.
Sprinkle over the olive oil and soy sauce and mix through with your hands.
Now sieve the cornstarch onto the tofu and once again mix with your hands so that all the tofu is covered in a thin layer of cornstarch.
Spread the tofu onto the baking sheet in an even single layer.
Bake for 25 minutes, until golden brown and crispy.
I drizzled my tofu with Babylontoren’s Strawberry Kasundi as soon as I took them from the oven, to add even more flavour.
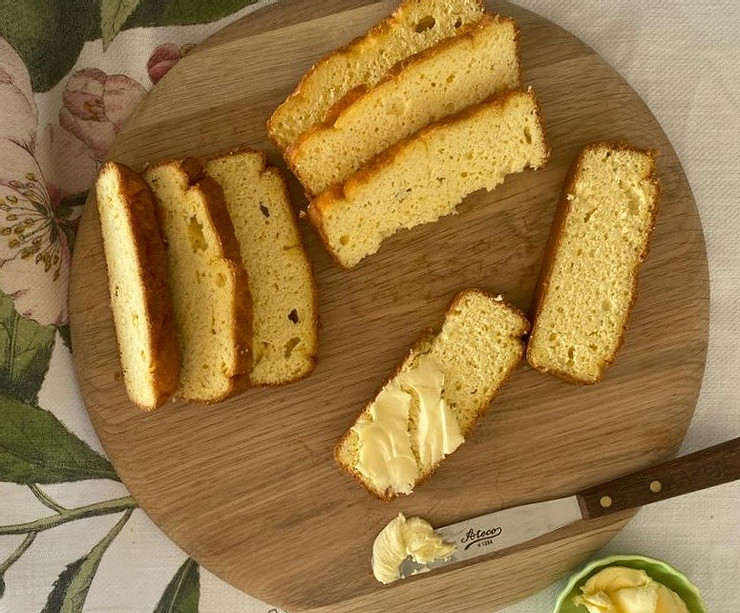
Most themed or sculptured cakes have more icing on it than your average tea-time cake, whether you opt to make use of butter icing or, as in this case, plastic icing and royal icing. Because of the added weight, cakes often sag. This cake recipe is “icing friendly” and can bear the load. It has a fine crumb and stays fresh for 2 -3 days.
I freeze my cakes before sculpting as it prevents the cake from breaking.
330g butter, room temperature
550g granulated sugar
5 eggs
5ml vanilla
660g cake flour
1,2ml salt
250ml milk
Preheat your oven to 180℃.
Line the cake tin which has the shape you want to make use of with aluminium foil, shiny side down and spray it with baking spray. This enables you to remove the cake from the pan and freeze it as it is, before sculpting it into your chosen theme.
Add the butter and sugar to the bowl of a stand mixer, fitted with the paddle attachment.
Cream the butter and sugar, scraping the mixture down once or twice, until light and fluffy.
Add the vanilla and then the eggs, one at a time, incorporating them into the butter mixture.
Sieve the dry ingredients into a separate bowl.
Measure the milk into a jug.
Turn the mixer onto a slow to medium speed and alternately add the dry ingredients and the milk, starting and ending with the dry ingredients.
Scoop the batter into the baking tin. The tin should be about two-thirds full.
Bake for an average of 35 minutes, BUT CHECK THE CAKE AS YOU MIGHT HAVE A DEEPER TIN.
When a wooden skewer comes out clean after being inserted to the centre part of the cake, you may remove the cake from the oven.
Cool the cake on a cooling rack before freezing to shape/sculpt.
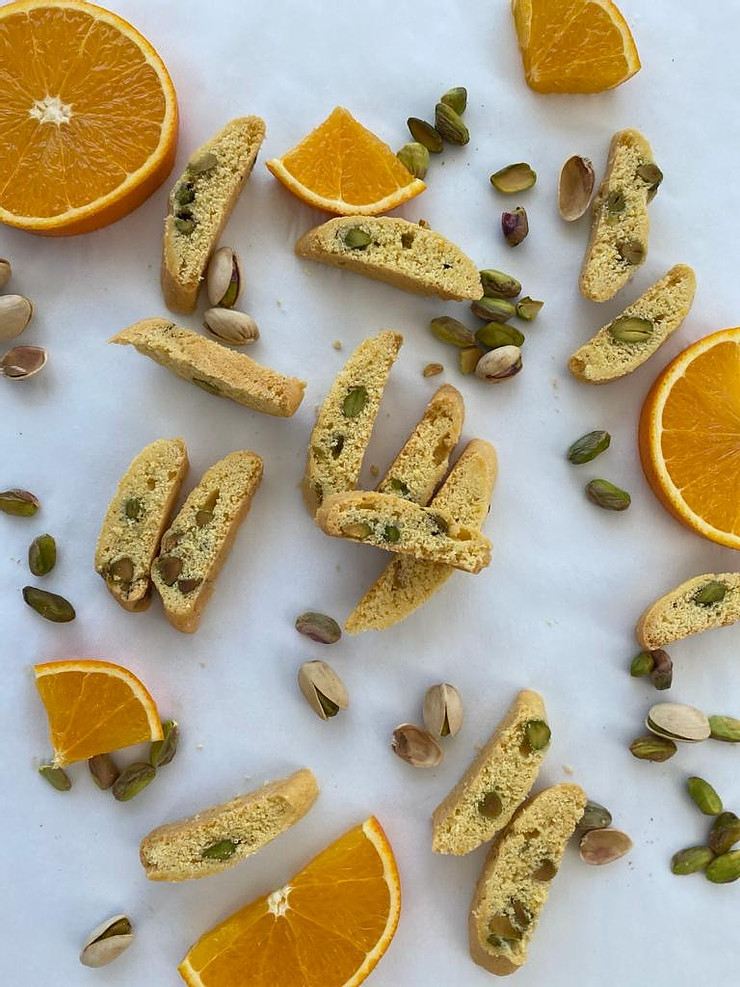
The aroma of these orange and pistachio biscotti will take you back to Marrakesh and Casablanca and if you have never been, it might just be the inspiration that convinces you to pack your bags and finally take that trip!
Enjoy these with a cup of tea, coffee or as an after dinner treat, paired with an ice cold glass of your favourite dessert wine. They also make for a perfect gift when packaged in a beautiful glass jar.
210g butter
370g sugar
3 eggs
grated rind of 1 orange
5ml vanilla
520g cake flour
15ml baking powder
2ml salt
170g pistachio nuts
Line two large baking sheets with baking paper or a silicone baking mat.
Add the butter and sugar to the bowl of a stand mixer, fitted with the paddle attachment and beat until the mixture is light and fluffy.
Add the eggs, orange rind and vanilla and mix well.
Sift the flour, baking powder and salt together and add to the butter and egg mixture.
Add the nuts and mix until a workable dough is formed.
Place the mixing bowl and its content in the refrigerator for about 30 minutes, as a cold mixture will be easier to work with.
Now, divide the dough into 4 – 6 even portions and shape each into “logs” of about 5cm in diameter. Space the logs well apart as they will spread when baking.
Once the dough has been shaped, place the baking sheets back into the refrigerator for another 30 minutes. This will prevent the dough from spreading too much when baking and to retain the “log” shape.
Preheat your oven to 160℃.
Bake the biscotti logs for 30 minutes and allow to cool slightly on the baking sheets. Do not allow them to cool too much as they will become brittle when sliced.
Slice the logs diagonally in 1cm thick slices with a sharp, seated knife and pack them onto the same lined baking sheets.
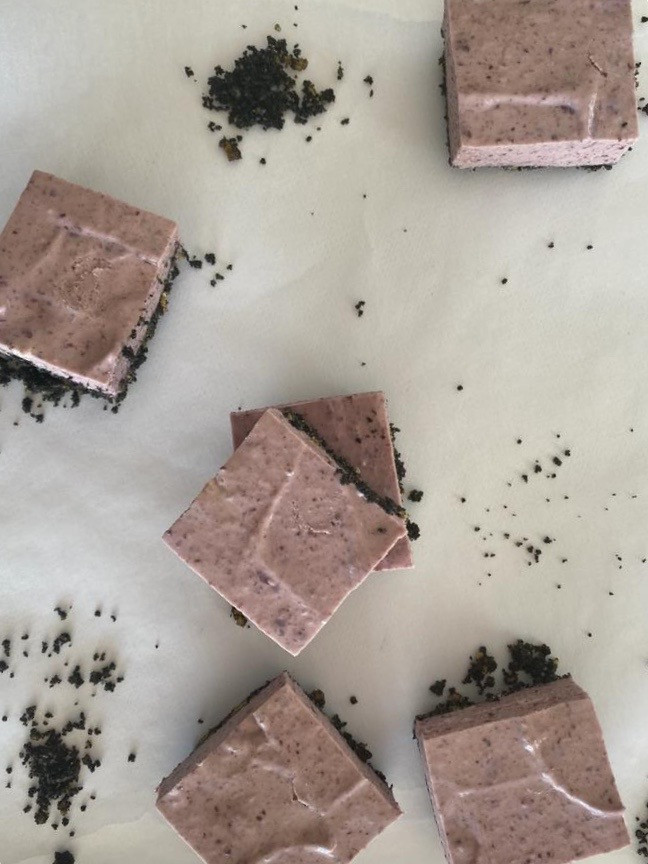
These cheesecake slices are light, fresh and easy to make and a brilliant way of making use of the abundance of fresh blueberries!!
Blueberry Sauce:
300g blueberries
50g sugar
30ml lemon juice
Combine the ingredients in a small saucepan and place it on medium heat.
Stir until the sugar has dissolved and then simmer the mixture to reduce it by about a third. It should take about 8 minutes.
Blend the blueberry sauce with a stick blender and set aside to cool completely.
Crust:
250g dry biscuits of your choice
80g butter
Bash the biscuits to crumbs, melt the butter and mix together.
Line the bottom of a baking tin of your choice, with the biscuit mixture and tightly push it to an even thickness with the back of a spoon.
Place the crust in the refrigerator until needed.
Filling:
10g powdered gelatine
50ml cold water
450g cream cheese
125g icing sugar
160ml heavy cream
5ml vanilla
15ml lemon juice
Pour the water into a small bowl and sprinkle the gelatine on top. Set aside for 10 minutes.
Add the cream cheese to a mixing bowl and beat until soft with a spatula.
Sieve the icing sugar on top and incorporate.
Stir in the cold blueberry sauce.
Add the cream to a clean mixing bowl and beat with an electric whisk until soft peaks.
Fold the cream into the blueberry mixture.
Now, melt the gelatine in the microwave, 10 seconds literally, and two spoonfuls of the blueberry mixture to the gelatine. Mix well before adding this mixture to the bowl with the blueberry mixture.
Take the prepared tin with the crust from the refrigerator and pour the blueberry mixture on top.
Cover with plastic wrap and refrigerate overnight.
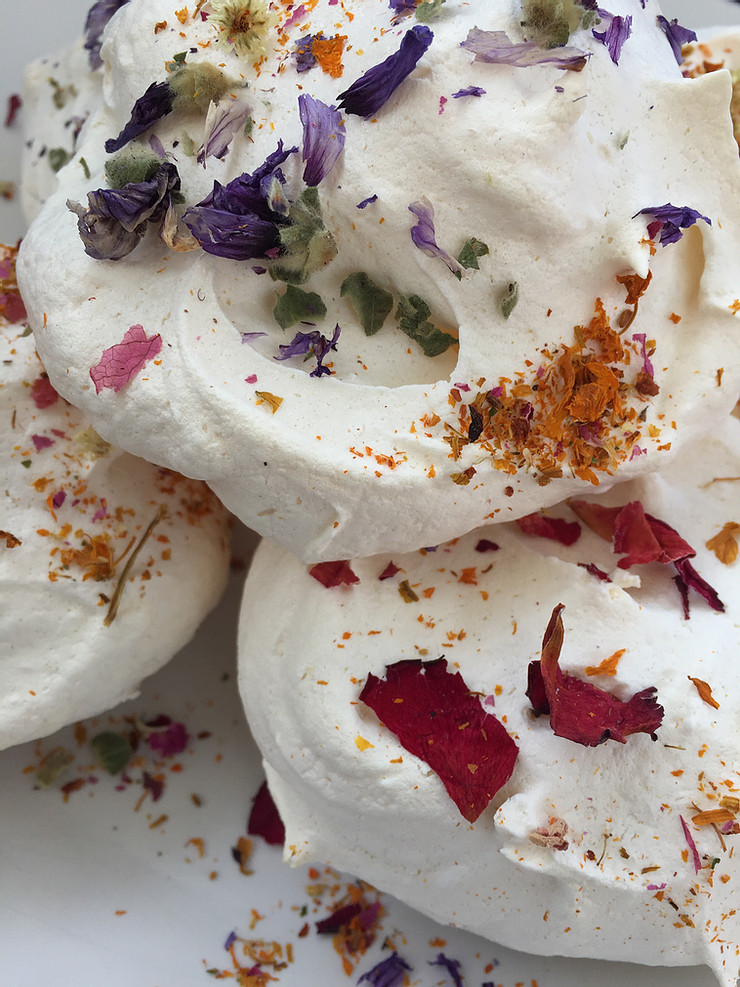
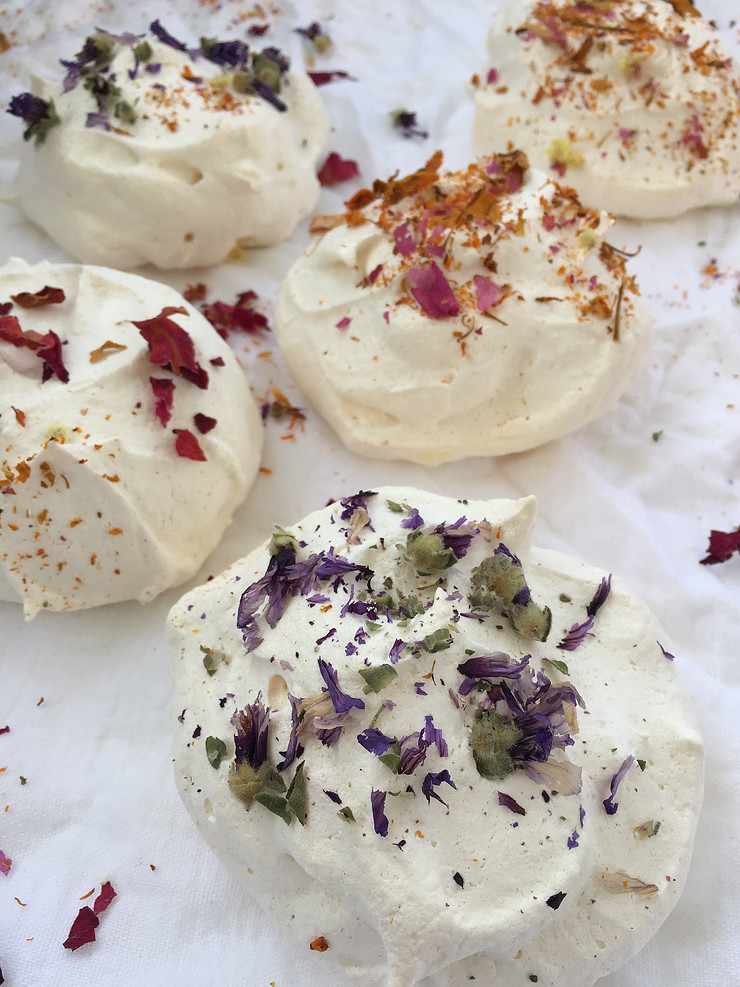
These mini pavlovas taste like little bites of marshmallow cloud. I decorate mine with dried flower petals but you may add whipped cream and fresh fruit as a finish to the perfect dessert.
Makes about 15 mini pavlovas.
6 egg whites
375ml caster sugar
15ml vanilla
7,5ml lemon juice
10ml corn starch
Preheat your oven to 120℃.
Line a large baking sheet with a baking mat or parchment paper.
Add the egg whites to the bowl of a stand mixer fitted with the whisk attachment.
Whisk the whites to soft peaks.
Switch the mixer to high speed and start adding the caster sugar one teaspoonful at a time. Keep going until you have not sugar left.
Run the mixer for another 4 minutes or so to ensure that all of the sugar has dissolved into the meringue.
Add the vanilla and lemon juice to the meringue mixture and fold in with a whisk.
Sieve the corn starch onto the mixture and fold in once more.
Pipe or scoop round of about 7cm in diameter onto the baking sheet.
Bake for 1 hour 15 minutes.
Turn off the oven and without opening the oven door, set a timer for another 30 minutes.
Remove the pavlovas from the oven and allow to cool completely before removing them from the baking sheet.