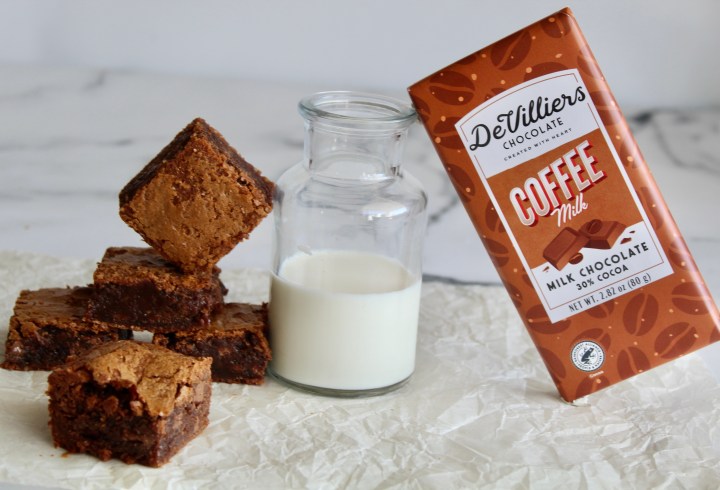
220g best quality dark chocolate (I use De Villiers Chocolate), chopped
125g butter, cubed
5 eggs, separated
190ml sugar
10ml vanilla
2,5ml salt
30ml cocoa powder
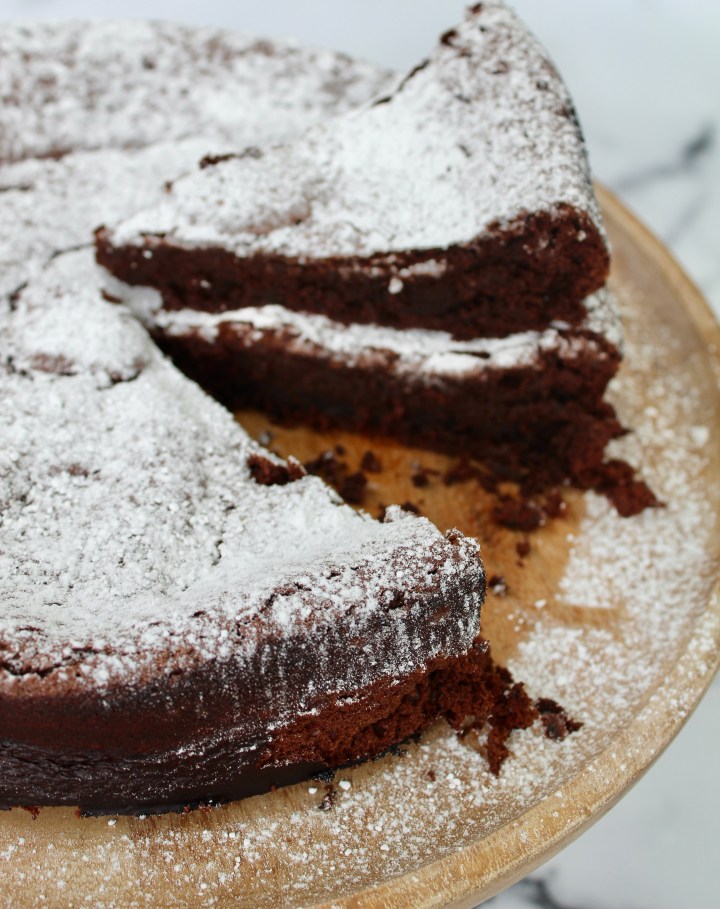
Preheat your oven to 170℃ and spray a 22cm loose bottom cake pan with cooking spray. Dust the pan with cocoa powder ensuring the bottom and sides of the pan has an even coating of cocoa powder. Set aside.
Add the chocolate and butter to a heatproof bowl set over a saucepan of simmering water. Stir every now and then until the chocolate has melted completely and the mixture has amalgamated.
Take the bowl from the heat and set aside to cool.
Add the egg whites to the bowl of a stand mixer fitted with the whisk attachment.
Beat the whites on medium until it reaches soft peak stage.
Increase the mixers speed and add the sugar a spoonful at a time.
Beat until medium stiff peaks and set aside.
Add the egg yolks, one at a time, to the chocolate mixture and beat well with a spatula after each addition.
Add the vanilla, salt and cocoa powder and mix together.
Now fold in the egg whites by adding a third of the mixture at a time. Mix/fold until no white streaks are visible.
Scrape the batter into the prepared pan and spread it around evenly.
Bake for 50 minutes. The edges of the cake will pull away from the sides of the pan once it is done.
Cool the cake in the pan before unmoulding it.
Dust with icing sugar and serve.