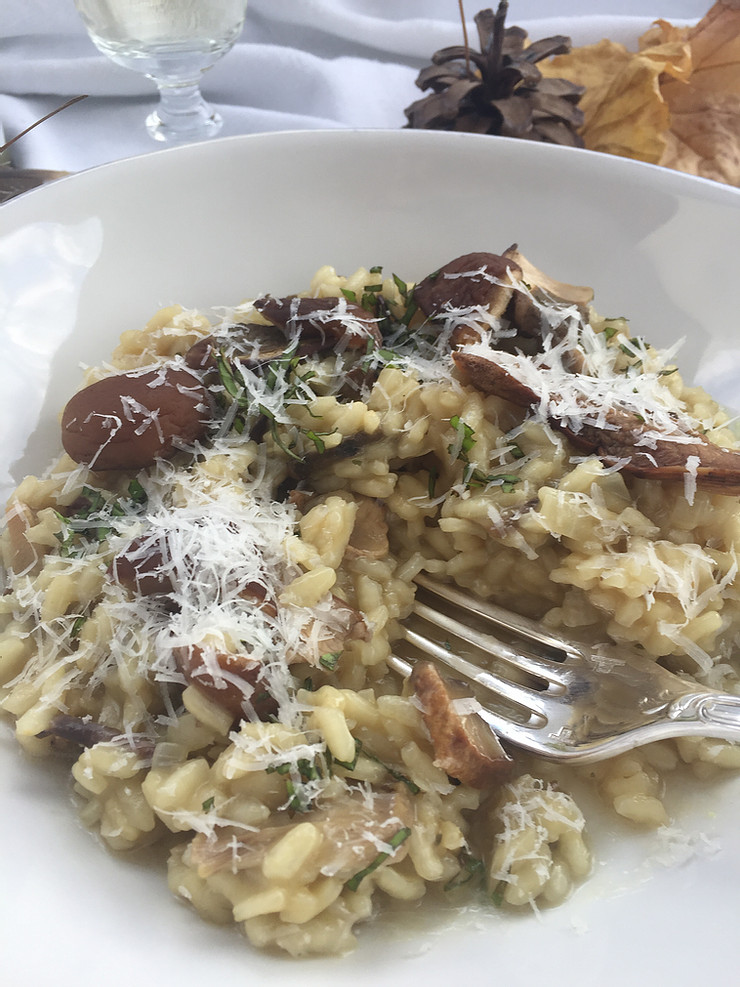
Mushroom Risotto

When I was at chef school, one of my favourite chefs and lecturers used to say that you cannot make risotto while you are angry at someone! If you’re making risotto the traditional way you have to stir, pour stock and stir some more for about 40 minutes. I am very inpatient but I love cooking risotto. There is something calming and soothing about tending to a pan of risotto and of course, if you’ve tasted a good risotto once, you have the sublime end-product to look forward to.

Because the risotto relies on the mushroom for its dominant flavour I would recommend sourcing dried Porcini mushrooms. They are fragrant and earthy and brings an other-worldly fabulousness to this dish. Try Delheim Wine Estate for Porcini mushrooms that have been foraged and dried on their estate and while you’re at it, get a few bottles of their Sauvignon Blanc as well! (See the COOK & BOOK section for more detail on Delheim).
±80g risotto rice per person (I use 100g per person so that I have enough risotto left over to make Arancini the next day)

100g butter and some good olive oil

100g dried Porcini mushrooms or mixed mushrooms

250ml white wine, the Delheim Sauvignon Blanc is utterly delicious!

1 onion, very finely chopped

5 cloves of garlic, minced

2 litres of stock

salt

parmesan or pecorino cheese

Soak the dried mushrooms by placing them in a bowl and adding warm tap water to it. Allow to stand and soak for at least 1 hour.

Put a sieve over a stock pot and drain the mushrooms into the pot so that you have the mushrooms in the sieve and the soaking liquid in the pot. Put the mushrooms to the side and add the 2 litres stock to the mushroom liquid. Turn on the heat to warm the stock. Once warm you may turn the heat to low, so that the stock keeps warm.

Now, pour yourself a glass of the Sauvignon and put a heavy-based, deep pan onto medium to high heat. Add the butter to the pan and allow to melt.

Add more or less the same amount of olive oil to the melted butter and stir in the onion.

Add the garlic and stir the mixture for 1 minute before adding the risotto rice.

Stir the rice around so that every granule gets coated with the butter and oil mixture and the grains start to appear almost translucent.

Add the white wine and allow it to bubble for about 2 minutes.

Now add about two ladles full of stock to the rice and stir around slowly, waiting for the rice to absorb the liquid. Add another two ladles full of stock and stir again. Keep adding and stirring until the rice isn’t absorbing any more stock.

The risotto should now be creamy and not dry and the rice must retain its “bite”/be al dente.

Add the soaked mushrooms that you have kept to the side and allow it some time to integrate and release its flavour into the dish.

Season the risotto with salt and by grating a generous amount of parmesan into it and taste whether it is to your liking.

Serve with extra parmesan, a crusty loaf of bread and a good wine.

Italian Ricotta Cheesecake

What do Portofino, Venice and Rome have in common, apart from all being in Italy? The most exquisite, all-ricotta cheesecake!

This recipe relies on ricotta only and doesn’t have a crust. It is light, fresh and authentic Italian. I like to serve it with an orange syrup but it is delicious served as is…..simplicity in all its glory!

100ml almond meal

15ml soft butter

800g fresh ricotta, well drained (See my Ricotta recipe to make your own)

6 eggs, separated

62ml cake flour

125ml + 125ml sugar

1,2ml salt

grated rind of one orange

Preheat your oven to 180ā„ƒ.

Grease a 23cm loose-bottomed cake tin with the butter, making sure you coat the base and sides.

Now sprinkle the almond meal onto the base and then tilt the tin so that the almond meal sticks to the sides as well. You want a thorough coating of the base and sides. Shake out and discard any extra almond meal.

Add the ricotta to the bowl of a stand mixer fitted with the paddle attachment and beat until light.

Add the egg yolks, flour, 125ml sugar, salt and orange rind and mix until the ingredients are well combined.

Add the egg whites to a large mixing bowl and whisk until soft peak stage.

Add one spoonful of sugar and whisk the mixture for at least 30 seconds before adding the next spoonful. Keep adding and beating until you have a stiff, glossy mixture into which all of the sugar has been incorporated.

Fold a third of this meringue mixture into the ricotta mixture.

Now add the rest and gently fold it in until the two mixtures are well blended.

Spoon the batter into the prepared cake tin and bake it in the oven for one hour. The cake is done when it is an even golden colour with the centre still being slightly wobbly.

Once out of the oven, cool the cake in the baking tin for 30 minutes before running a sharp knife around the edge of the cake. Carefully remove the ring of the tin and allow the cake to cool completely.

Glazed Eisbein

This recipe deviates slightly from the traditional German Eisbein which has a crispy, fatty outside. I like to finish mine off by leaving on the skin and glazing it with honey and mustard. This dish is a winter winner, served with creamy mashed potatoes and a fresh coleslaw salad to cut through the richness of the pork.

ham hocks (I prepare one for two people to share, but it’s your choice)

1 onion, halved

2 carrots, roughly chopped

5 black peppercorns

2 bay leaves

Put the pork into a vessel that is large enough for you to cover all the meat with water.

Add the onion, carrots, pepper and bay leaves the pork and fill your cooking vessel with water.

Turn up the heat and allow it to come to a gentle simmer.

Let it simmer away for two to three hours.

Take the hocks out of the liquid and let it stand to dry.

In the meantime, preheat your oven to 220ā„ƒ.

For the glaze:

50ml honey

50ml Dijon mustard

50ml melted butter

Add the ingredients to a small mixing bowl or cup and whisk to blend together.

Place the hocks into a roasting dish and brush the glaze all over it.

Roast in the oven, glazing once or twice more, until beautifully browned and crispy.

Serve with mashed potato and a fresh coleslaw salad.

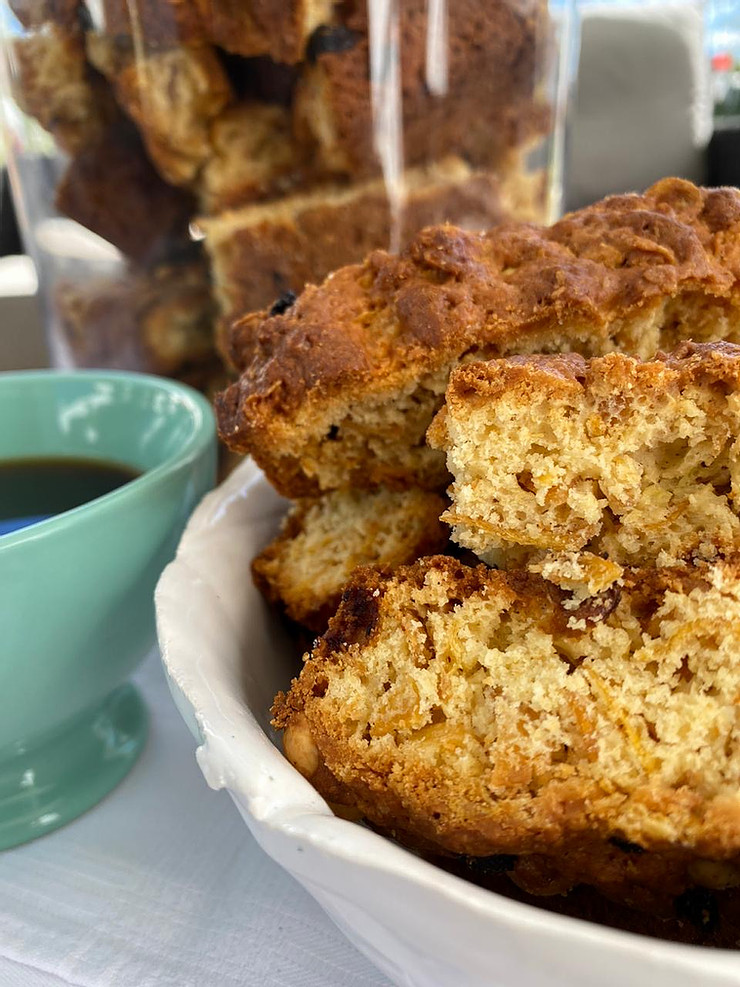
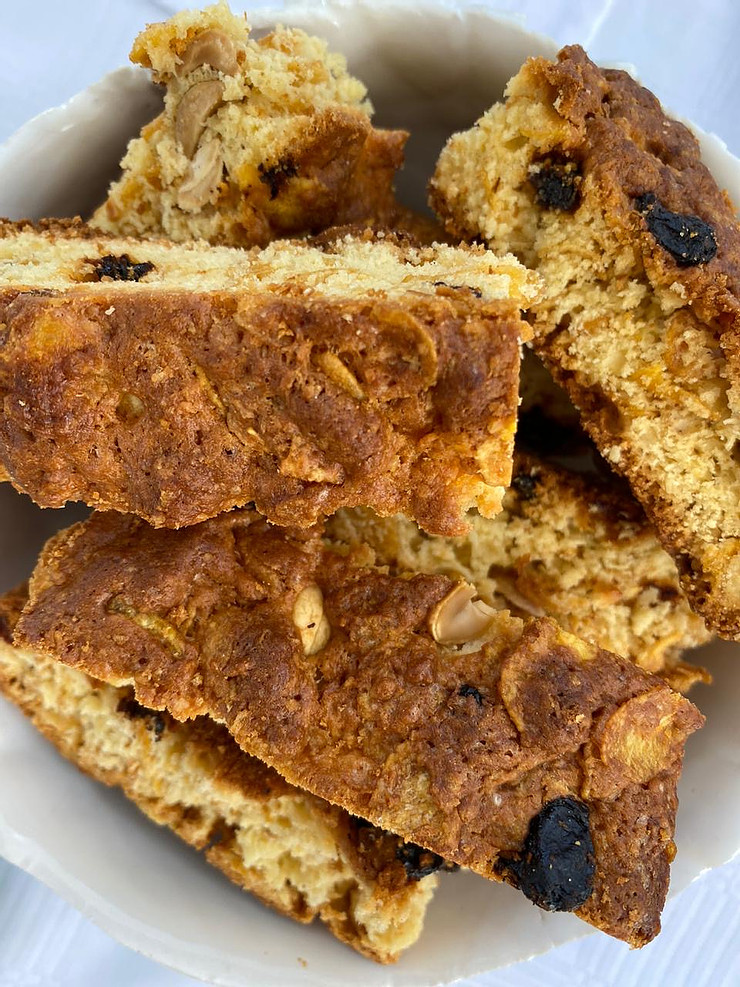
Granola Rusks

This recipe was given to me by my friend Marinda Schouwstra. She is one of the gutsiest, honest and intelligent people I know but famously claims not to be able to cook even an egg! (Her children have confirmed this with various, hilarious stories over the years! Thanks for those Ciska-Marie!!)

These rusks are healthy, delicious and as easy as one, two, three. Simply mix up all the ingredients and bake….really!!

900g self raising flour

315ml brown sugar

300g All Bran flakes or any other bran cereal

190ml raisins

190ml peanuts

250ml coconut

5ml salt

10ml baking powder

4 large eggs, if you think they might be medium add another one

500ml buttermilk

500ml butter, melted

Preheat your oven to 180ā„ƒ.

Grease a roasting tin of about 37cm X 27cm.

Mix the flour, sugar, cereal, raisins, peanuts, coconut, salt and baking powder in a large mixing bowl. Set aside.

Add the eggs to another mixing bowl and give them a whisk to break them up.

Add the buttermilk and the melted butter to the eggs and whisk together.

Add the wet mixture to the dry mixture and mix through. At this stage it will look as though you might not have enough moisture but keep turning the ingredients until all the dry spots of flour are covered.

Spoon the rusk mixture into the prepared tin and press it down with the palm of your hand. This is important as the final rusk will be very brittle if not compressed at this stage.

Put the roasting tin into the oven and bake for one hour.

Remove the rusk mixture and allow it to cool completely in the tin.

Gently cut into finger sized portions with a serated knife and pack the rusks 1cm apart on a flat baking sheet.

Dry in an oven set at 50ā„ƒ for about 3 hours, leaving the oven door slightly ajar.

Let the rusks cool before storing in a glass container.

Spinach Pancakes

These spinach pancakes are quick and easy to make and delicious with a dollop of crĆØme fraiche, sour cream or a scoop of fresh ricotta.

You will get between 6 and 9 pancakes from this recipe, depending on the size of the pan you use.

1 egg

250ml milk

250ml self raising flour

a pinch of salt

a 200g bag of baby spinach

Add all the ingredients into a blender or a suitable mixing jug for a hand blender.

Blend until all ingredients are incorporated and you are left with a beautiful green batter.

Heat a crƩpe or frying pan on medium heat and add a small amount of vegetable oil.

Now add enough batter to cover the base of the pan and wait.

For these pancakes to have that vibrant green colour, you want to cook them on one side only.

The pancakes are done once the entire surface is filled with little holes, as in the picture opposite.

Serve warm with:

salad

fresh or grated, mature cheese

smoked chicken

asparagus

poached eggs

crĆØme fraiche, sour cream

pesto

Pear Cake

Pear Cake

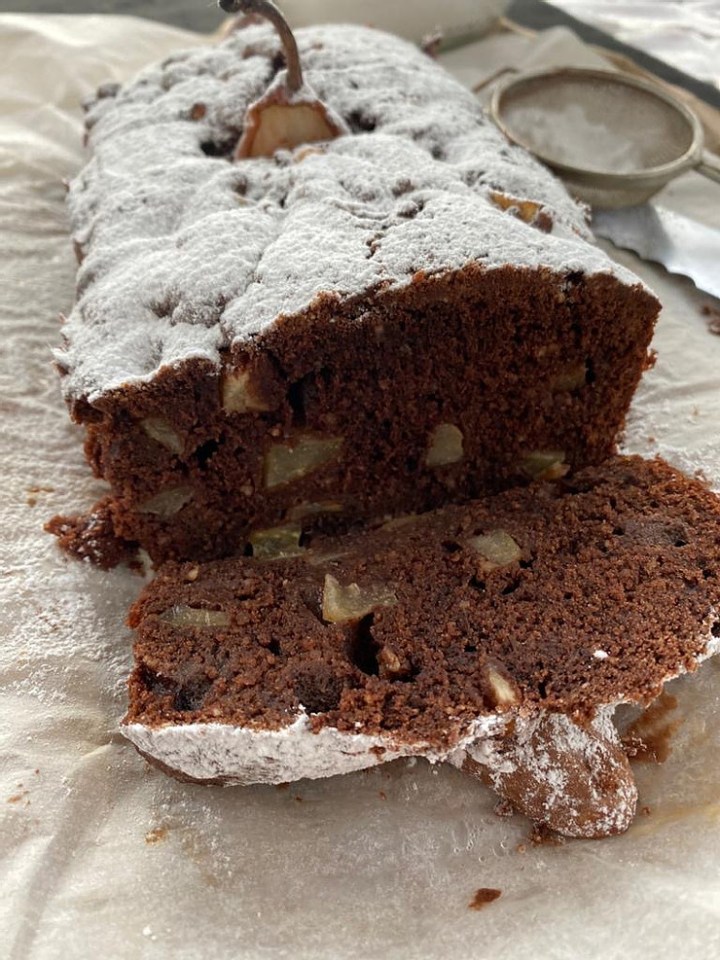
Pear, cocoa and almonds are a heavenly combination. This not-too-sweet cake is perfect with a good cup of coffee when you are in need of something light, fresh but still comforting.

150g cake flour

50g cocoa powder

80g almond flour

7,5ml baking powder

5ml ground cinnamon

1,2ml ground ginger

1,2ml salt

170g butter

150g sugar

5ml vanilla

2 eggs

30ml milk

2 pears, cored, peeled and diced

Preheat your oven to 160ā„ƒ.

Spray and line a 23cm X 13cm X 7cm bread tin with baking paper.

Add the flour, cocoa powder, almond flour, baking powder, cinnamon, ginger and salt to a mixing bowl and set aside.

Add the butter and sugar to the bowl of a stand mixer fitted with the paddle attachment and cream until light and fluffy.\

Add the eggs, one at a time, incorporating in between, before adding the vanilla extract.

Now, add about a third of the dry ingredients, a spoonful at a time with the mixer running on a low speed. Then add 15ml milk and wait for it to be incorporated into the mixture. Add another third of the dry ingredients, followed by the last 15ml of milk and finally add the last third of the dry ingredients. Mix until all ingredients are well blended.

Add the diced pear and stir in with a spatula.

Spoon the mixture into the lined bread tin and bake for one hour.

It is important to test the cake to make sure it is done before removing it from the oven.

Remove from the oven once it is cooked and allow to cool in the tin for 15 minutes or so.

Dust the pear cake with icing sugar before serving

Chimichurri Sauce

Chimichurri Sauce

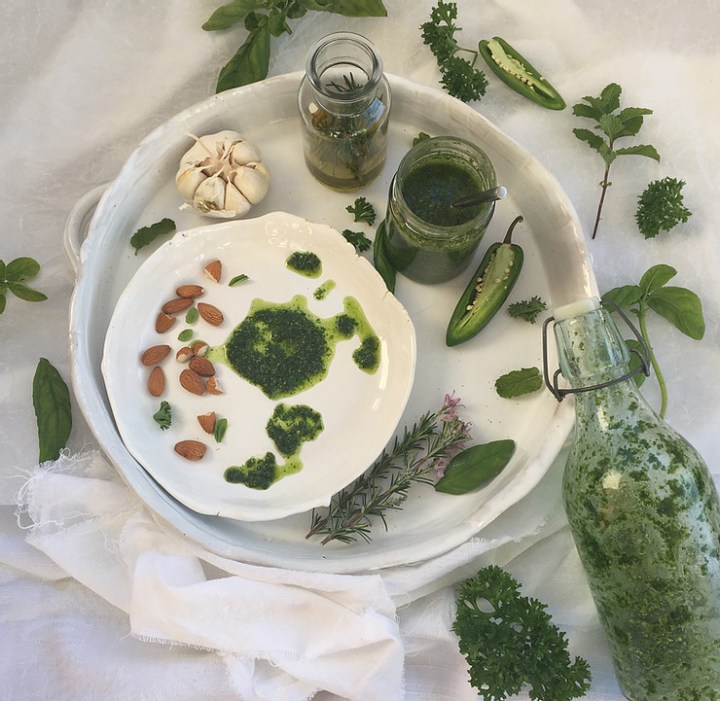
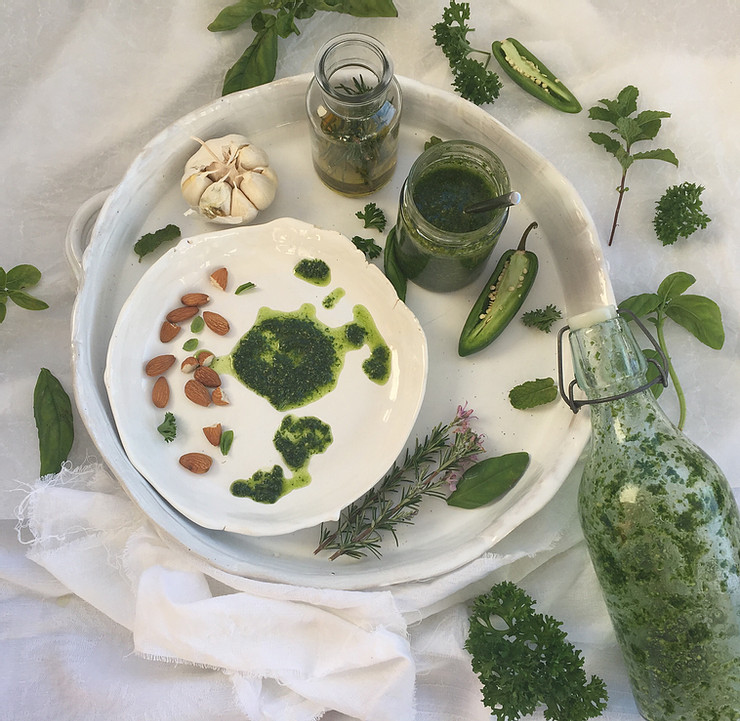
Chimichurri sauce will delight your senses and transform boring into a taste sensation and that is no exaggeration! This is a bright, herbaceous sauce that is easy to make and can be kept in the fridge for up to five days.

Traditionally an Argentinian sauce for grilled meats, it is a loose, oil-based sauce that is made by hand. It differs from pesto in that it contains no cheese and has a pucker tang to it that refreshes the palate. Adjust the taste so that it suits YOUR palate – add a variety of soft herbs like parsley, mint, basil and oregano or make it less garlicky, spice it up with fresh chilli, replace the vinegar with lemon juice, add a minced red onion, but whatever you do, be sure to make it.

It may be used as a marinade for meat or basted onto barbecued steak, chicken, fish, vegetables and is delicious as a dip for crusty bread. But do yourself a favour and simply spoon a generous amount onto your next steak, hot off the fire!

125ml olive oil

30ml red wine vinegar

125ml finely chopped parsley

4 cloves garlic, minced

10ml oregano, finely chopped

5ml salt

Mix all the ingredients together and let it stand for at least 2 hours, but preferably overnight, so that the flavours can develop.

Guava Tarte Tatin

Guava Tarte Tatin

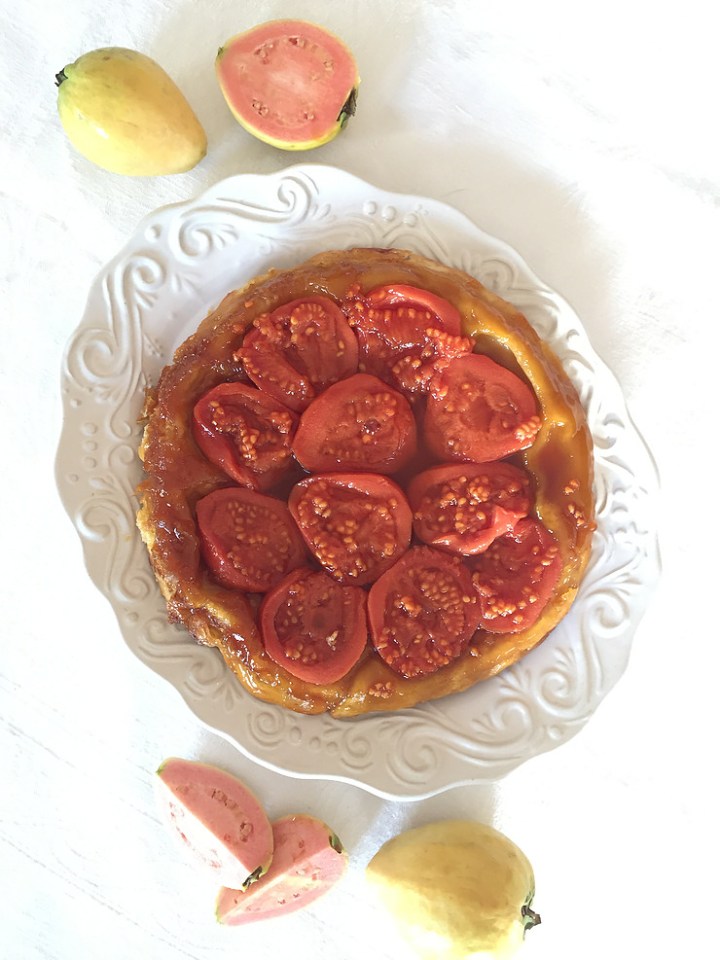
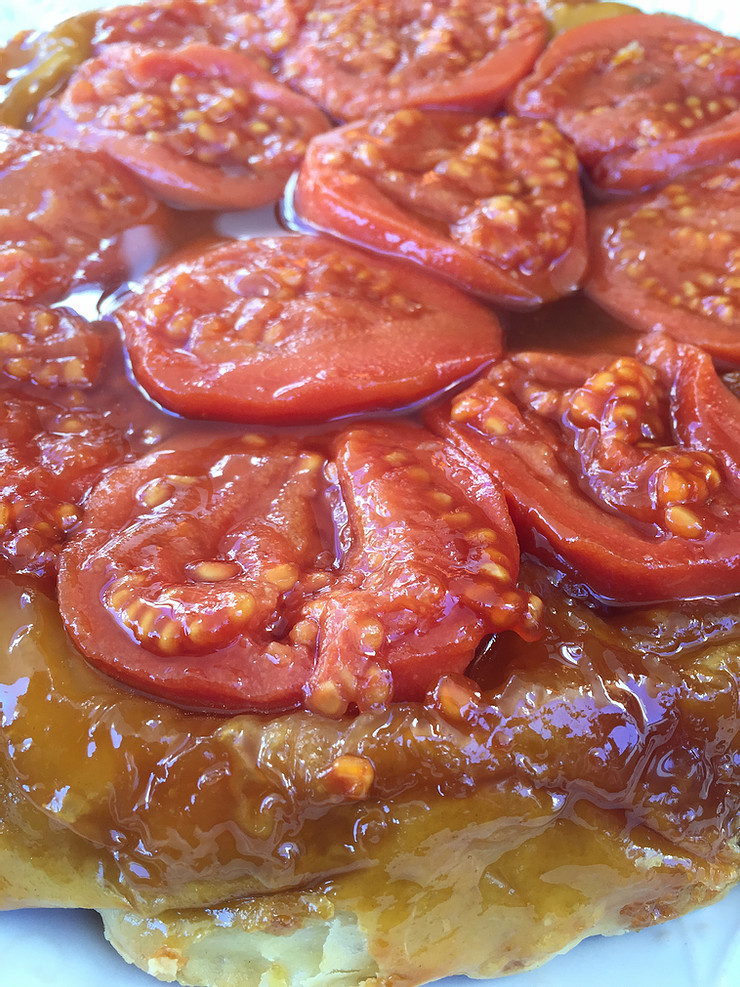
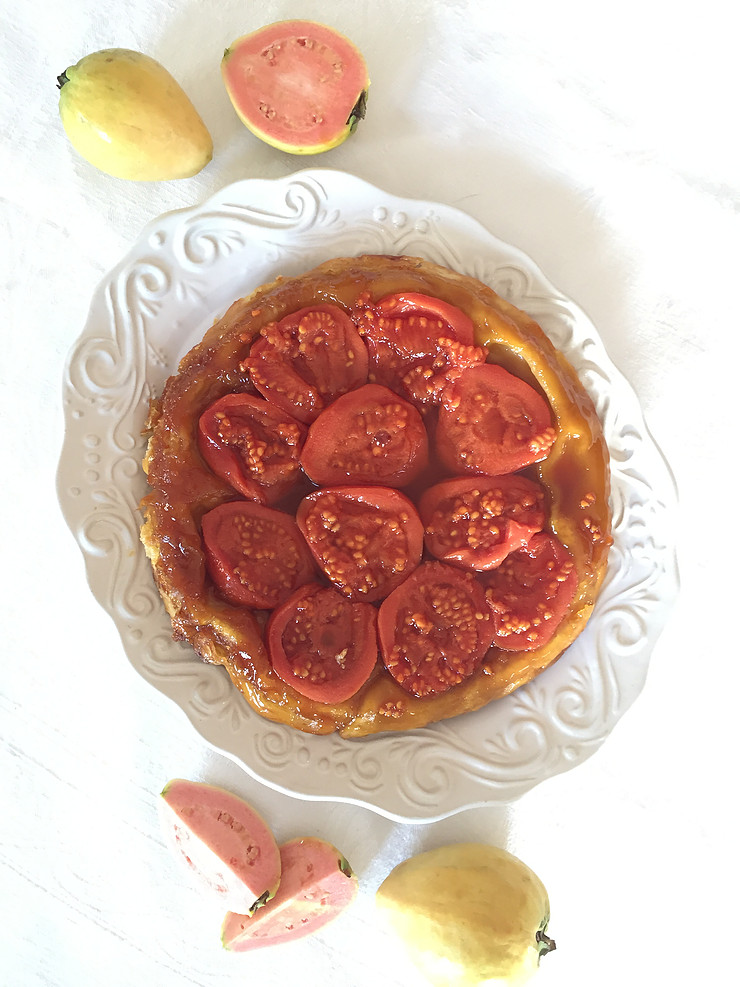
This upside down guava tart is like a tropical flavour burst in your mouth. I made this a while ago because my entire family loves guava in all its variations and what a surprise it was. Tarte Tatin is a French dish that normally utilises fruits like apples and pears, caramelised in sugar with a crisp, flaky pastry base. Soft, juicy fruits like guavas are usually not used because of all its soft flesh that create excess liquid, but believe me, this is heaven on your taste buds. It is a reminder that sometimes we have to go against the traditional to discover the truly sublime!

5 – 6 fresh ripe guavas, peeled and halved

80g butter

150g sugar

300g puff pastry

Preheat your oven to 190ā„ƒ.

Select the pan you are going to use to bake this tart. I make mine in a steel frying pan but any pan will do as long as it can go into the oven. No plastic handles!!

Now, roll the dough so that you can cut a piece of pastry the size of the pan PLUS another 1.5cm all around. In other words, if you have a pan that is 20cm in diameter you will have a pastry circle that is 23cm in diameter. Prick the pastry with the tines of a fork and place in the fridge until needed.

Spread/rub the butter in a thick layer over the bottom and sides of the pan. Sprinkle the sugar on the base in a thick, even layer.

Put the pan on a medium heat.

Pack the guava halves cut-side down onto the sugar. You have to watch the sugar and fruit closely: you want the sugar to melt and develop a good caramel colour without burning. Shake the pan lightly from time to time.

Once the sugar has reached a deep, golden colour, take the pan from the heat.

Remove the pastry from the fridge and place it on top of the guavas, tucking down the sides of the pastry.

Place the tart in the oven and bake for 25 – 30 minutes until the pastry is cooked and has developed a honey colour.

Remove the pan from the oven and give it a 5 minute rest. This is important: if you don’t wait for the caramel to settle it will run all over the place when you invert the tart and conversely, if you leave the tart standing for too long it will become sticky and you will have a hard time removing it from the pan.

Run a knife around the edge of the pan to loosen any caramel and place your serving plate on top of the pan, covering the tart. Invert in one quick flick.

Serve with cream or ice cream.

South African Pumpkin Tart

South African Pumpkin Tart

I want to explain myself: this is a TART because a PIE usually has a “lid” or covering of pastry of a sort. Soooo, this dish might remind one of pumpkin pie, but strictly spoken it is a tart. What makes it even more unique is the fact that it is a South African Tart. It has an earthiness from the pumpkin that is utterly yum and the cinnamon that is sprinkled on the hot tart, gives that wonderful homely warmth that is truly South African and perfect for winter meals.

This is the easiest tart you will ever make and be warned; keep a copy of the recipe because you will be asked for it!

250ml flour

250ml sugar

5ml salt

750ml cooked, well-drained pumpkin

60ml butter, melted

250ml cream

3 eggs, lightly beaten

5ml ground cinnamon

Preheat your oven to 180ā„ƒ.

Lightly spray or grease a 25cm ceramic pie dish.

Sift the flour and salt into a mixing bowl.

Add the sugar and pumpkin and give the mixture a stir.

Add the melted butter and cream to a wide mouthed jug and whisk together. Add the eggs and give the mixture another thorough whisk.

Pour the wet ingredients into the pumpkin mixture and mix together really well.

Pour the mixture into the pie dish and bake for 1 hour.

Remove from the oven and immediately sprinkle an even layer of cinnamon over the tart while it is hot.

In winter I like serving this pumpkin tart warm as a side dish to a meal but it is equally delicious in summer, when served at room temperature.

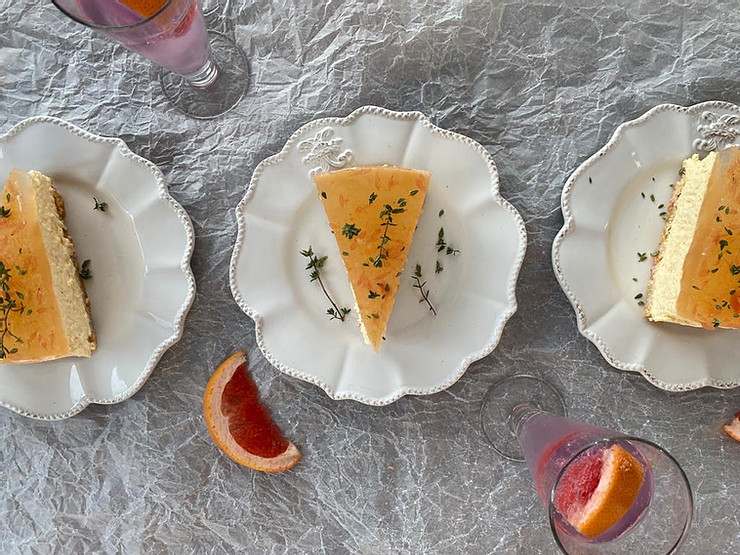
Gin nad Tonic Cheesecake

Gin nad Tonic Cheesecake

If you enjoy having a G&T you will looooove this cheesecake! It is refreshing and filled with all the deliciousness of citrus. Be sure to use a cake tin that is AT LEAST 8cm deep, as the G&T layer should be generous in order to counter the richness of the cheesecake. This is going to be your new favourite all-in-one snack! Cheers!

For the cheesecake:

250g Tennis biscuits, or if you don’t like the coconut you may use digestive biscuits

80g butter, melted

500g cream cheese

500g mascarpone

100g caster sugar

grated zest of 1 lemon

juice of 1 lemon

grated zest of one grapefruit

juice of one grapefruit. (If you dislike grapefruit you may replace the zest and juice with lemon)

Blitz the biscuits to crumbs in a food processor. Alternatively, put them into a plastic bag and smash them with a rolling pin.

Add the biscuits and melted butter to a small bowl and mix thoroughly.

Tip the mixture into a 22cm sprayed, loose bottomed cake tin that is at least 8cm deep.

Use the back of a spoon to press the biscuit mixture onto the base of the cake tin.

Put the base into the fridge to firm up.

Add the cream cheese, mascarpone, caster sugar, zest and juice into the mixing bowl of a stand mixer fitted with the paddle attachment. Beat until smooth.

Spoon the mixture into the biscuit base, making sure you have a smooth and level surface.

Cover the cake tin with plastic wrap and put back into the fridge.

Leave to firm up for at least 3 hours.

For the G&T layer:

30ml powdered gelatine

juice of 2 lemons

juice of 1 grapefruit (or 2 lemons)

100g caster sugar

60ml gin

300ml bitter lemon or tonic water

a few sprigs of thyme

Pour 90ml cold water into a small bowl and sprinkle the gelatine on top. Put aside for 5 minutes.

Pour the lemon and grapefruit juice into a small saucepan and add the zest and the caster sugar.

Gently heat the mixture, stirring to dissolve all of the sugar.

Melt the gelatine in the microwave oven for 10 second intervals at a time. Take care not to burn it!

Add the melted gelatine to the juice mixture and give it a really good whisk to ensure the gelatine is evenly dispersed throughout the mixture.

Strip the leaves off the thyme sprig and add them to the mixture.

Add the bitter lemon or tonic water and the gin and stir to mix.

Pour the mixture over the cheesecake and chill to set overnight.