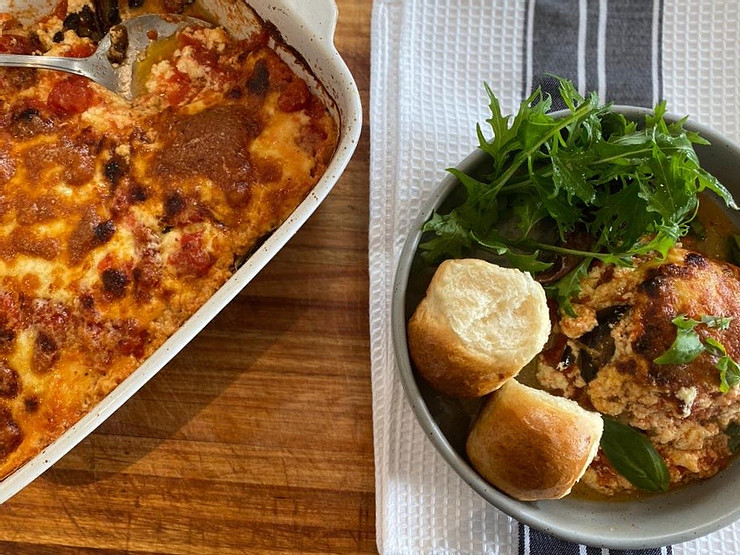
This cheesy bake is the perfect vegetarian dish for cold winters days. This recipe serves eight as a main, served with a roll or some fresh crusty bread to mop up the juices and a fresh salad to cut through the richness.
2 large Aubergine, cut into 1cm thick slices (If you are in doubt about the size of the Aubergine, use 3!)
300g Ricotta cheese (see my recipe for Homemade Ricotta)
300g Mozzarella cheese, grated
50g Parmesan cheese, grated, plus extra for grating on top
1 egg, beaten
150ml cream
2 tins chopped tomatoes
5ml mixed, dried herbs
15ml sugar
10ml salt
Preheat your oven to 200℃.
Slice the aubergine into 1cm thick slices and if you like, salt them. If you have salted, leave to stand for 30 minutes, rinse and dry. I don’t always salt my aubergine and the heavens have not descended upon me!
Put a frying pan onto medium heat, add a generous slug of vegetable oil and fry the aubergine slices, turning them as necessary, until they are soft and golden brown. Keep going until all the slices are done. Add more oil as necessary.
Now, mix the ricotta, grated mozzarella and parmesan in a mixing bowl.
Whisk the egg and cream together and add this mixture to the cheese mixture. Stir through.
To make the tomato sauce, empty the two cans of chopped tomato, dried herbs, sugar and salt into a small saucepan on medium heat.
Simmer the tomato mixture until most of the water has evaporated and you are left with a thick sauce.
To put the final dish together, I use a 18cm X 28cm ovenproof ceramic dish.
Start off by spooning about a third of the tomato mixture into the dish and then spreading it evenly.
Layer half of the cooked aubergine slices onto the tomato sauce. It is perfectly alright if the aubergine overlaps or forms a double layer in places.
Spoon half of the cheese mixture onto the aubergine and, with a fork or your fingers helping, spread the cheese to get as good a covering as possible.
Now repeat the process with another third of the tomato sauce, the rest of the aubergine and then the rest of the TOMATO SAUCE.
Finally, round it all off with a last layer of cheese on top.
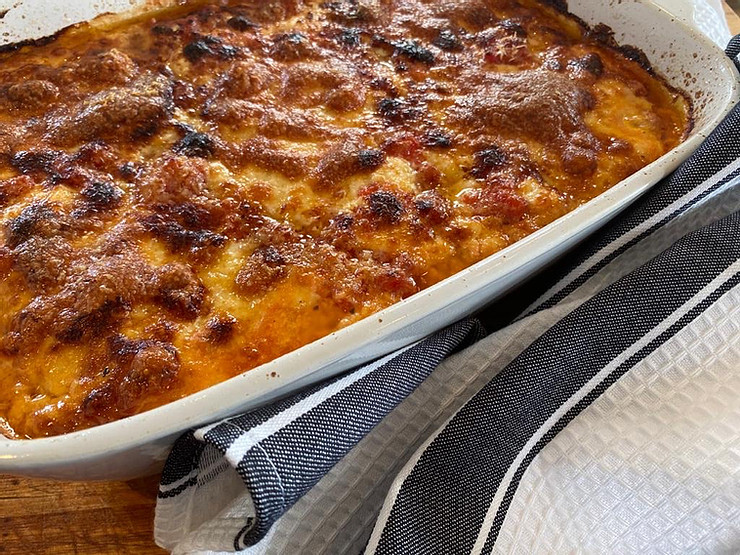
You may grate some extra parmesan on this layer as it gives a wonderful golden finish to the melanzane.
Bake for 40 minutes until steaming hot and fragrant.
Serve immediately.